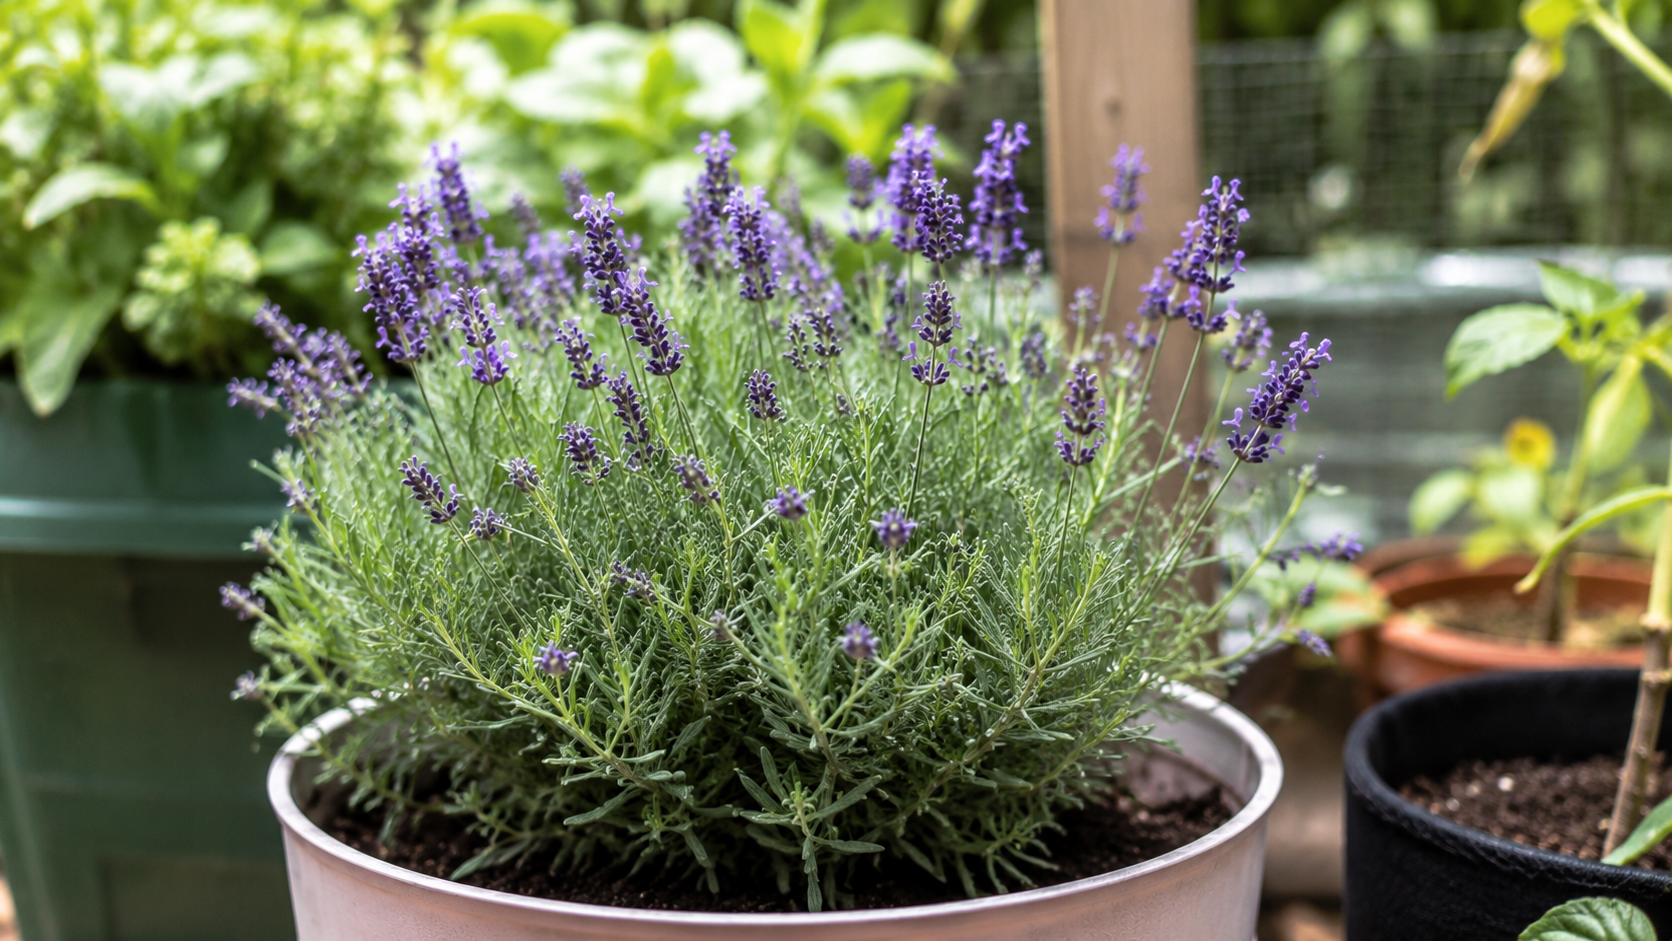
Lavender is one of those plants you’ll probably wish you had more of.
Whether you want to line a walkway, fill more containers, create a pollinator garden, or simply replace older plants, buying multiple lavender plants can get expensive.
The good news?
Lavender is surprisingly easy to propagate from cuttings.
Instead of growing new plants from seed—which can take longer and may not produce plants identical to the parent—you can clone a healthy lavender plant and have a new one growing in just a few weeks.
Here’s how I propagate lavender from cuttings.
Why Grow Lavender from Cuttings?
Growing lavender from cuttings has several advantages.
You’ll get:
- Plants that are identical to the parent plant
- Faster results than growing from seed
- A more affordable way to expand your garden
- Strong, healthy plants that are already adapted to your growing conditions
It’s one of the easiest ways to multiply your favorite lavender variety.
The Best Time to Take Lavender Cuttings
The ideal time to propagate lavender is during late spring through midsummer while the plant is actively growing.
Softwood cuttings taken from fresh green stems root the fastest.
Semi-hardwood cuttings taken later in summer also work well, although they usually take a little longer to root.
Avoid taking cuttings from woody stems or from plants that are heavily flowering.
What You’ll Need
Before you begin, gather:
- Healthy lavender plant
- Clean, sharp pruners
- Small pots or seed trays
- Well-draining potting mix
- Perlite or coarse sand
- Rooting hormone (optional)
- Spray bottle
- Clear humidity dome or plastic bag (optional)
Having everything ready makes the process much easier.
Step 1: Choose a Healthy Stem
Look for a healthy stem that:
- Has fresh green growth
- Hasn’t flowered yet (or remove any flower buds)
- Shows no signs of disease or insect damage

A stem about 4–6 inches long is usually ideal.
Healthy cuttings produce healthy plants.
Step 2: Make the Cut
Using clean pruners, cut just below a leaf node.
Nodes are the points where leaves emerge from the stem, and they’re where new roots will develop.

Make a clean cut rather than crushing the stem.
Step 3: Remove the Lower Leaves
Strip the leaves from the bottom half of the cutting.
Leave several sets of healthy leaves near the top.

Removing the lower leaves prevents them from rotting once they’re placed in the potting mix.
Step 4: Dip in Rooting Hormone (Optional)
This step is helpful but not required.
I’ve successfully rooted many lavender cuttings without using rooting hormone, but it can improve your success rate and encourage faster root development. If you have some on hand, lightly dip the cut end of the stem into the hormone and gently tap off any excess before planting.

If you don’t have rooting hormone, you can skip this step and still get great results.
Step 5: Plant the Cutting
Fill a small pot with a well-draining mix made from potting soil and extra perlite or coarse sand.
Insert the cutting into the soil or use your finger or a stick to make a small hole before inserting the cutting.

Firm the soil gently around the stem.
Water lightly to settle the soil.
Step 6: Keep the Cutting Moist—Not Wet
The goal is to keep the growing medium slightly moist while the roots develop.
Avoid soggy soil.
Too much moisture can cause the cutting to rot before roots have a chance to form.
If your home is very dry, placing a clear plastic bag or humidity dome loosely over the pot can help reduce moisture loss.
Just be sure to allow some airflow to discourage mold.

Step 7: Provide Bright, Indirect Light
Place the cuttings in a bright location out of direct afternoon sun.
Strong direct sunlight can stress the cuttings before they’ve developed roots.

A bright windowsill or an outdoor location with filtered light works well.
Step 8: Be Patient
Lavender doesn’t root overnight.
Most cuttings begin producing roots within 3–6 weeks, depending on temperature, humidity, and the variety.

A gentle tug on the cutting can tell you if roots have formed. You can also look at the air pruning strips or the bottom of the cell tray to see if the roots have formed.
If you feel resistance, that’s usually a good sign that new roots are developing.


Transplanting Your New Lavender Plant
Once the roots are well established, transplant the young lavender into its own larger pot or directly into the garden.
Choose a location with:
- Full sun
- Excellent drainage
- Plenty of airflow
Continue watering regularly until the new plant becomes established. Allow the soil in between watering. Lavender doesn’t like wet feet.

After that, lavender becomes much more drought tolerant.
Common Mistakes to Avoid
Taking Cuttings from Woody Stems
Older woody stems root much more slowly and often have lower success rates.
Choose fresh, flexible growth whenever possible.
Overwatering
This is probably the biggest mistake.
Lavender cuttings need moisture—but not soggy soil.
Too much water often causes rot before roots develop.
Using Heavy Potting Soil
Dense soil holds too much moisture.
Adding perlite or coarse sand creates the drainage lavender needs.
Placing Cuttings in Full Sun
Strong direct sunlight can dry out the cuttings before they develop roots.
Bright, indirect light is much safer during the rooting stage.
What Works in My Maryland Garden
I’ve found that the biggest secret to propagating lavender is not rushing the process.
Using healthy, non-flowering stems, a light, well-draining potting mix, and resisting the urge to overwater has given me the best results. I also like taking several cuttings at once because not every cutting will root successfully, and having extras improves my chances.
Once the new plants are established, they become just as easy to care for as the original plant. It’s a rewarding way to fill more of the garden with lavender while spending very little money.
If you’ve never propagated plants before, lavender is a wonderful place to start. The process is simple, satisfying, and one of the easiest ways to grow your garden from the plants you already love.
If this guide helped you feel more confident about propagating lavender, save it for later and share it with another gardener. I’d love to hear—what plant are you hoping to propagate next?
This page contains affiliate links to my brand partners like Vego Garden, GreenStalk, Walmart & Amazon at no extra cost to you.
Your support helps me create free gardening content. Thank you!


Leave a Reply