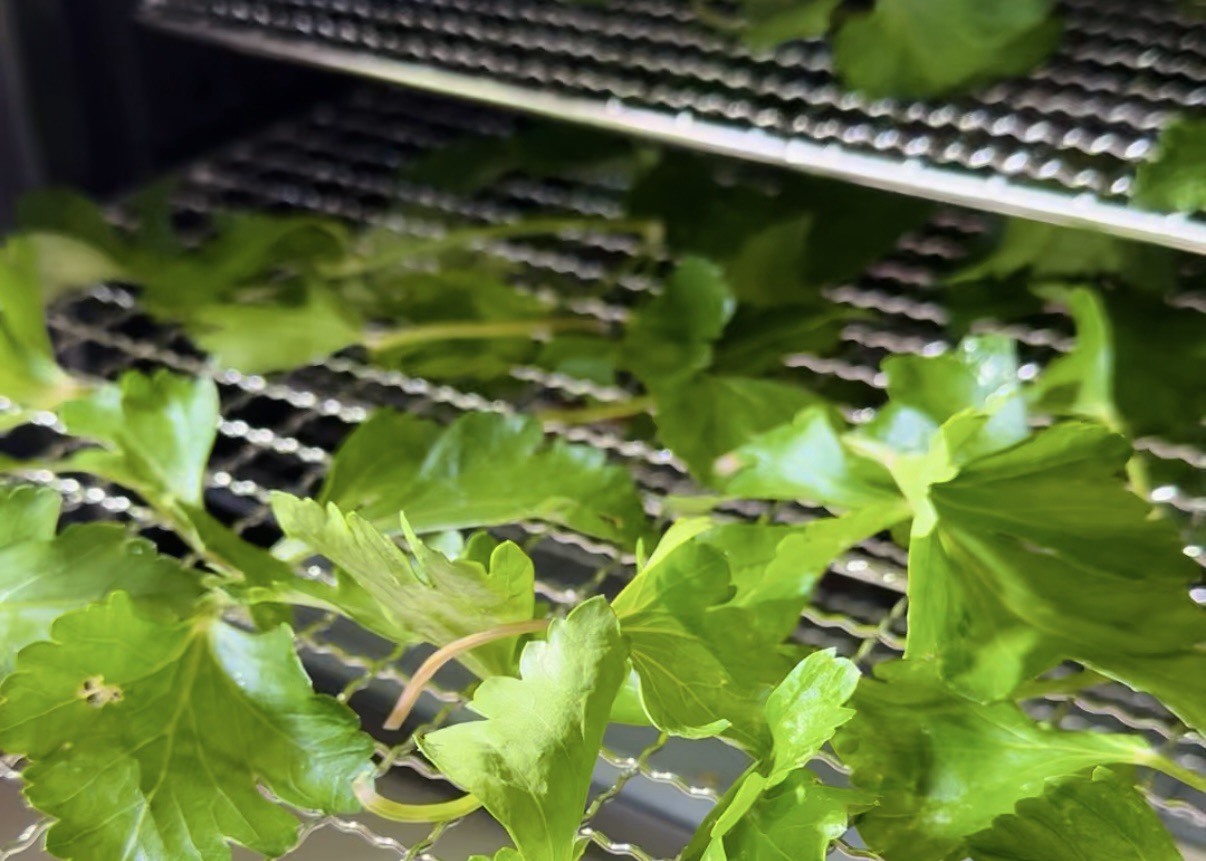
Fresh herbs are one of the easiest and most rewarding crops to grow, but they often produce more than we can use before they begin flowering.
Instead of letting those beautiful herbs go to waste, dehydrating allows you to preserve their flavor for months while taking up very little storage space.
Dried herbs are perfect for seasoning soups, stews, sauces, roasted vegetables, marinades, and countless everyday meals.
In my garden, dehydrating herbs is one of my favorite ways to preserve the harvest. It gives me a pantry full of homegrown seasonings that I can enjoy long after the growing season ends.
Here’s everything you need to know about dehydrating herbs at home.
Why Dehydrate Herbs?
Drying herbs is one of the oldest and easiest methods of food preservation.
Benefits include:
- Long shelf life
- Excellent flavor retention
- Pantry storage
- Saves freezer space
- Easy to use in cooking
- Great for homemade seasoning blends
- Helps reduce food waste
Once dried properly, herbs become lightweight, compact, and convenient to store.
Which Herbs Are Best for Dehydrating?
Most culinary herbs dry beautifully.
Excellent choices include:
- Basil
- Oregano
- Thyme
- Rosemary
- Sage
- Parsley
- Dill
- Chives
- Mint
- Lemon balm
- Tarragon
- Marjoram
Some herbs naturally retain more flavor than others after drying.
Woody herbs like rosemary, thyme, oregano, and sage are especially well suited for dehydration.
When to Harvest Herbs
Harvest herbs:
- Early in the morning
- After the dew has dried
- Before flowering whenever possible
This is when their essential oils—and therefore their flavor—are usually at their highest.
Choose healthy leaves without insect damage or disease.
Wash the Herbs
Before drying:
- Rinse gently under cool water.
- Remove dirt and insects.
- Shake off excess water.

If your herbs are clean from the garden and haven’t been exposed to dust or pests, some gardeners choose not to wash them. However, washing is generally a good practice if needed.
Dry the Surface Moisture
Excess water slows drying.
After washing:
- Pat herbs dry with clean towels.
- Use a salad spinner for leafy herbs.
- Allow them to air dry briefly before dehydrating.
Removing surface moisture helps the herbs dry more evenly.
Remove Thick Stems
Many herbs dry best after removing thick stems.
Examples:
- Strip parsley leaves.
- Remove basil leaves.
- Snip chives.
- Remove dill fronds.
- Separate oregano leaves.
Tender stems from herbs like parsley, cilantro, and dill can also be dried if desired.
Method 1: Using a Food Dehydrator
A food dehydrator is one of the easiest and most reliable ways to dry herbs.
Step 1
Arrange herbs in a single layer.
Avoid overcrowding.
Step 2
Set the dehydrator to a low temperature.
Most herbs dry best between 95°F and 115°F.
Higher temperatures may reduce flavor and aroma.
Step 3
Dry until the leaves become crisp.
Drying time varies depending on:
- Herb type
- Leaf thickness
- Humidity
- Dehydrator model
Most herbs dry within 2 to 8 hours.

Check them regularly near the end of the drying time.
Method 2: Air Drying Herbs
Air drying works especially well for herbs with lower moisture content.
Examples include:
- Rosemary
- Thyme
- Oregano
- Sage
To air dry:
- Gather small bundles.
- Tie the stems together.
- Hang upside down.
- Place in a warm, dry, well-ventilated location away from direct sunlight.
Air drying may take one to three weeks depending on humidity.
Method 3: Drying Herbs in the Oven
If you don’t own a dehydrator, a conventional oven can work.
Set the oven to its lowest possible temperature.
Spread herbs in a single layer on a baking sheet.
Leave the oven door slightly open if recommended by your oven manufacturer to allow moisture to escape.
Watch carefully to avoid overheating.
Because ovens often run hotter than dehydrators, herbs may lose some flavor if dried too quickly.
How Do You Know They’re Fully Dry?
Properly dried herbs should:
- Feel crisp
- Crumble easily
- Snap rather than bend
- Contain no soft or moist areas

If the leaves still feel flexible, continue drying.
Incomplete drying may lead to mold during storage.
Should You Dry Herbs Whole or Chopped?
Dry herbs as whole leaves whenever possible.
Whole leaves:
- Retain flavor longer
- Store better
- Lose fewer essential oils
Crumble or grind them only when you’re ready to cook or package them.
Whole Leaves vs. Ground Herbs
Keeping herbs whole offers several advantages.
Whole leaves:
- Stay fresher longer
- Lose flavor more slowly
- Store better
Ground herbs are convenient but expose more surface area to air, causing them to lose flavor faster.
For the longest storage life, crush herbs just before using them.
How to Store Dried Herbs
Store herbs in:
- Glass jars with tight-fitting lids
- Airtight containers
- Vacuum-sealed jars if available
Keep them in a:
- Cool location
- Dry location
- Dark cabinet
- Pantry away from heat
Avoid storing herbs near the stove where heat and steam can shorten their shelf life.
Label Every Jar
Always include:
- Herb name
- Date dried
Many dried herbs look surprisingly similar once stored.
Good labeling helps rotate older herbs first.
How Long Do Dried Herbs Last?
For the best flavor:
- Use within 1 year
They may remain safe much longer if stored properly, but their flavor gradually declines over time.
Replacing herbs annually provides the best culinary results.
Should You Refrigerate Dried Herbs?
No.
When stored in airtight containers, dried herbs keep best in a cool pantry or cabinet.
Refrigeration may introduce unwanted moisture.
Freezing vs. Drying Herbs
Both methods work well.
Freeze Herbs When:
- You want flavor closest to fresh.
- You’ll use them in cooked dishes.
- You have freezer space.
Dry Herbs When:
- You want pantry storage.
- You enjoy homemade seasoning blends.
- You have large harvests.
- You want to save freezer space.
Many gardeners use both methods depending on the herb.
Best Herbs for Drying
Oregano
One of the easiest herbs to dry.
Its flavor often becomes even more concentrated after dehydration.
Thyme
Excellent for drying because of its naturally low moisture content.
Rosemary
Dry whole sprigs before stripping off the needles.
Sage
Retains wonderful flavor when dried.
Basil
Although basil can be dried, freezing or making pesto often preserves more of its fresh flavor.
Parsley
Easy to dry and useful for soups, sauces, and seasoning blends.
Dill
Dry the leafy fronds for cooking and seasoning.
Chives
Snip into small pieces before drying.
Mint
Excellent for tea, desserts, and herbal blends.
Making Homemade Herb Blends
Once your herbs are dry, you can create your own seasoning mixes.
Ideas include:
- Italian seasoning
- Poultry seasoning
- Herb blends for roasted vegetables
- Soup seasoning
- Herb salt
- Tea blends
Homemade blends also make thoughtful gifts for fellow gardeners.
Common Drying Mistakes
Drying at Too High a Temperature
High heat reduces flavor and aroma.
Keep temperatures low.
Storing Before Completely Dry
Even a small amount of moisture may lead to mold.
Always confirm herbs are fully crisp.
Crushing Too Early
Whole leaves store better than crushed herbs.
Forgetting Labels
Label every jar immediately.
Storing in Sunlight
Light gradually reduces flavor and color.
Store herbs in dark cabinets whenever possible.
My Favorite Herbs to Dehydrate
Every season I dry a variety of herbs from my garden.
Some of the ones I preserve most often are:
- Oregano
- Thyme
- Rosemary
- Sage
- Parsley
- Dill
- Chives
These herbs become staples in my kitchen throughout the year.
There’s something incredibly satisfying about reaching into the pantry and seasoning dinner with herbs that were growing in the garden just a few months earlier.
Herb Drying Checklist
- Harvest before flowering.
- Pick in the morning.
- Wash if needed.
- Remove excess moisture.
- Dry at a low temperature.
- Confirm herbs are completely crisp.
- Store whole when possible.
- Use airtight containers.
- Label with the date.
- Store in a cool, dark location.
Final Thoughts
Dehydrating herbs is one of the simplest ways to preserve your garden harvest.
Whether you use a food dehydrator, air dry them, or use your oven, properly dried herbs provide months of fresh garden flavor without taking up valuable freezer space.
A few hours of preparation during the growing season can stock your pantry with homegrown seasonings that make everyday cooking even more enjoyable.
Frequently Asked Questions
What temperature should I dehydrate herbs?
Most herbs dry best between 95°F and 115°F. Lower temperatures help preserve their flavor, aroma, and color.
How long does it take to dry herbs?
Most herbs dry in 2 to 8 hours in a dehydrator, depending on the herb, humidity, and the thickness of the leaves.
Should I wash herbs before dehydrating?
Yes, if they’re dirty or have insects. Wash gently, then dry the surface moisture thoroughly before dehydrating.
Can I dry herbs in the oven?
Yes. Use the lowest oven temperature available and monitor them closely to prevent overheating.
How do I know when herbs are dry?
The leaves should crumble easily and snap instead of bending. Any remaining moisture can lead to mold during storage.
Should I grind herbs before storing them?
For the longest shelf life, store herbs as whole leaves and crush or grind them just before using them.
How long do dried herbs last?
For the best flavor, use dried herbs within one year, although they often remain safe longer if stored properly.
Related Articles
- How to Freeze Herbs Without Losing Flavor
- Freezing vs. Dehydrating: Which Is Better?
- How to Freeze Fresh Vegetables
- How to Dehydrate Tomatoes
- How to Dry Garlic Properly
- The Best Way to Store Fresh Herbs
- How to Preserve Ginger
- How to Preserve Turmeric
- How to Build a Pantry From Your Garden
- My Favorite Food Preservation Tools
This page contains affiliate links to my brand partners like Vego Garden, GreenStalk, Walmart & Amazon at no extra cost to you.
Your support helps me create free gardening content. Thank you!



Leave a Reply