
When people think of ginger, they often picture lush, humid tropical landscapes. But here’s the truth: you don’t need to live in the tropics to grow your own ginger. You just need the right approach—and good timing.
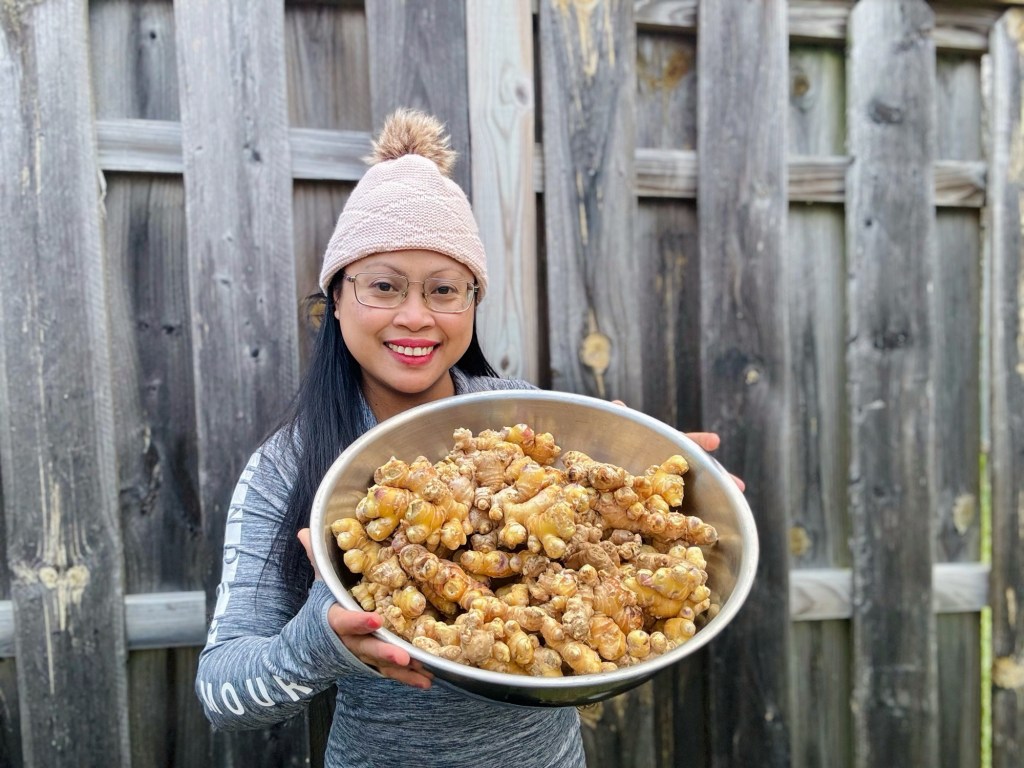
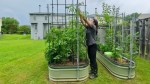
Ginger is one of my all-time favorite plants. There’s a reason it’s part of my brand name! I live in Maryland, where the growing season is short and winters are cold. But that hasn’t stopped me from harvesting plump, fragrant ginger rhizomes from my own backyard garden—and I want to help you do the same.
So whether you have a backyard, balcony, or just a sunny corner indoors, you can grow ginger in containers.
Why Grow Ginger?
Before we dig into the how-to, let’s talk about the why. Ginger is more than just a delicious spice—it’s a powerful plant with healing benefits:
- It reduces inflammation and supports joint health.
- It calms nausea and soothes digestive troubles.
- It boosts immunity and circulation. It adds bold, fresh flavor to meals and teas.
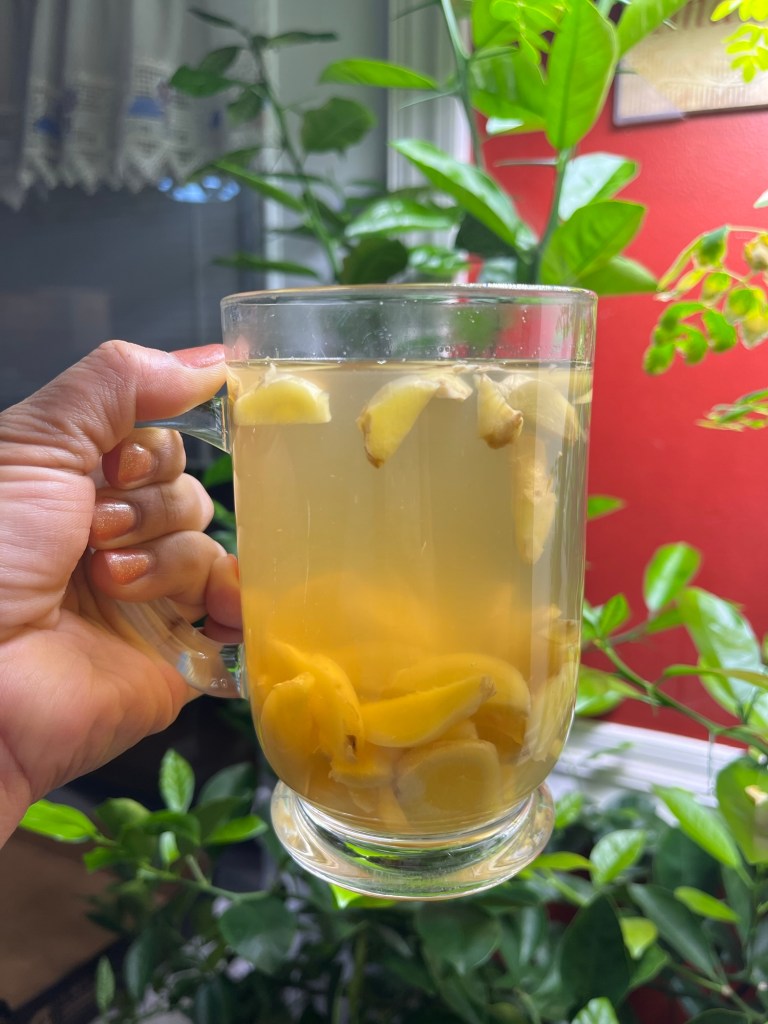
And best of all? Homegrown ginger tastes even better than store-bought. It’s fresher, more aromatic, and you’ll feel proud every time you use it in your kitchen.
My Ginger Growing Journey
When I first tried growing ginger, I didn’t expect much. I grabbed a few organic rhizomes from the grocery store, planted them in one-gallon containers, and placed them in the warmest, sunniest spot I could find. I started them in the middle of summer—not realizing that the timing was off for my growing zone. That year, I didn’t harvest a single piece. But I learned so much from that experience. I discovered what ginger really needs to thrive in a cold climate, and more importantly, I gained the confidence to try again. The following year, I put those lessons into practice—and ended up with a beautiful, abundant harvest.

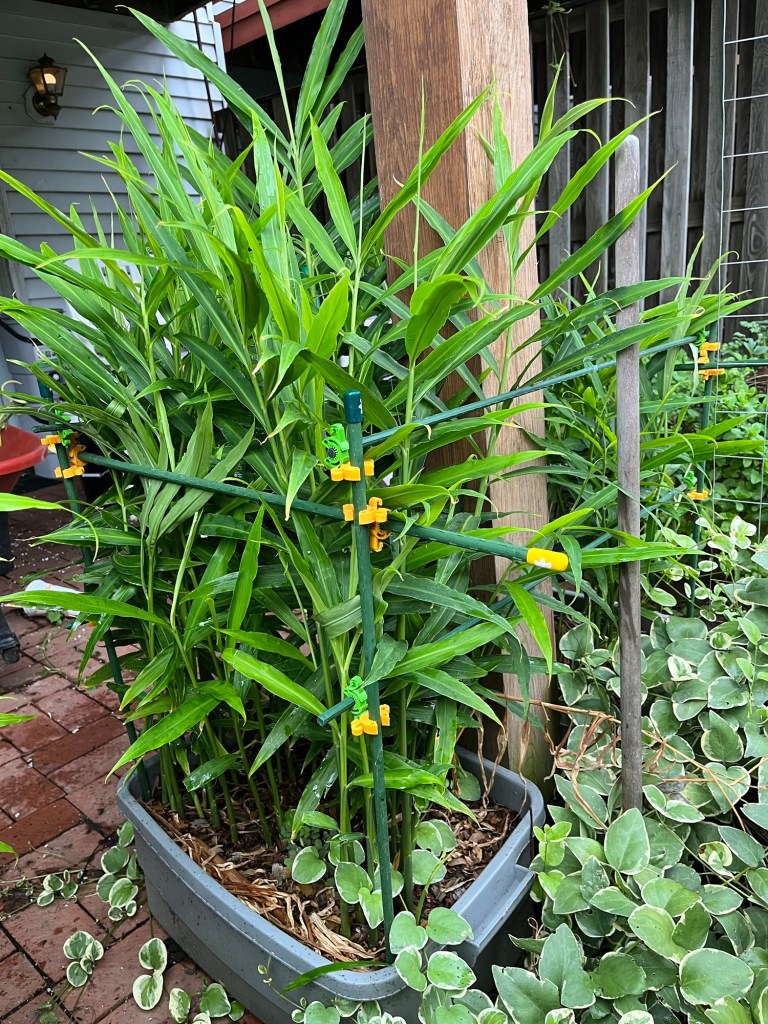
Now, I grow ginger every year in containers. I start early indoors and transition the plants outside once the weather warms up. It’s become one of my favorite slow-growing, high-reward crops. I hope it becomes one of yours too.
Step-by-Step: How to Grow Ginger in Containers (in Cold Climates)
1. Start With the Right Rhizomes
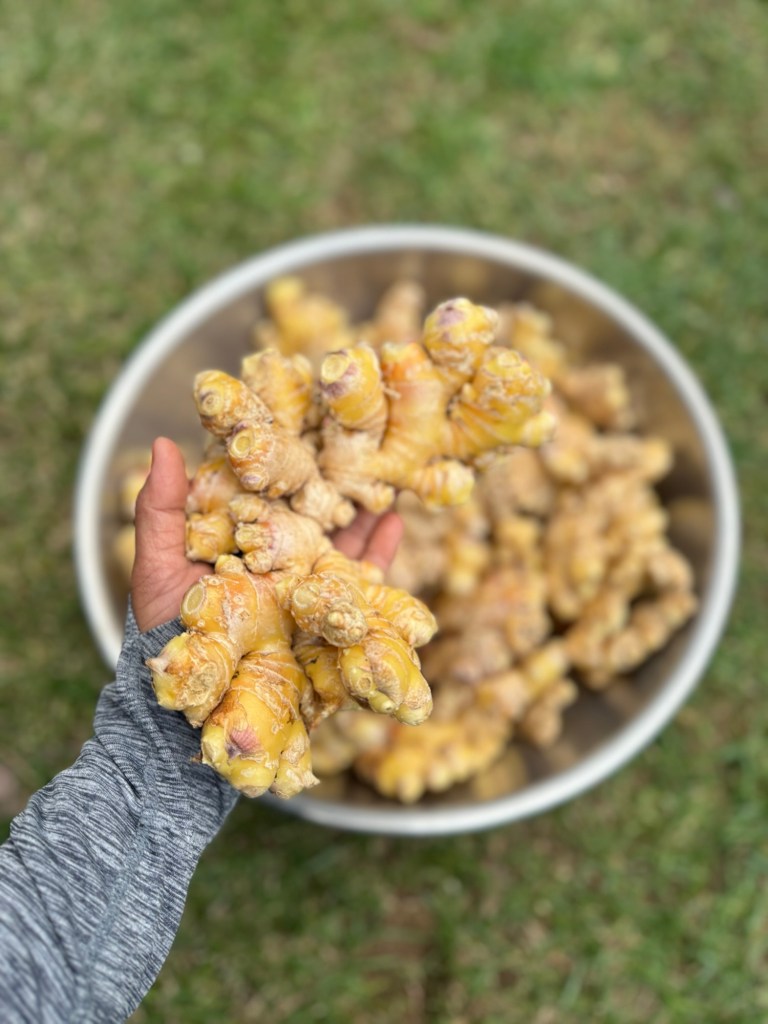
Look for plump, organic ginger with visible “eyes”—those are the growth buds. You can find good planting rhizomes at garden centers or even your local grocery store. Avoid any that are shriveled or moldy.
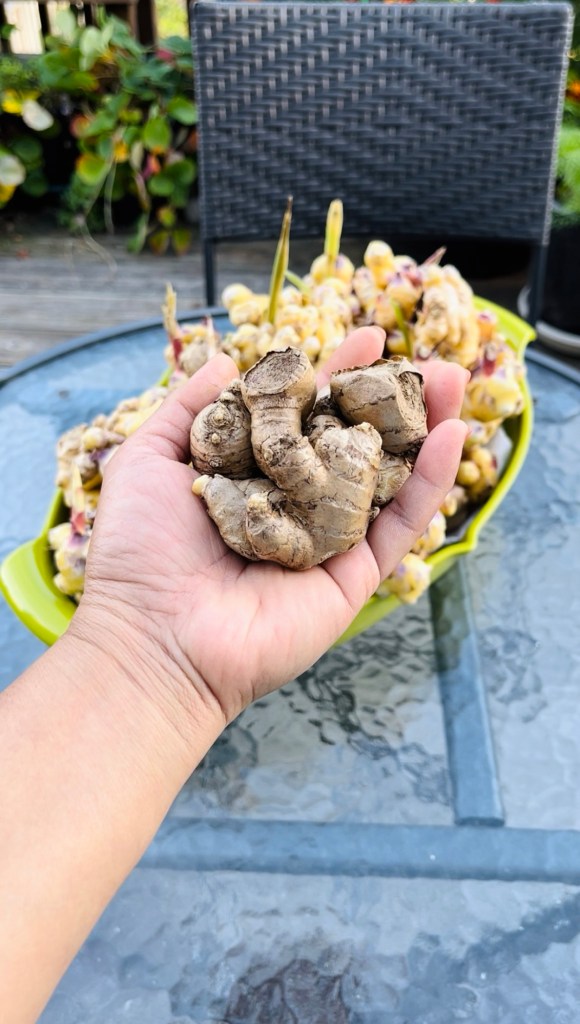
Pro tip: Cut large rhizomes into pieces with 1–2 eyes each. Let them dry for a day or two to callous over. This helps prevent rot when planting.
2. Use a Wide Container With Good Drainage
Ginger grows horizontally, not deep—so a wide container is key. I’ve used 5-gallon pots, dishpans, and even 10-gallon totes. Just make sure your container has drainage holes to prevent soggy soil.

Fill it with a rich, loose, well-draining mix:
- Potting soil
- Compost
- Perlite and/or vermiculite for aeration
- A handful of slow-release organic fertilizer (Balanced Fertilizer or Tomato Fertilizer)
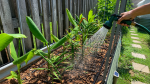
3. Plant Shallow and Keep It Humid
Plant each rhizome piece about 1–2 inches deep with the buds facing up. Water gently, then mulch with straw, shredded leaves, or wood shavings to keep in moisture.
If you’re starting ginger indoors during the cold season (like I do here in Maryland), here’s my setup:
- Use a 1/2 or 1-gallon pot to start
- Cover it with a humidity dome (I repurpose salad bowl lids or cake domes)
- Place it under a grow light or near a sunny window
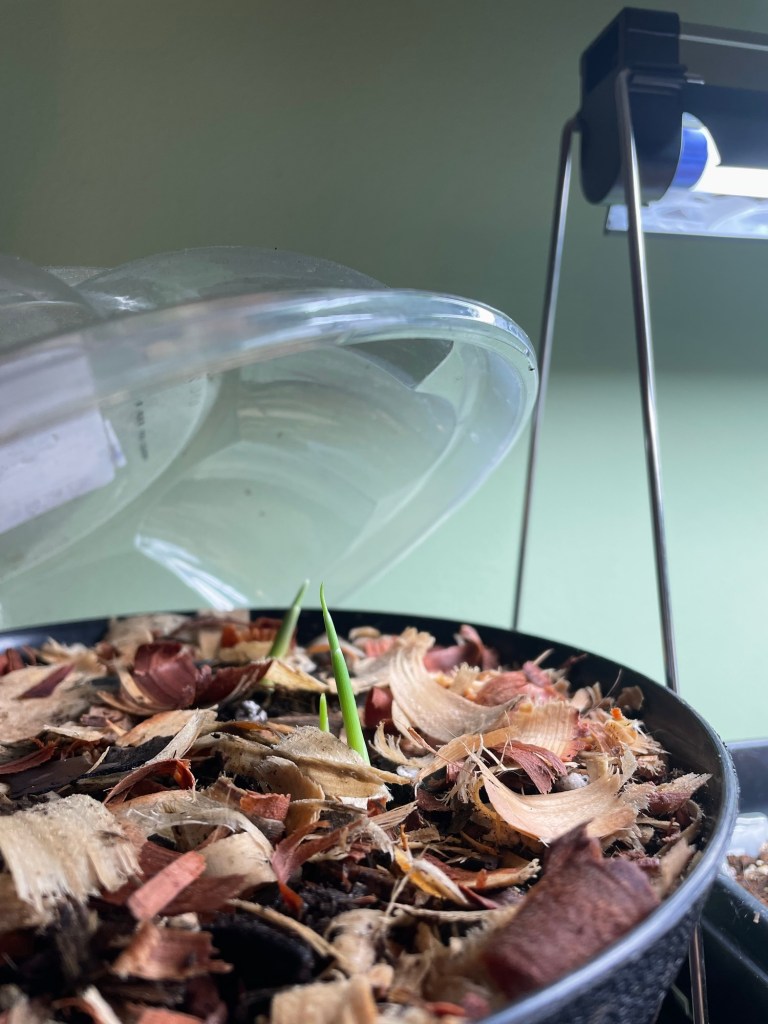
The key is warmth and humidity. Ginger won’t sprout if the soil is too cold—ideally, keep it above 70°F.
4. Care and Maintenance
Once your ginger has sprouted, it’s easy to care for:
- Light: Indirect sunlight for 4–6 hours a day
- Water: Keep the soil moist but not soggy
- Feed: Use a balanced liquid fertilizer once a month
- Humidity: Mist the leaves or place a water tray nearby if your home is dry
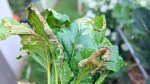
Spider mites may show up if it gets too dry, but misting regularly or increasing humidity usually keeps them away.
5. Transplant When It Warms Up
After your last frost date, harden off your ginger by gradually introducing it to outdoor conditions. Then transplant it into a larger container (like a tote or grow bag) so it has space to spread out.
Find a spot that gets morning sun and afternoon shade—ginger prefers bright but gentle light.
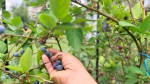
6. Harvest With Patience
Ginger takes time—about 8 to 10 months to fully mature. But you can start harvesting small pieces (“baby ginger”) around the 4–5 month mark.
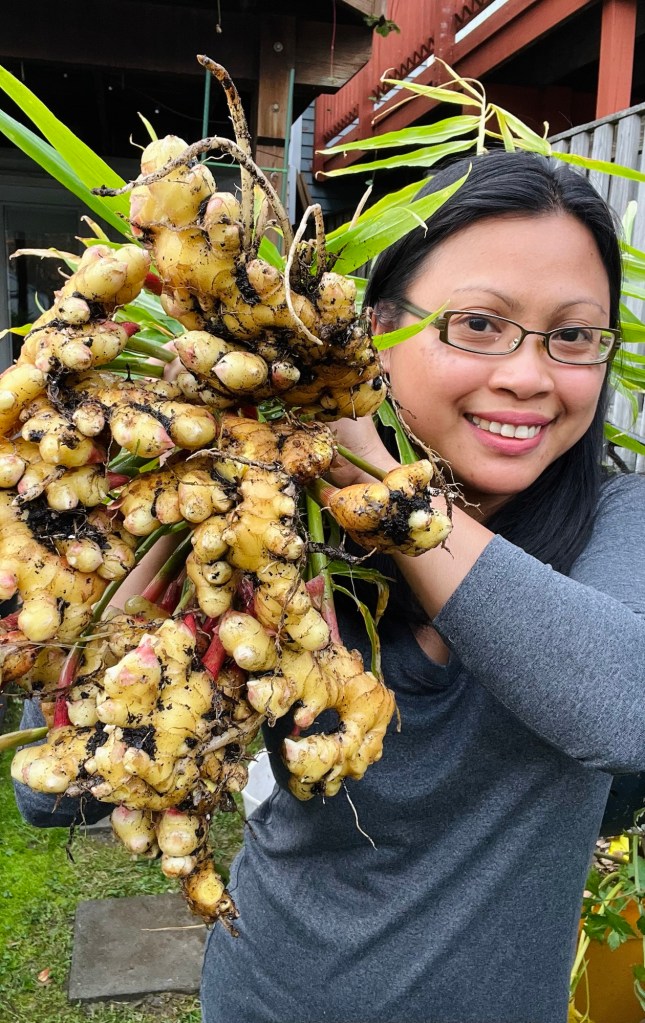
When the leaves start to yellow and die back, it’s time to harvest fully. Just tip the container over, break off the rhizomes, and rinse them clean. Let them air dry for a day or two before storing.
And don’t forget—save a few pieces to plant again next season!
Why Container Growing Is Perfect for Cold Climates
Container gardening gives you control—you can move your ginger around to find the best light, shelter it from storms, and bring it indoors when it gets cold. Plus, it’s perfect for:
- Small backyards
- Patios or balconies
- Indoor growing near a sunny window
- People who rent or move frequently
Growing ginger in a container is flexible, beautiful, and surprisingly rewarding.
Your Turn—Grow Your Own Ginger!
Ready to give ginger a try in your own container garden? Trust me, it’s worth it.
I’d love to hear from you! Have you tried growing ginger before? What questions do you have? Leave a comment below or send me a message—I’m always happy to help fellow gardeners grow with confidence.
Let’s grow something healing and delicious together.
Until next time,
🌱 Lannie


Leave a comment