
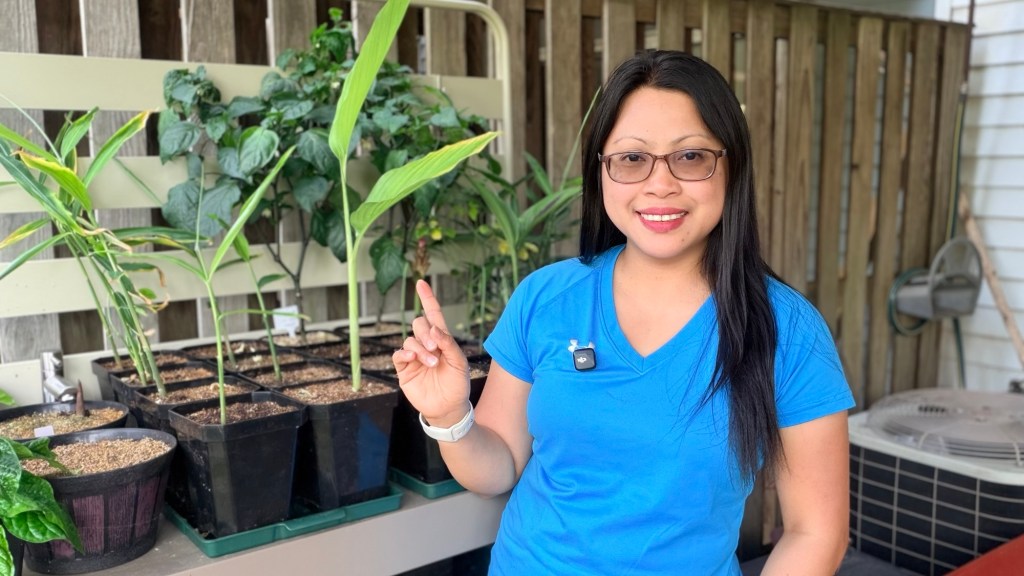
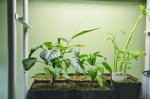
If you’ve ever brought your healthy seedlings outside—only to watch them wilt, scorch, or stall… you’ve likely skipped one crucial step:
Hardening off.
It sounds technical, but it’s simply the process of helping your indoor-grown plants adjust to the outdoors. And the good news? You don’t need a greenhouse to do it successfully.
In fact, there’s a simple method that works beautifully—especially for small-space gardeners.
Let’s walk through it step by step.
🌤️ What Is Hardening Off (and Why It Matters)?
Seedlings grown indoors are used to:
- Stable temperatures
- No wind
- Filtered or artificial light
When you suddenly move them outside, they face:
- Direct sunlight ☀️
- Wind 💨
- Temperature swings 🌡️
Without gradual exposure, plants can experience:
- Sunburn (bleached or crispy leaves)
- Wilting or shock
- Stunted growth
Hardening off helps your plants build strength so they can thrive—not just survive—once planted outdoors.
🪴 The Simple Method (No Greenhouse Needed)
You don’t need fancy equipment. Just a little consistency—and one simple setup.
✔️ Option 1: Gradual Outdoor Exposure (Classic Method)
This is the ideal method and works well if you’re home regularly.
Day 1–2:
- Place seedlings outside in shade for 1–2 hours
Day 3–4:
- Increase to 3–4 hours with some gentle morning sun
Day 5–7:
- Extend time outdoors and introduce more direct sunlight
Day 7–10:
- Leave them out most of the day (bring in at night if it’s cold)
After about a week to 10 days, your plants should be ready to stay outside full-time.
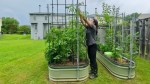
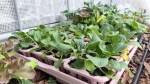
✔️ Option 2: The Clear Tote “Mini Greenhouse” Method (Beginner-Friendly)
If bringing plants in and out daily feels like too much, this method is a game-changer.
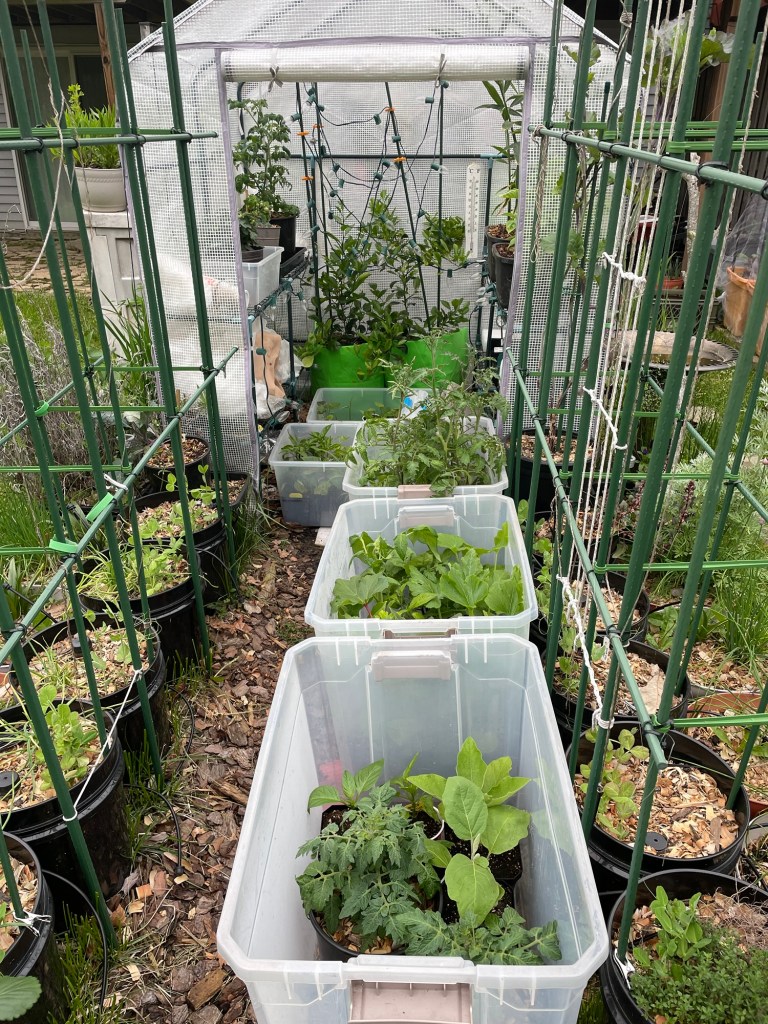
What you need:
- A clear storage tote (or more)
How it works:
- Place your seedlings outside
- Cover them with a clear tote (like a mini greenhouse)
For taller plants:
- Stack two totes facing each other to create more height
Look for clear storage totes with clear lids—those work best. If you don’t have one, a clean bin will still work; you’ll just need to flip it upside down to use as a cover.

This setup helps protect your plants while gradually exposing them to outdoor conditions. Most “clear” totes are slightly opaque, which actually makes them ideal for easing seedlings into sunlight without overwhelming them.
It’s especially helpful here in Maryland, where the weather can be unpredictable. On cooler (but not freezing), cloudy, or rainy days, I keep the tote fully closed to give the plants a bit more protection.
🌡️ Important Tips for the Tote Method
This method works really well—but there are a few key things to keep in mind:
☀️ Ventilation is essential
Heat can build up quickly inside the tote.
- Slightly lift one side using a small object
- Or slide the top tote to create a gap
- This allows airflow and prevents overheating
🌙 Watch nighttime temperatures
- Safe around 45–50°F for hardy plants
- Bring inside if there’s a frost warning
🌦️ Adjust daily based on weather
- Sunny days = more ventilation
- Rainy, Chilly & Windy days = keep them more protected
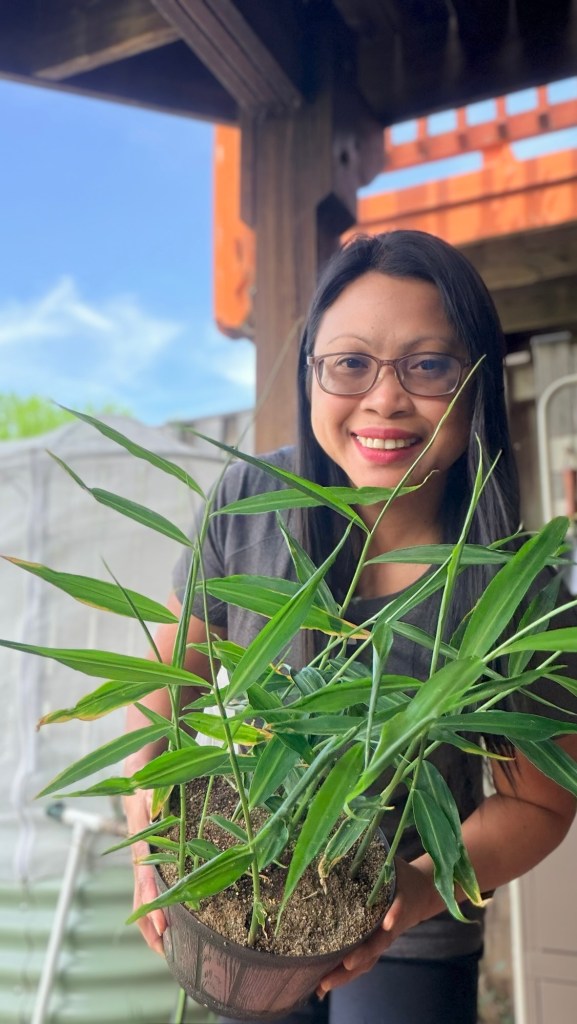
🌿 Signs Your Seedlings Are Ready
After hardening off, your plants should:
- Look sturdy and upright
- Have thicker stems
- Show no signs of stress when left outside
At this point, they’re ready for transplanting into your garden, raised beds, or containers.
⚠️ Common Mistakes to Avoid
Even with a simple method, a few missteps can slow you down:
- ❌ Putting seedlings in full sun too soon
- ❌ Skipping the process entirely
- ❌ Forgetting to water (they dry out faster outdoors!)
- ❌ Leaving totes fully closed on hot days
Remember—this process is about gradual exposure, not rushing.
🌼 Perfect for Small-Space Gardeners
If you’re gardening on a patio, balcony, or small backyard, this method is especially helpful.
- No greenhouse needed
- Easy to manage in tight spaces
- Works with containers, trays, or vertical setups
It’s a simple, practical solution that fits right into real life.
🌱 Final Thoughts
Hardening off might feel like an extra step—but it’s one of the most important things you can do for your plants.
And it doesn’t have to be complicated.
With something as simple as a clear tote and a little attention each day, you can set your seedlings up for success—and avoid the frustration of plant shock.
Take your time, observe your plants, and adjust as needed.
You’ve already done the hard work growing them from seed—this is just helping them take the next step.
💬 Let’s Grow Together
Do you harden off your seedlings—or have you struggled with transplant shock before?
Share your experience in the comments—I’d love to hear what’s worked for you!


Leave a comment