
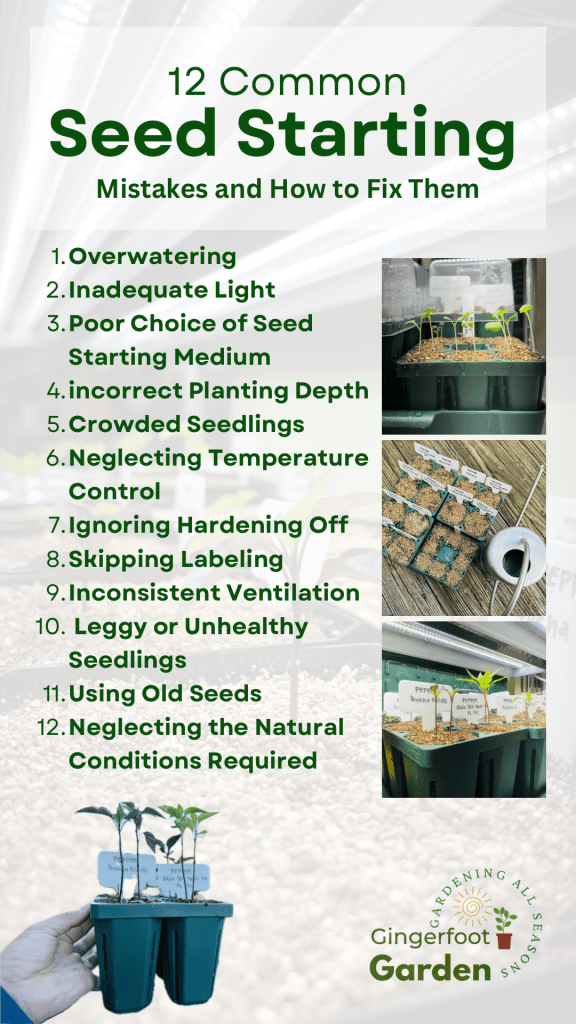
Starting seeds is an exciting venture for many gardeners, but it comes with some challenges as well. As you embark on this journey, it’s important to be aware of common seed starting mistakes to ensure a successful and thriving garden. In this blog post, we’ll explore these missteps and provide practical solutions to help you navigate through the process of nurturing seeds into healthy plants.
1. Overwatering
One of the most common mistakes in seed starting is overwatering. While it’s natural to want to ensure your seeds have enough moisture, drowning them can lead to root rot and other issues. Instead, opt for a well-draining seed-starting mix and water sparingly. Allow the top layer of soil to dry out between watering to promote healthier root development.
A quick test to see if the seedlings need watering is by lifting the seedlings tray or pot. You’ll have to familiarize yourself with the usual weight of the trays when it’s moist and doesn’t need more water or when it’s drier and needs to be watered. The color of the soil is also a tell-tale that the seedling may or may not need to be watered. A darker soil mix indicates that it’s moist and it’s usually a lighter brown color when it’s dry.
When the seedlings are lighter in weight and color it’s good to water them again. Allowing them to dry a little allows the roots to explore deeper and develop healthier. Having said that though, remember to pay attention to the seedlings so that it doesn’t become bone dry and damage the seedlings. It’s all about balance!
2. Inadequate Light
Insufficient light is another common mistake for beginners. Seedlings need an ample amount of light to grow strong and sturdy and prevent leggy or lanky seedlings. For those of us who live in cold climates and start our seeds indoors, invest in fluorescent or LED grow lights to provide consistent and adequate light for your seedlings. Shop lights with 5000 Lumens and 5000K will be a good alternative to the commercially sold grow lights, which is what I prefer using for seed starting.
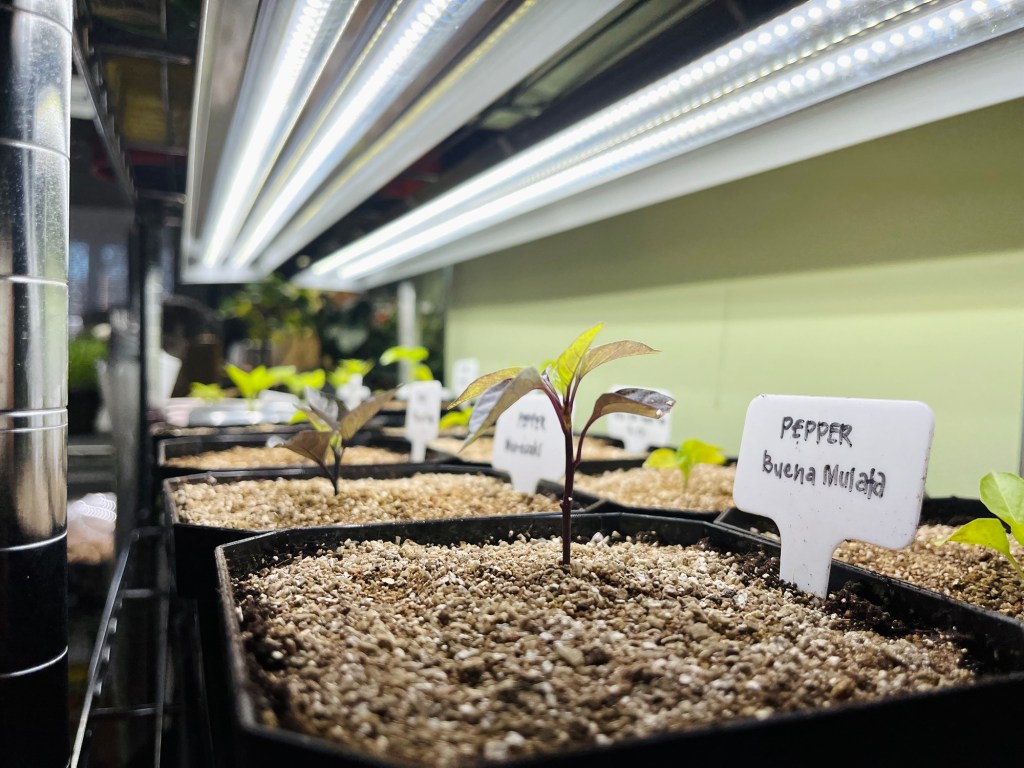
The distance between the light and the seedlings is another thing to consider when placing the seedlings under the light. Place the light closer to the seedlings to prevent them from stretching to get enough light. A 2-3 inches distance between the seedlings and the light source is good but make sure to pay attention to their growth process to prevent burning them with the heat being produced by the artificial lights. Adjust the height of the light source according to the needs of the plants.
3. Poor Choice of Seed Starting Medium
Choosing the right seed starting medium is paramount for successful seed starting. Using regular garden soil can lead to compaction and hinder seedling growth. Opt for a sterile seed-starting mix that promotes good aeration and drainage. This helps prevent diseases and provides an ideal environment for seed germination.
Read more about different options for seed starting mediums here.
4. Incorrect Planting Depth
Each seed type has a recommended planting depth, and not following those guidelines can impact germination. Some seeds are to be sown at a depth twice the size of the seed but it doesn’t apply to all seeds. Some seeds like celery need light to germinate so it’s best to sow them on top of the soil. Read seed packets carefully and plant seeds at the specified depth. Planting too deep can delay germination, while planting too shallow may expose seeds to unfavorable conditions.
5. Crowded Seedlings
It’s easy to underestimate the space seedlings need. Crowded seedlings can lead to competition for resources, stunted growth, and increased susceptibility to diseases. Thin out seedlings as they grow and separate the seedlings, to give each plant enough space to thrive. This will result in healthier, more robust plants.
Multi-sowing seedlings can be a good way to start seeds but eventually they will have to be separated or planted in their own permanent space to give them more room to grow.
6. Neglecting Temperature Control
Temperature plays a crucial role in seed germination. Different plants have specific temperature requirements to begin the sprouting process and for optimal growth. The ideal temperature for most seeds to start sprouting is between 68 to 86 degrees Fahrenheit. Having that in mind, the average 75-77 degrees Fahrenheit is a good temperature to maintain in your seed starting room.
Using heat mats or adjusting the room temperature can help create the ideal conditions for germination. Window sills are likely to have cold drafts and if this is your seed starting station, using a heat mat may be beneficial. However, most artificial lights for seed starting can also produce heat and often time enough to aid in germination. If needed, invest in a reliable thermometer to monitor the temperature in your seed-starting area.
7. Ignoring Hardening Off
Transitioning seedlings from the controlled environment indoors to the unpredictable outdoor conditions is a step often overlooked. Gradually expose your seedlings to outdoor elements in a process known as hardening off. Start with short periods outdoors, gradually increasing the time over a week or two. This helps acclimate seedlings to the change and prevents shock.
Start by giving your seedlings an hour of indirect sunlight on the first day, preferably in the morning or during the sunset in a shaded area. On the second day, expose them to 1-2 hours of partly shaded sunlight. Increase sunlight to 2-4 hours on the third day before bringing them indoors. On the fourth day, let your seedlings bask in 5-6 hours of sunlight. Starting from the fifth day, see if they can handle a full day of sunlight. If you notice drooping after 7-8 hours, bring them inside for protection.
Remember, though it might seem like a hassle, this process can help the seedling to be ready for the unpredictable and harsh weather conditions outdoors, allowing them to thrive and become more productive. Set a reminder on your phone for a smoother routine.

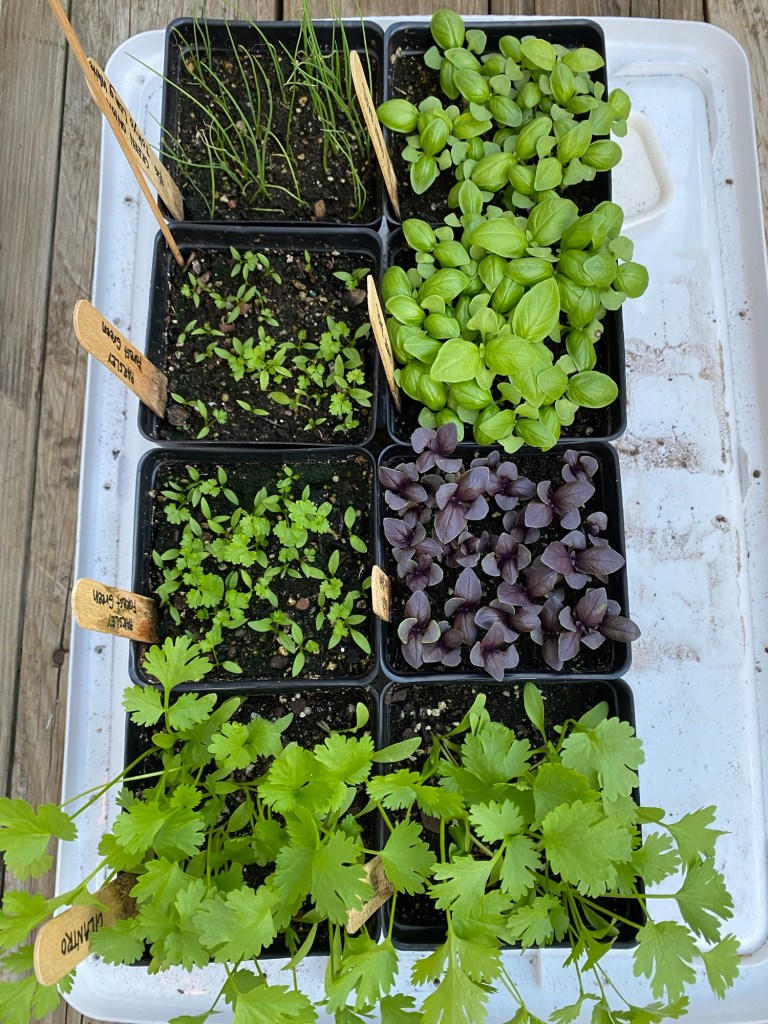
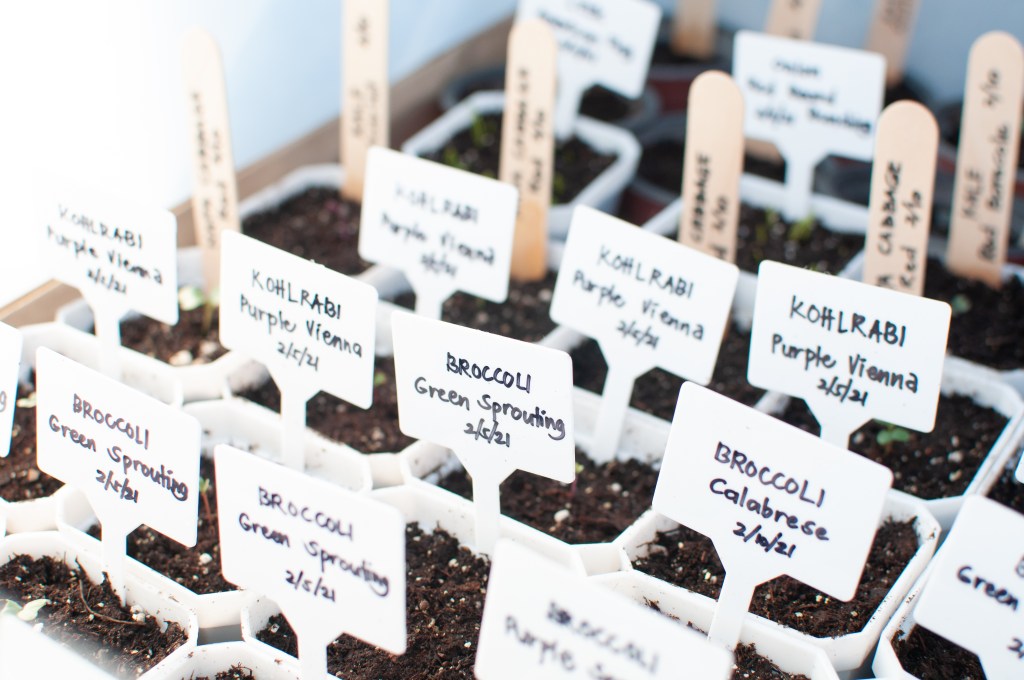
8. Skipping Labeling
Forgetting to label your seeds might seem like a minor oversight, but it can lead to confusion and frustration later on. Keep track of what you’ve planted by labeling each tray or container. This ensures you know what you’re growing and helps you plan for proper care, transplanting, and seed saving.
One of my gardening practices is to make sure I label the seedlings, I create the labels first before I begin the process of sowing the seeds. It helps me keep things organized, streamlines my process of seed starting, it prevents me from forgetting to label the plants.
9. Inconsistent Ventilation
Proper airflow is often underestimated in the seed-starting process. Lack of ventilation can lead to issues like damping-off syndrome, a fungal disease affecting seedlings. Using a dome to help the seed sprout is a great technique but remember to remove it once they germinate. Once the majority of seeds (about 70%) sprouts I remove the dome and use a small fan to create gentle air movement to reduce the risk of fungal problems and promote stronger stems.
10. Leggy or unhealthy Seedlings
Leggy or lanky seedlings are often caused by either inadequate lighting or too much heat. It’s very common for seedlings to try to stretch toward light if there’s a lack of it. I’ve seen this in a lot of seedlings that are started by the window sill and only rely on natural lights. This is why I strongly encourage investing in a good artificial light (5000K Lumen and 5000K) if you’re going to venture into seed starting and make it worthwhile.

Another thing that may be causing the seeds to become leggy is temperature. While heat-loving plants can benefit from the heat, cold-season plants will become leggy and unhealthy when kept in high temperatures. Remove or unplug your heat mat and remove the dome once they sprouted.
Lanky seedlings are weak and unhealthy. To develop strong, short, and stocky seedlings, provide them with adequate light and pay attention to what the plant needs. One way to fix a leggy seedling is by covering the leggy stem with soil. This will support the top weight of the seedlings and can encourage more roots to grow. For brassicas like bok choy and cabbages, I cover them up to the lower cotyledon leaves. For tomatoes, removing some of the lower leaves and covering the stem can help develop more roots that can support the growth and allow them to extract more nutrients from the soil.
11. Using Old Seeds
Another factor to consider is seed viability. Seeds diminish their viability over time, and using old seeds can result in poor germination rates. Check the date on seed packets and prioritize using fresh seeds. Most seeds have a high germination rate no matter how old they are, while some seeds, like onions, tend to lose viability very quickly. If you have old seeds, conduct a germination test by placing a few seeds in a damp paper towel to see if they sprout before committing your entire batch. Also if you bought seeds of plants that quickly diminish their viability, I recommend using them right away instead of saving the seeds.
12. Neglecting the Natural Condition Required
Most seeds only require moisture and proper temperature for them to begin sprouting. Some seeds, however, require a technique called Seed Stratification.
Stratification is a method to prepare seeds by mimicking the winter conditions they’d encounter in the soil. This pre-treatment helps seeds awaken from dormancy and kickstart the germination process. It’s commonly used when growing seeds in greenhouses or deviating from their natural germination cycle. Seeds sown directly outdoors in the fall skip this step, as they naturally experience the required conditions. A good example of seeds that require this process are strawberries and pansies.
In conclusion, successful seed starting is a delicate dance that requires attention to detail and a bit of patience. By avoiding these common mistakes and implementing the suggested solutions, you’ll set the stage for a bountiful and thriving garden. Remember, every misstep is an opportunity to learn and improve your gardening skills. Happy planting!


Leave a comment