
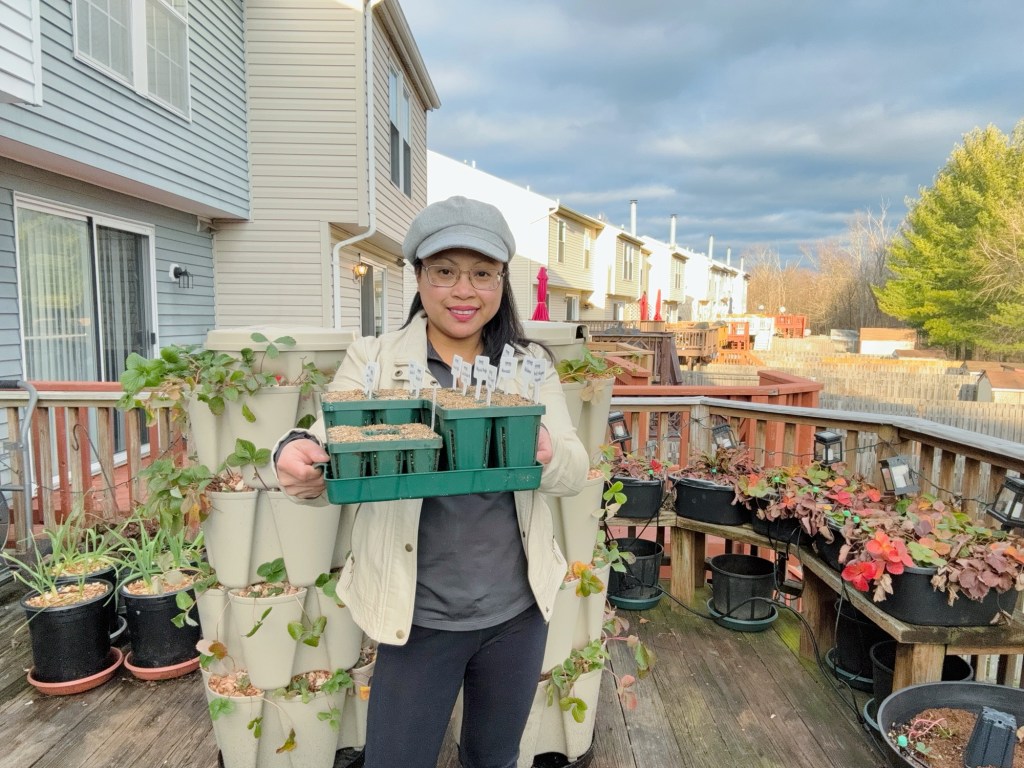
Growing food from seed is one of the most fascinating experiences a gardener could have. It never ceases to amazing me when I think of how such a small seed is able to carry a complex DNA information and turn into a big plant. Think of seeds as a small compact life form at a dormant stage. Once the condition becomes right, they will sprout and give you food to enjoy and get nourishment from.
Why should you grow plants from seeds?
- Cost Effective. If you live by frugal gardening practices, seed starting will be the best way to start your garden. If you buy seedlings from the store, you will windup paying more for each seedling plugs that you will get. One seed packet will cost about the same amount for one seedling from the nursery, if not more.
- Wider Selection of Varieties. The seedlings that you can get from nurseries are limited but if you want to try unique varieties seed starting will be a way to go.
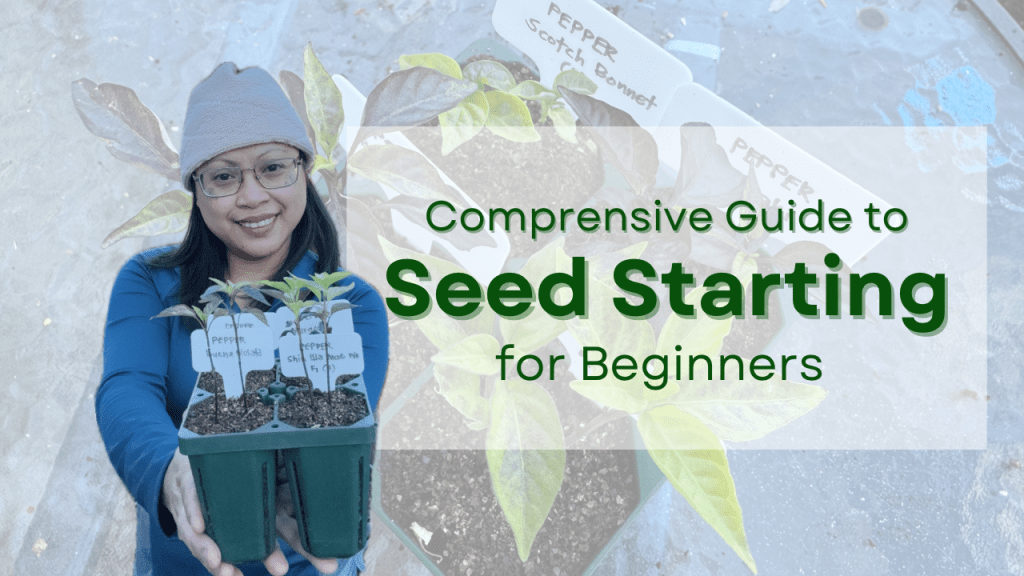
What you need to seed start?
To seed start, these are the basic materials that you need to gather:
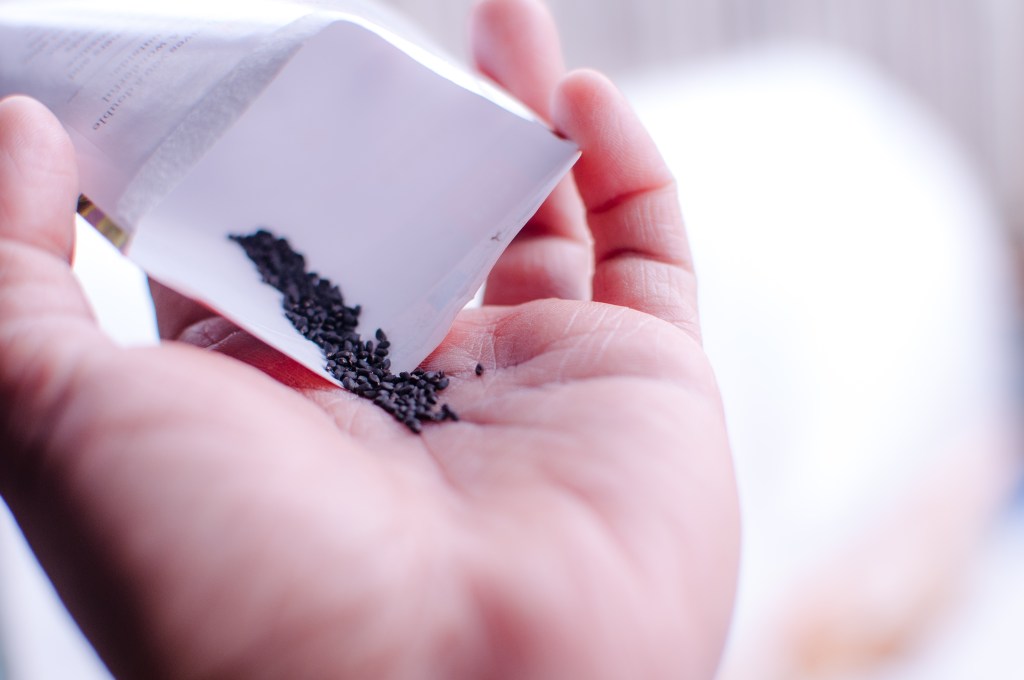
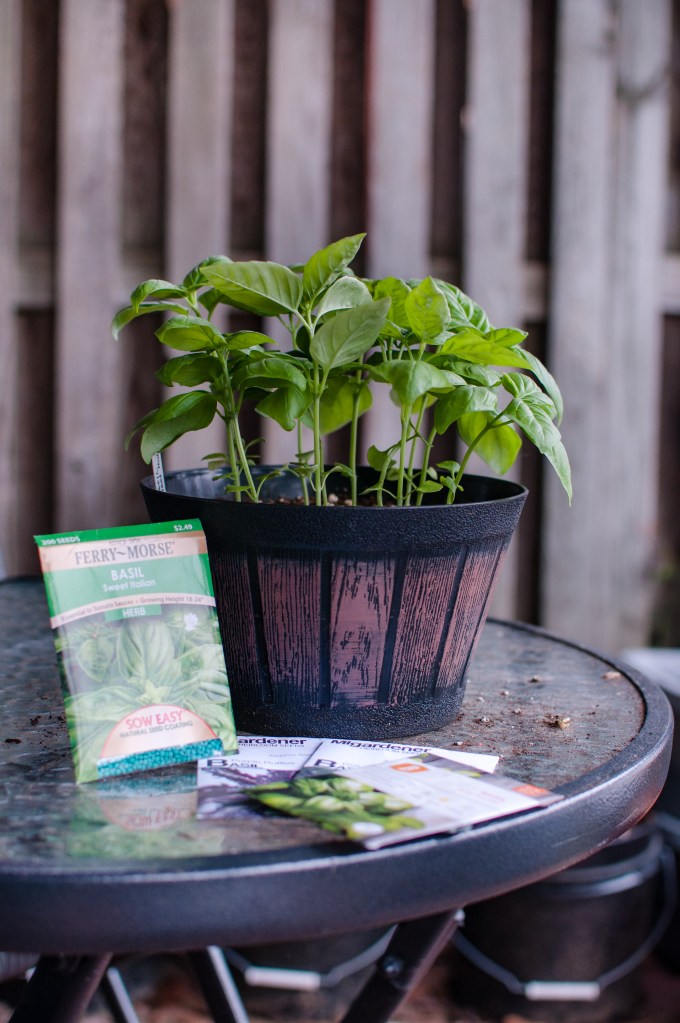
1. Seeds. Identify the plants and the amount of seeds you need after you have carefully planned and mapped out your garden. Grab the seeds from your organizer and select those that are aligned with your garden goals. Opt for varieties suited to your growing zone and currently in season for optimal results.
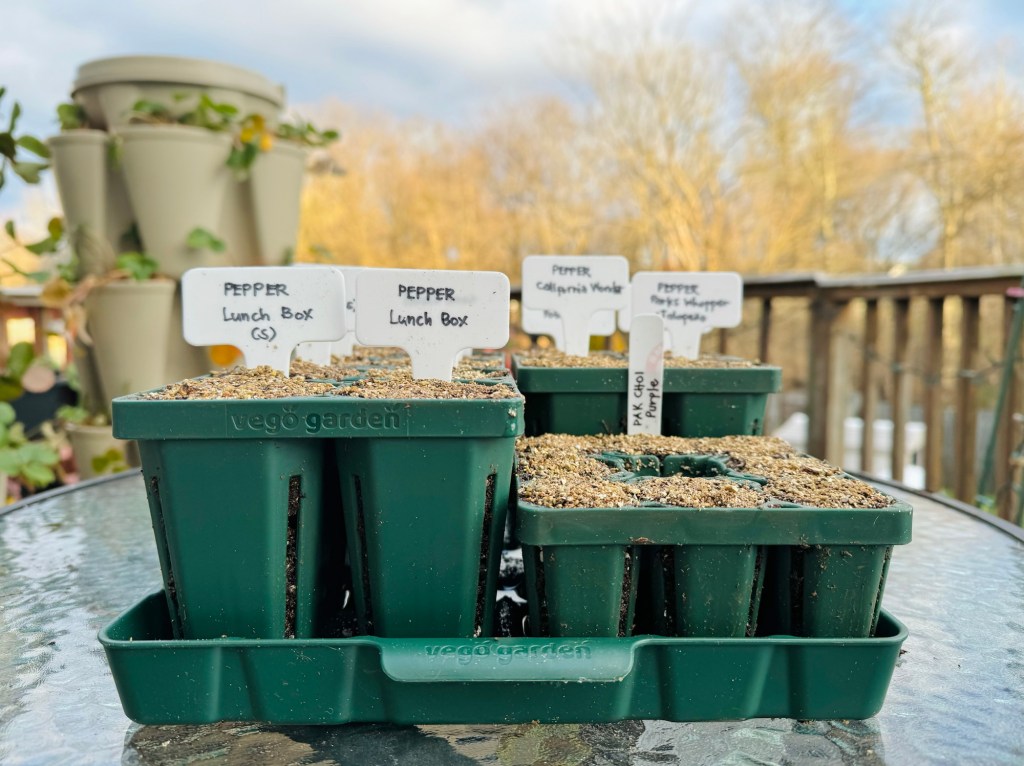
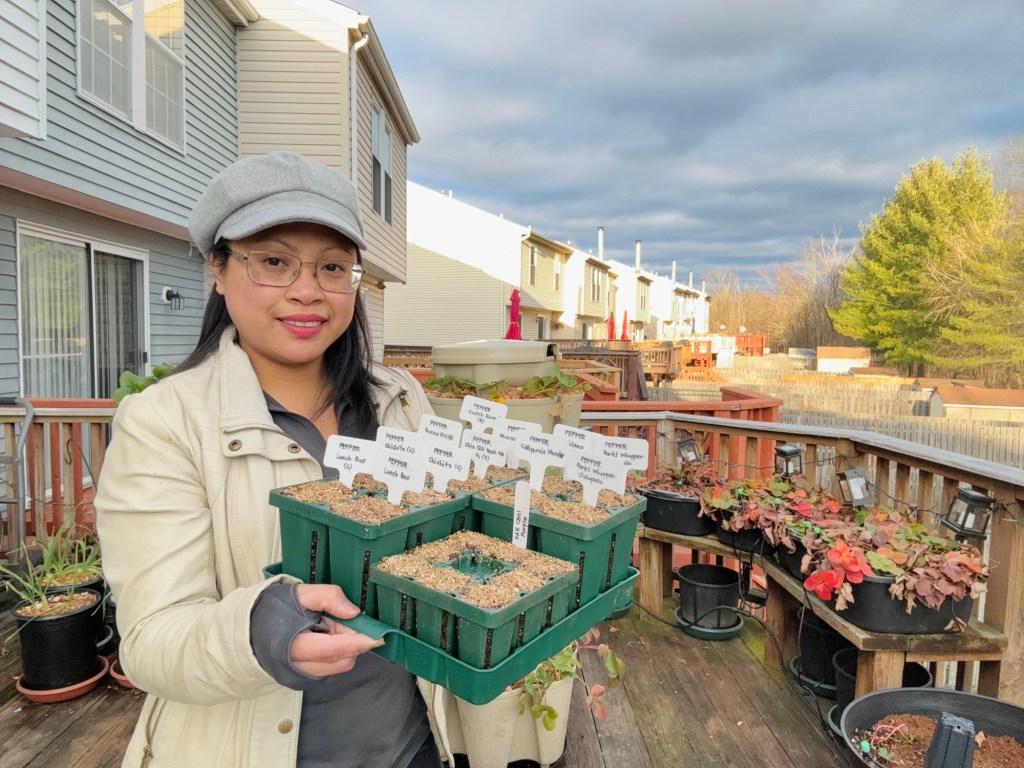
2. Seed starting cell trays. These are seedling containers, usually made of plastic, offer an organized, space saving and controlled environment for optimal seed germination. The quantity depending on the number of seeds you intend to sow indoors.

Remember to use clean seed starting trays to prevent contamination and fungal problems. Choose the right size based on the plant size to avoid early repotting. For larger plants like tomatoes, peppers, okra, and zucchini, select bigger trays.
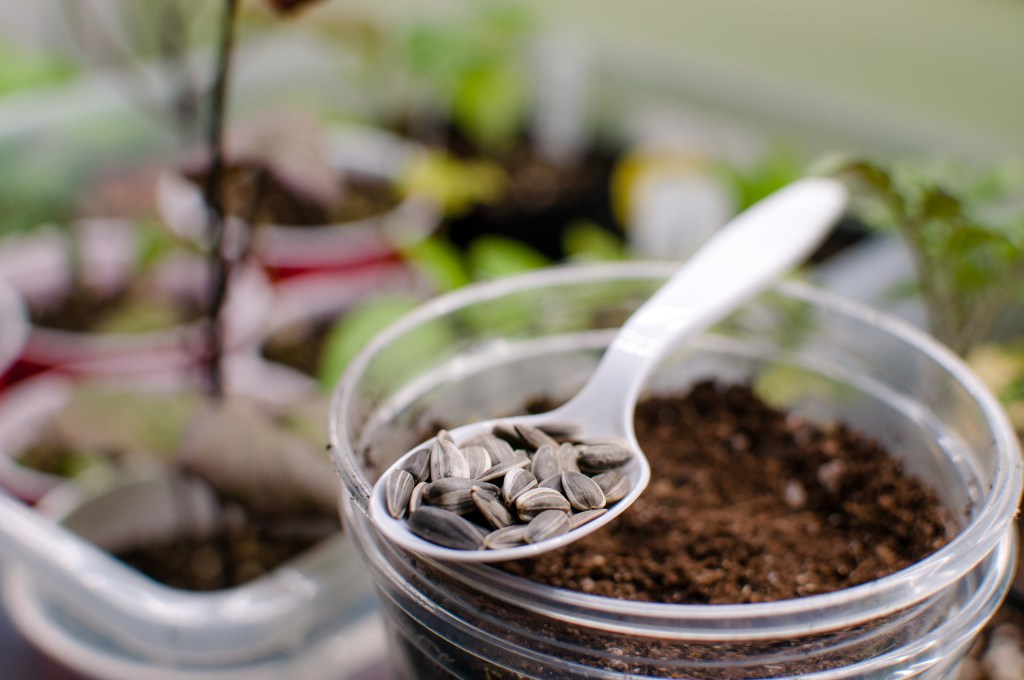
3. Seed starting mix. Use a blend specifically made for seedlings to give seeds the optimal chance to sprout and for the young roots to develop well. Seed starting mix are different from potting mix so make sure to use what’s appropriate for the seeds. Moisten the seed starting mix before sowing seeds to ensure that it is evenly moist and to avoid sporadic germination.
Aside from using seed starting mix, there are other options you can use to begin the sprouting process. Choose whichever is the most comfortable and easy for you to handle. Below are the options I have tried so far but feel free to explore other options:
- Peat pellets are the compressed seed starting medium made of mainly peat moss. You will have to soak them in warm water and wait for them to expand and become loose and wet. Once they expend, you can drop the seeds and cover it lightly.
- Parkseed’s Biosponge is an innovative way to seed start without using soil. It uses a biodegradable sponge-like-material that wicks moisture from the bottom and encourages a strong root system. Drop the seeds from the pre-dibbled holes and wait for them to germinate.
- Paper towel method is another seed starting option that you can try. You place the seeds on a wet paper towel, fold it and place it in a resealable bag or container to lock the moisture in. Once the seeds sprout, pot them individually. This method is really good if you are doubting the viability of your seeds. It’s a good preliminary step to take if you want to have a full tray of seedlings and prevent a waste of space
- You can make your own seed starting mix if you are quite adventurous. Mine is 50% compost + 40% coco coir + 5% perlite + 5% vermiculite. Strain the big chunks of material to get a fine mixture. Use it like how you would use a store-bought seed starting mix.
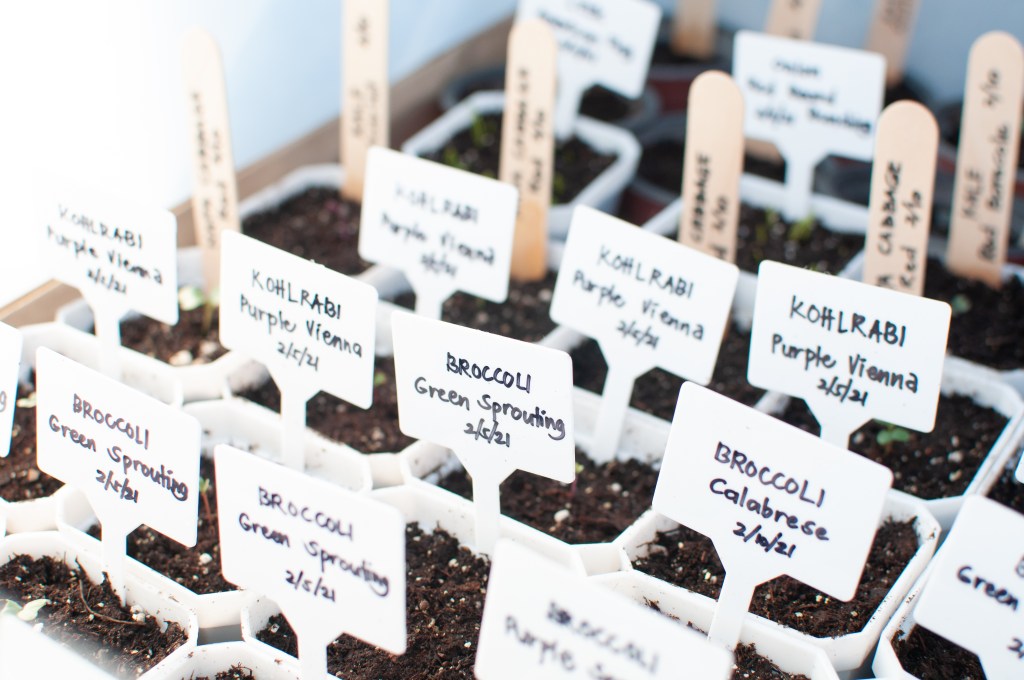
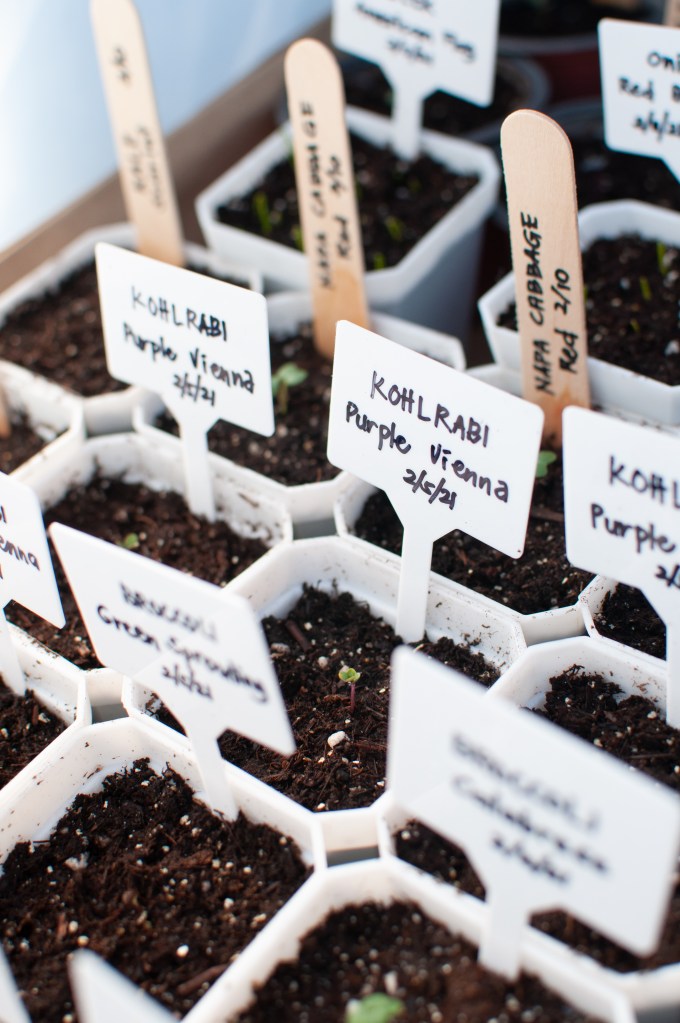
4. Labels to identify the seedlings. I like using permanent markers or anything waterproof and/or UV resistant to write the name and variety of the plant. It’s also good include the date and other data that will be helpful when it’s time to transplant them. Don’t skip this part because, believe me, you will never remember.
5. Watering can or a spray bottle. Water the seedlings right after sowing to help break the seed coating and begin the process of germination.
6. Humidity Domes. These are containers, often clear plastic, placed on top of the seed starting trays or cell. They trap humidity to help maintain the moisture level and provide an ideal environment for the seeds to germinate successfully. Once the seeds germinate, they should be removed to prevent excessive moisture and humidity.
7. Light Source
Light is one of the basic needs of plants. The lack of it can cause a lot of problems for seedlings. Since seed starting is done indoors and there is no presense of natural light, artificial lights are required.
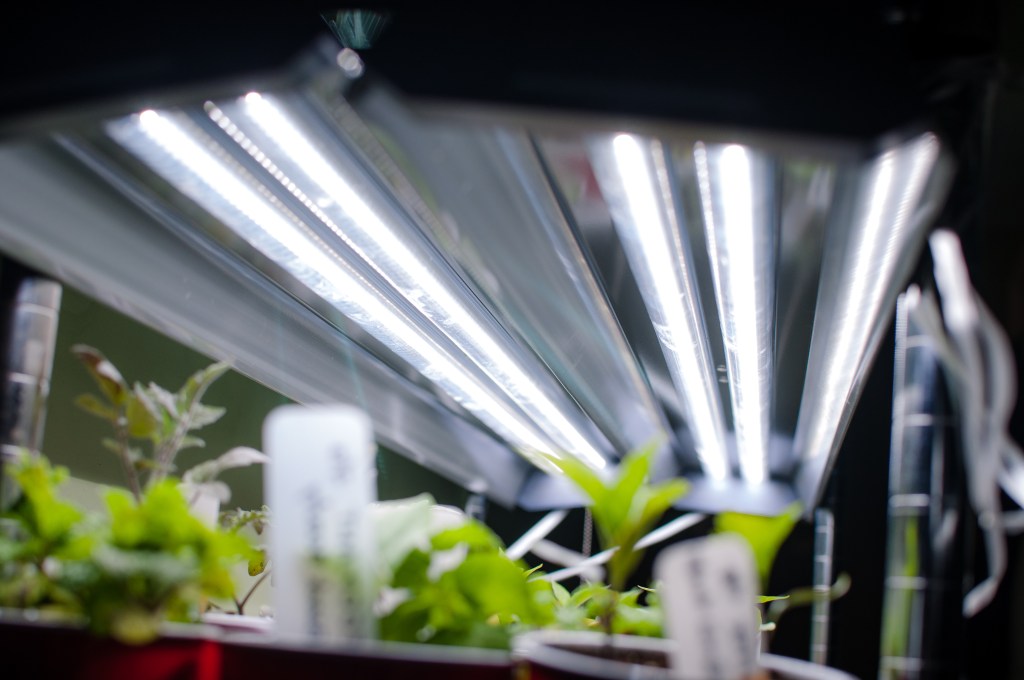
- Grow lights are the typical lights designed for growing indoors and seed starting. Nowadays, you have a wide amount of choices, which can either be T5 or LED. It comes in full spectrum or a basic white light.
- LED shop light is one of my favorite alternatives to grow light because it’s usually more affordable than most grow lights and the intensity is enough for growing seedlings. If you choose to get this just remember that it has to have at least 5000 lumens (intensity) and 5000 Kelvin (temperate) to qualify as a good grow light source
- South Facing Window + Reflector. If you don’t have any of those artificial light sources, your south facing window could be a good place to start. The only issue with it is that the seed may start become leggy and bend towards the light source. To combat that you can provide a reflector to even out the light coming outdoors. You can do it by using foil or a reflective sheet that can bounce back light to the back side of the window. You could also rotate the seedling through out the day if you have time to do it consistently. However, I this may not be the most reliable option out there.
- Natural light. Winter Sowing is a great option to seed start if you don’t have an indoor setup. You’ll need containers, like milk jugs, that can hold potting soil, drainage holes, labels and/or marker, masking tape and a little area outdoors to place the containers.

You should also remember that the seedlings distant from the light have to be adjusted in order to prevent legginess. A leggy or lanky seedlings is not a healthy seedlings. Depending on the seedling, it could either be too far from the light (warm loving crops) or it’s getting an excessive heat (cold loving crops). Make sure to adjust the light as needed.
8. Heat
All seeds need to reach a certain temperature in order to germinate. Some requires more heat but some don’t. As a general rule, warm loving plants require warmer temperatures before it starts sprouting. Here are a few heat sources that you could use:
- Heat Mat. I personally don’t use it because I’m using another source of heat, however if you only have a window sill or a table that doesn’t get a consistent heat, this could help provide the heat that seeds need in order to germinate. I recommend using a thermometer with a timer to avoid excessive heat.
- Grow lights heat + Humidity dome. This is the one I use. My indoor seed starting station is a shelving with lights. When the lights are on, they also emitting heat. The heat is generally sufficient for the seeds to begin sprouting.
More Seedling Care Tips
- Cover the Seed Trays with Vermiculite. This will help ward off gnats and prevent fungus or dumping off syndrome for seedlings. It also helps to insulate and retain moisture in the seed starting medium. I like doing this after sowing the seeds.
- Provide Ventilation. Use fan to help strengthen the seedlings and avoid excessive moisture or humidity.
- Water wisely. Avoid overwatering seedlings to prevent rotting and other issues that come with excessive moisture. Allow the top most layer of cell trays to dry slightly before watering again. Bottom water if possible.
- Repot as needed. Seedlings will eventually out grow the seedling trays, where they were originally sown. This will help develop vigorous roots and healthy seedlings. You can repot after a couple of first true leaves appeared and when the roots starts poking out of the pots. When the seedling begin to dry out very quickly, repotting them to a bigger size pot becomes a must to prevent stunted growth.
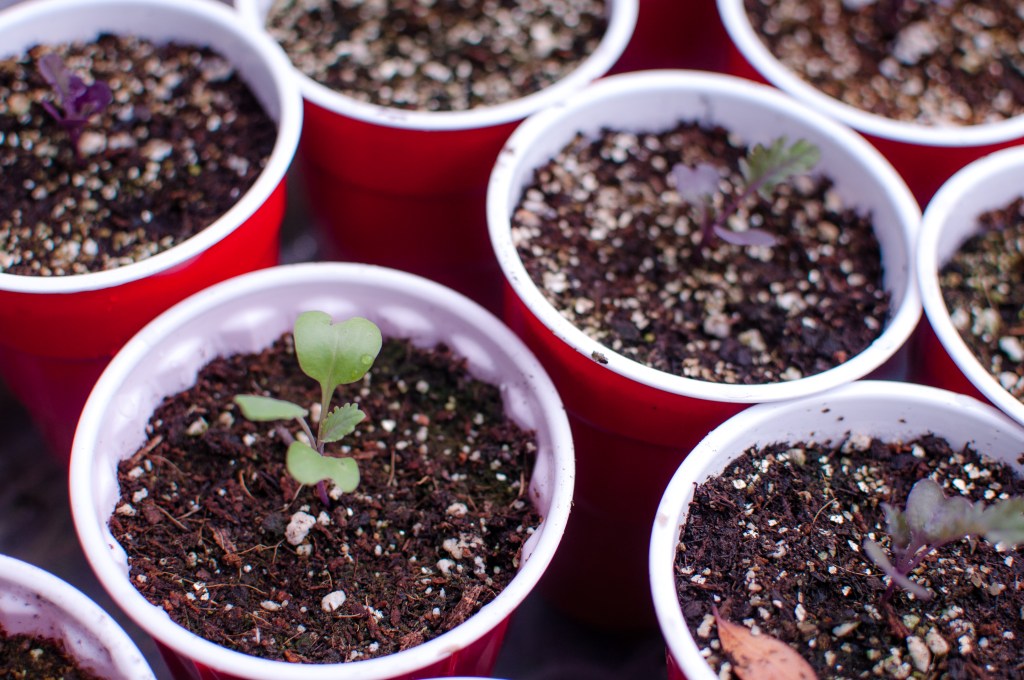
Round pots are good if you don’t have anything else. However, square pots are great space savers. They’re my favorites! Cups turned pots are an inexpensive option for pots as long as it has drainage holes.
- Feeding. Even though the seedlings don’t need much at the beginning stage, they will have to be fed eventually. The general rule is once you see some true leaves, not the cotyledon, it’s time to start a fertilizer regimen.
Seedling in their vegetative stage can benefit from being fed with diluted nitrogen-rich fertilizer to boost their growth. Start at a lower dosage and increase gradually. Begin by adding about a 1/4 strength of your preferred fertilizer when you water them. For instance, if the instructions call for 1 tbsp per 1 gallon, you will have to use a quarter or less of that amount in order to prevent burning the roots.
If you are afraid of burning your seedlings you can use organic fertilizer such compost tea or worm castings tea. You can do it by soaking a cup or two or a combination of compost and/or worm castings overnight and using that mixture to water the seedlings the following day.
- Hardening Off. It is a process of slowly acclimating seedlings to the outdoor environment. A week or two before transplanting, allow the seedlings to harden off by doing the following steps:
On the first day, give your seedlings an hour of indirect sunlight, then bring them back indoors. Morning sun under a shaded area or during the sunset is an ideal time to start. On the second day, expose them for 1-2 hours in a partly shaded area before bringing them back inside. On the third day, increase sunlight exposure to 2-4 hours, then back indoors. Fourth day, let seedlings enjoy 5-6 hours of sunlight. From the fifth day onward, test if seedlings can handle a full day of sunlight. If you notice drooping after 7-8 hours, bring them inside.
It may be a pain to bring the seedling back and forth the house but don’t skip this process. It’ll save you the grief of losing the precious little seedlings that you have nurtured for weeks. You can set a reminder on your phone to help you to go through the process smoothly.
I hope this guide will help you become more confident in seed starting. It’s fun watching those little seeds spring from dormancy all to your table. Nothing will be fresher than your own backyard grocery produce. You can’t beat the convenience and the therapy it brings. You know what’s exactly in it because you grew them yourself.
If you think it is too late for you to seed start, there is no shame in buying seedlings from the nurseries. The important part is you could grow your own food. Maybe next growing season you’ll be more prepared and confident to start growing from seeds.


Leave a reply to 12 Common Seed Starting Mistakes & How to Fix Them – Gingerfoot Garden Cancel reply