
There’s something so satisfying about growing sweet potatoes—from a single tuber sprouting on your counter, to digging up beautiful, nutrient-rich roots from your garden. But the process takes patience, timing, and a little know-how—especially if you’re growing in a small space like I am here in Maryland Zone 7.

In this post, I’m walking you through the entire process of growing sweet potatoes:
🌿 From starting slips…
🌱 To planting and vertical training…
🌞 To harvesting and curing…
Plus, I’ll share the lessons I’ve learned along the way—including mistakes I made so you don’t have to.
Why Grow Sweet Potatoes?
Sweet potatoes from the grocery store are often irradiated to extend shelf life, but that process can reduce their nutritional value. Growing your own ensures you’re getting the full health benefits—along with better flavor and freshness straight from your garden!
Sweet potatoes are one of those crops that keep on giving. Not only are the tubers delicious and packed with nutrients like fiber and vitamin A, but the leaves are edible too—perfect for stir-fries and soups. In the Philippines, where I grew up, we often used the tops for cooking and planted vine cuttings directly in the soil.

I boiled the tender sweet potato leaves for about 3–5 minutes, then drained them. After that, I tossed them with soy sauce, garlic chili oil, and fresh tomatoes—simple, vibrant, and full of flavor!
But here in the U.S., especially in cooler zones like Maryland, things are a little different. Sweet potatoes are grown from slips, which are the rooted sprouts that grow out of a mature tuber. It was new to me when I first started gardening here, but I’ve come to love the process.
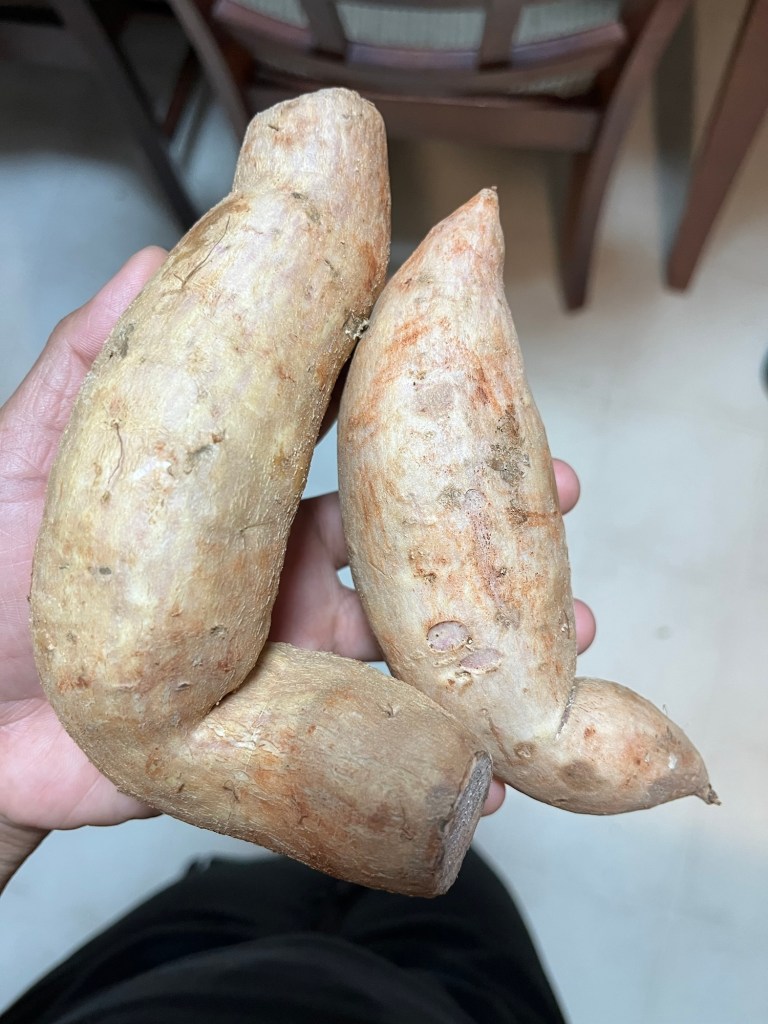
Step 1: Start with a Healthy Tuber
To grow sweet potatoes, you’ll first need a mature, untreated sweet potato tuber. You can use one from a previous harvest or buy an organic one from a store or farmer’s market. I prefer using tubers I’ve grown myself—they’re full of life and often start sprouting on their own before I even get a chance to plant them!

Step 2: Grow Slips (The Easy Way!)
You don’t need fancy equipment to start slips. Simply place the tuber halfway into a container of moist soil or suspend it with toothpicks over water (pointed end down). Keep it in a warm, bright spot.
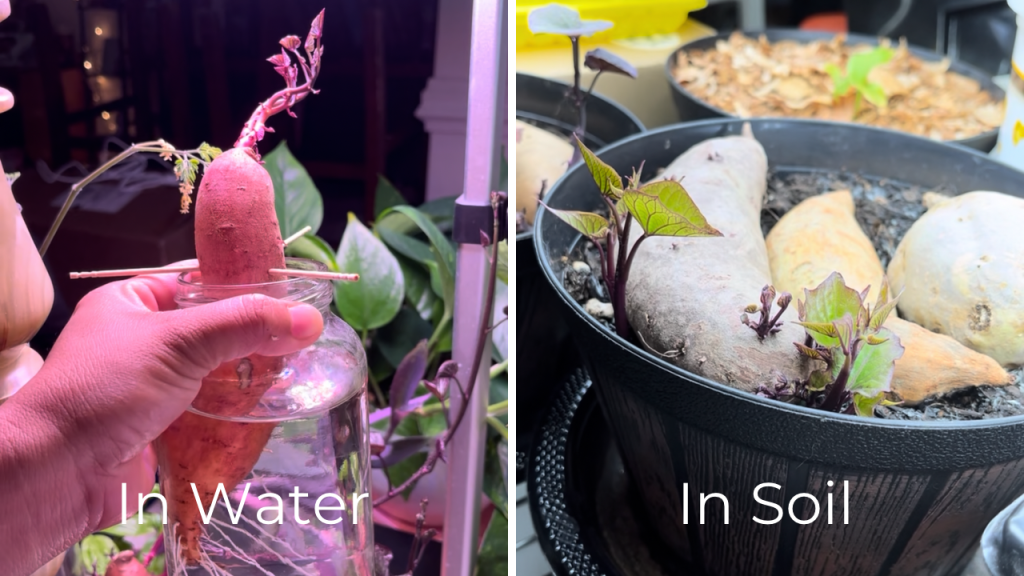

Within a couple of weeks, you’ll start to see roots and green shoots emerge from the eyes of the tuber. These are your slips—and each one can become a new plant.
When the slips are about 6–8 inches long, gently twist them off and place them in water to root. Within a few days, you’ll see roots forming. Once they’re about 1–2 inches long, they’re ready to plant!
Step 3: Prep Your Planting Area
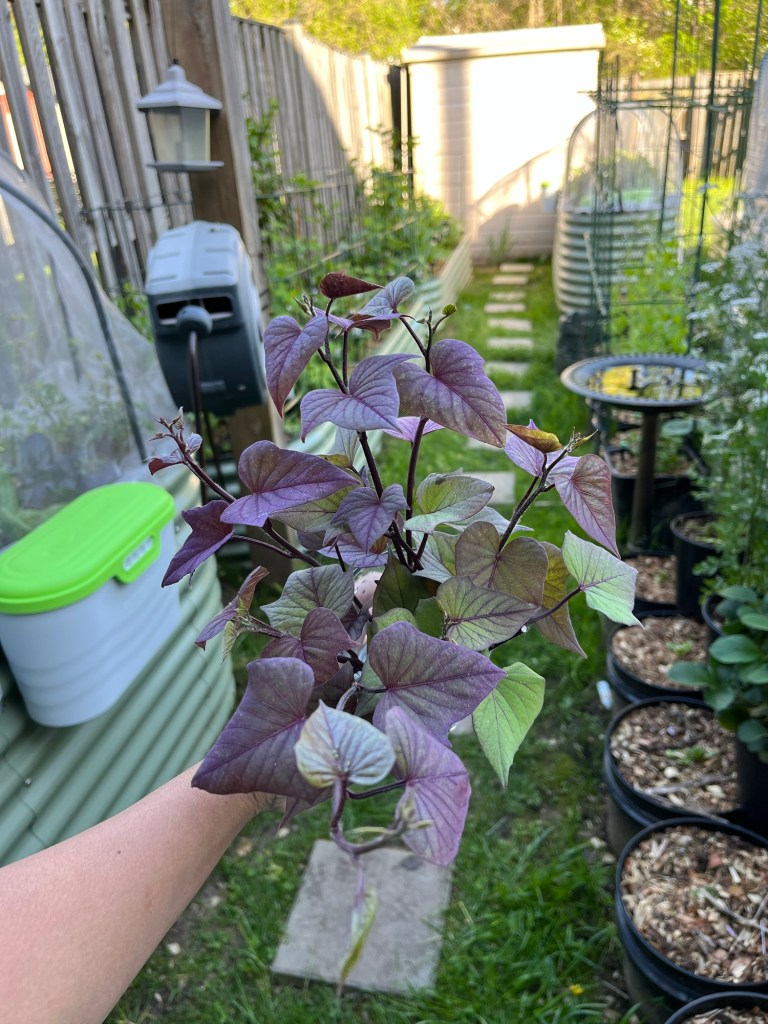
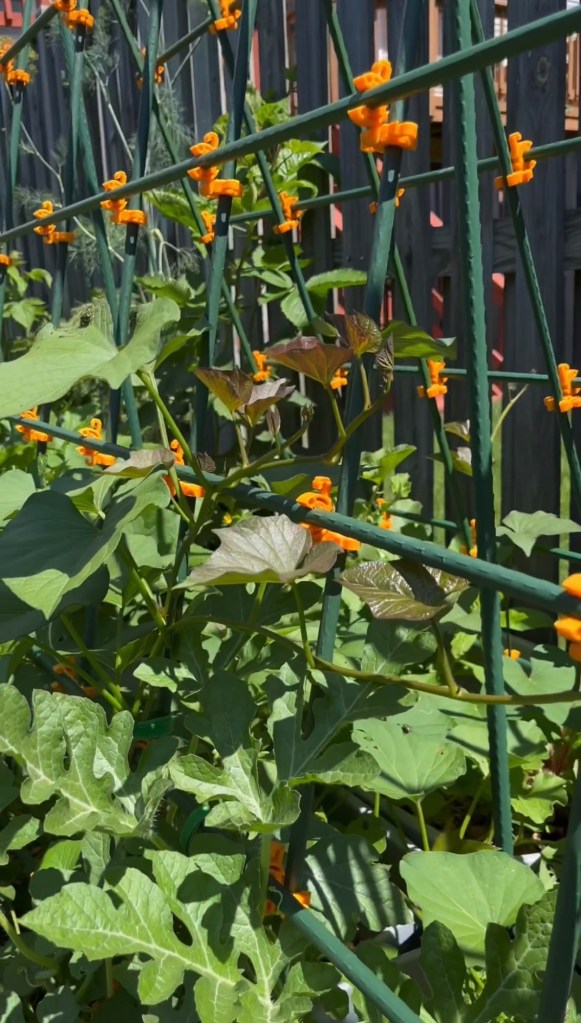
Sweet potatoes thrive in warm, loose, and well-draining soil. In my small garden, I’ve grown them in tote containers, raised beds, and fabric grow bags. Each method works—just make sure the soil is deep enough for tubers to develop (at least 12–18 inches).

Because sweet potato vines naturally sprawl, I use vertical supports like an A-frame trellis to train the vines upward. This helps save space and reduces shading on nearby plants. I’ve even grown them alongside melons before with great success!
Step 4: Plant and Fertilize
Wait until the threat of frost has passed and soil temperatures are consistently above 65°F (usually late May in Zone 7). Then, plant your slips 12–18 inches apart in loose, compost-rich soil.
Sweet potatoes don’t need heavy feeding, but they do appreciate a balanced start. Mix a low-nitrogen fertilizer (like 2-5-3 or 5-10-10) into the soil at planting to encourage root and tuber growth. Too much nitrogen will give you lots of leaves but small tubers. For best results, side-dress with compost or a light feeding halfway through the season.
Water well after planting and continue to water consistently throughout the growing season. Sweet potatoes are relatively low-maintenance once established—but they do need heat, sun, and space to sprawl (or grow upward!).
🛡️ Deer love sweet potato leaves! I learned the hard way—always cover your plants with deer netting or fencing, especially if you’re in an area with wildlife. Anything that grows outside the netting will likely get eaten.
Step 5: Watch for Signs of Maturity
Sweet potatoes take about 90–120 days to mature. You’ll know they’re ready when:
- The leaves begin to yellow or die back
- It’s been 3–4 months since planting
- Temperatures are starting to cool (but before the first frost)

As sweet potato plants begin to mature, some varieties may produce flowers—though not all do. If you see them, it’s best to pinch them off so the plant can focus its energy on growing larger, healthier tubers instead of putting effort into flowering.
If you’re unsure, do a test harvest—gently dig around one plant to check the size of the tubers. If they look good, it’s time to dig up the rest!
⚠️ Don’t wait until after a frost. Cold soil can damage your harvest and reduce storage life.
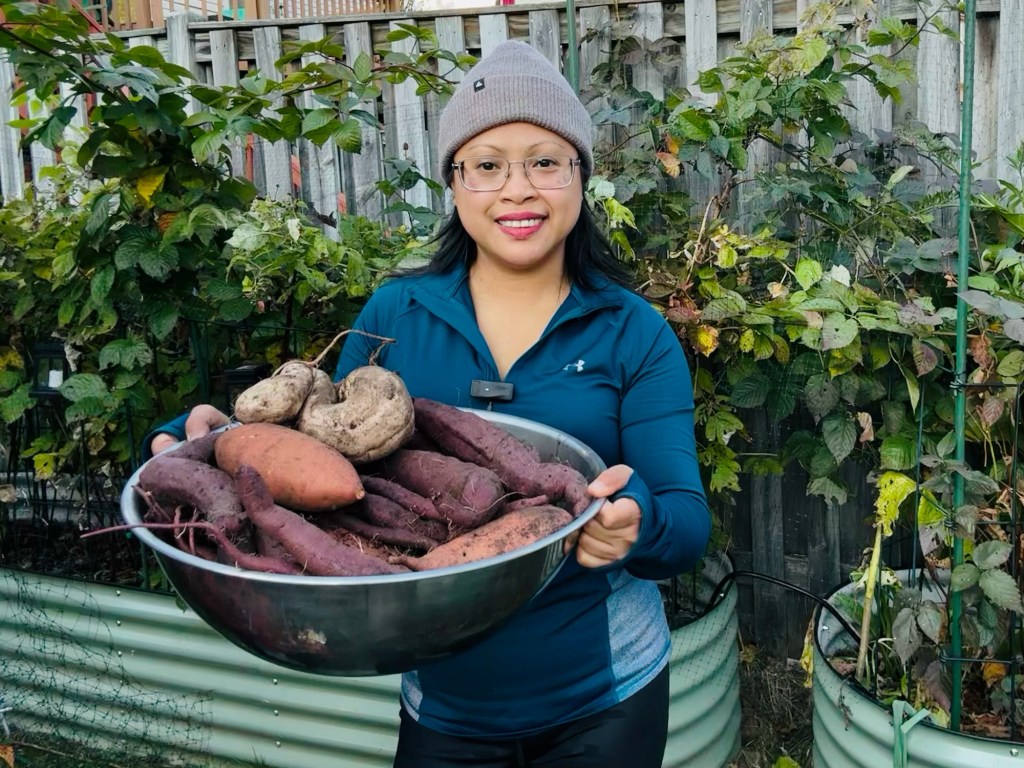
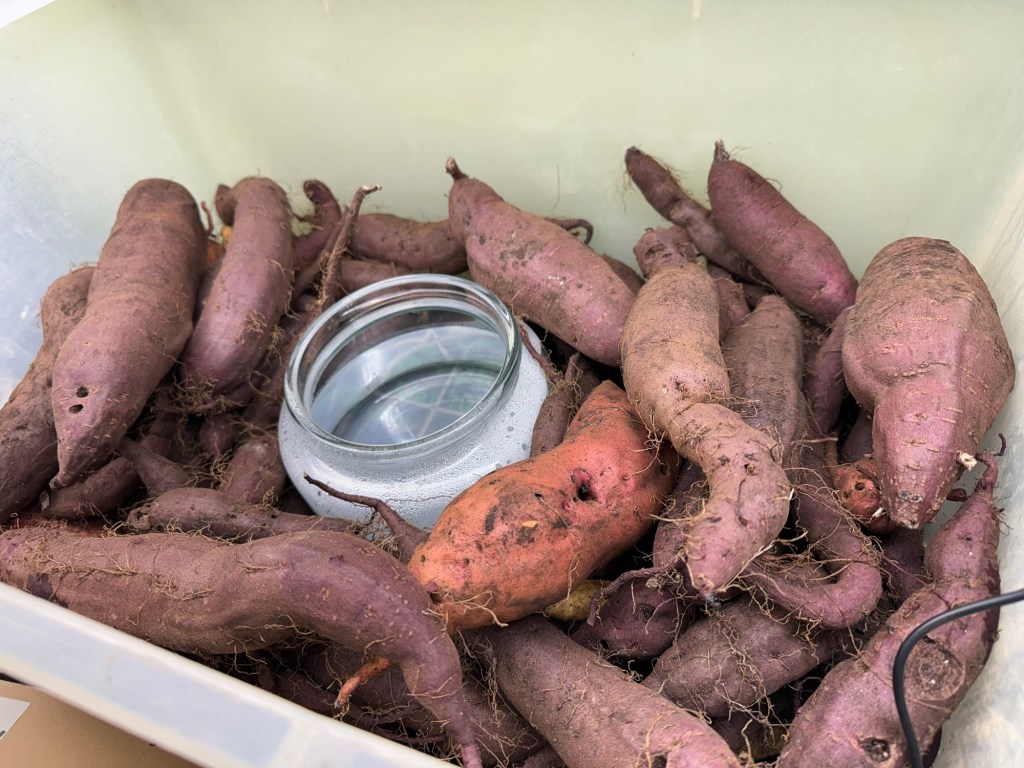
Step 6: Harvest with Care
Harvesting sweet potatoes feels like digging up treasure! Use a fork or your hands to gently lift the tubers from the soil. Be careful not to bruise or cut them—damaged tubers don’t store well.
Wear gloves, long sleeves and an apron if you have sensitive skin. The vines can stain clothing and your hands and sometimes cause irritation.
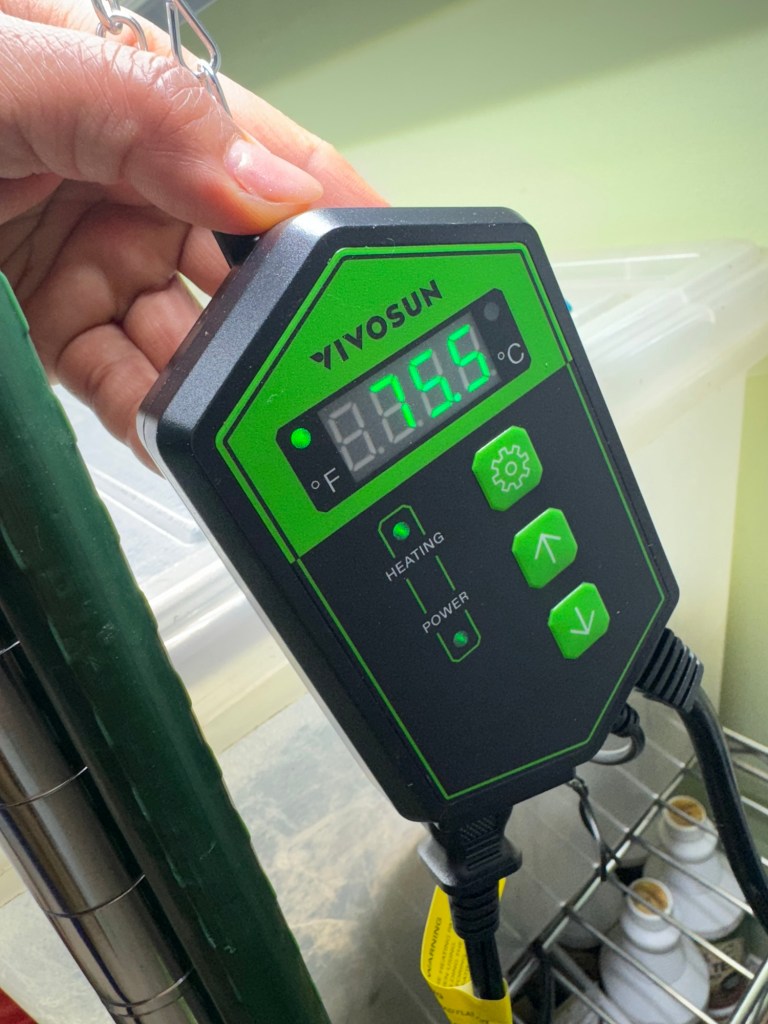
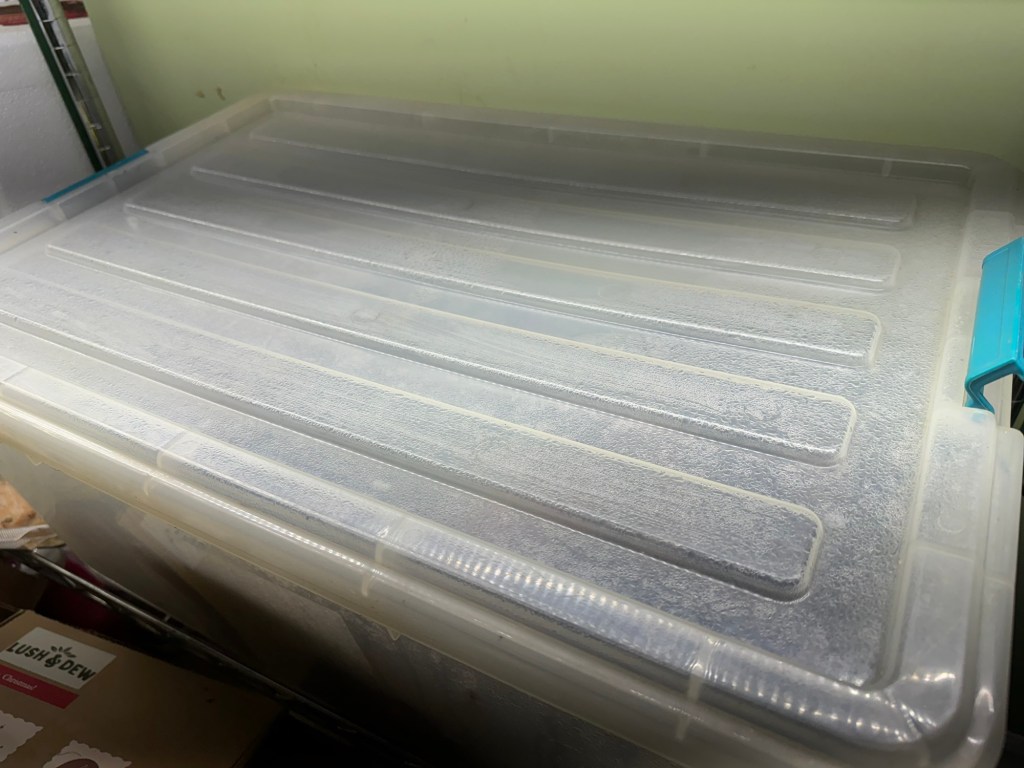
Step 7: Cure for Sweetness and Storage
Freshly harvested sweet potatoes need to be cured to develop their sweetness and toughen the skin. This step is crucial if you want them to store well.
To cure:
- Keep them in a warm, humid space (around 80–85°F with 85–90% humidity)
- Cure for 7–10 days

After curing, move them to a cooler, dark place for long-term storage (55–60°F). Properly cured sweet potatoes can last up to 6 months!
Lessons I’ve Learned Along the Way
Lesson 1: Sweet potatoes need warmth to produce slips. In my early attempts, I placed the tuber near a window—not realizing that spot stayed quite cold during the winter and early spring. I kept wondering why nothing was sprouting… until I realized the lack of warmth was the issue.
Now, I place the tuber under a grow light, which provides both light and the gentle heat it needs to start sprouting. Another great tip—especially if your home tends to stay cool—is to use a heat mat under the pot or tray. That extra bottom heat can really help jumpstart slip production and make the whole process much faster and more successful.
Lesson 2. Growing Sweet Potatoes and Peppers + Eggplant is Not a Good Combo! I originally thought sweet potato vines would work well as a living mulch for my peppers—but I quickly learned otherwise. The vines grew fast and aggressively, overcrowding the shorter pepper plants and dominating everything around them. The lack of airflow made things even worse, creating conditions that weren’t healthy for the other crops. It’s a lesson learned—I won’t be planting them together again.
Lesson 3. Deer netting is a must. In an unfenced backyard, there’s no getting around it—you’ll need to protect your sweet potatoes right from the start. As soon as you plant them, put up netting or some kind of barrier. Deer absolutely love sweet potato leaves, and without protection, they’ll find them fast and wipe them out before you even get a chance to enjoy the growth.
Ready to Grow Your Own Sweet Potatoes?
If you’ve been thinking about growing sweet potatoes in your garden, do it! It’s one of the most rewarding crops I’ve grown—and I hope this guide gives you the confidence to try it yourself.
Let’s Grow Together 🌱
Have you tried growing sweet potatoes before? What method worked best for you?
Drop your experience or questions in the comments—I’d love to hear from you!
Follow me on Instagram and YouTube @gingerfootgarden for more real garden updates, tips, and inspiration.
Until next time,
Happy gardening!
—Lannie 🌸


Leave a comment