
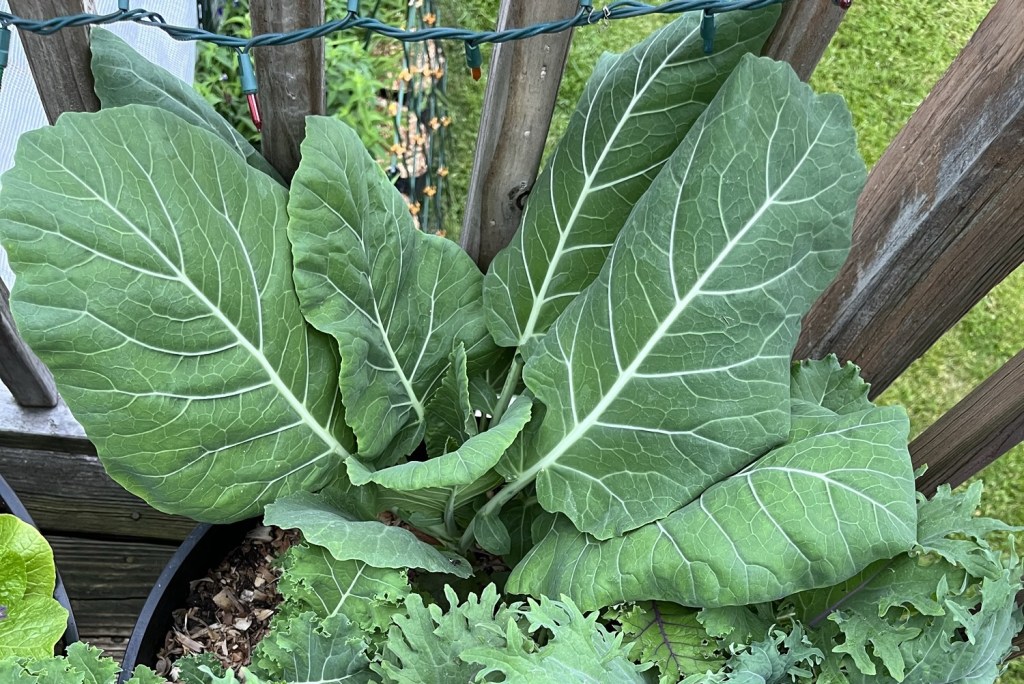
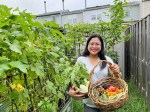
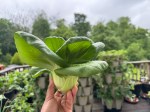
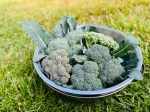
Collards are one of my favorite cool season leafy greens because they are just delicious! These broad-leaved beauties have a resilience I admire. Whether I plant them in early spring or in the cooling days of late summer, collard greens have proven to be one of the most dependable and generous crops I grow.
Collard is a Southern Favorite with Northern Grit!
I still remember the first time I harvested a handful of collard leaves from a $3 dishpan planter. It felt incredibly rewarding—I couldn’t believe it actually worked! Like kale, I grew collards for the first time in the fall of 2020. Back then, I had a very limited budget and hardly any space to garden. I spent hours researching how to grow collards in containers and came across a few simple tips and tricks that made all the difference. That first harvest turned into a humble, garlicky stir-fry that reminded me of home and made me feel connected to the beautiful rhythm of growing my own food.
If you’ve never grown collards before—or if your last attempt didn’t quite thrive—I hope this guide encourages you to give them another go. They’re hearty, versatile, and forgiving, making them perfect for beginner gardeners and seasoned growers alike.
🌱 Why Grow Collards?
- Cold-hardy and heat-tolerant
- Can be harvested multiple times
- Easy to grow in containers or raised beds
- Highly nutritious—rich in vitamins A, C, and K
- A symbol of comfort food in many cultures
Whether you’re growing collards for the first time or hoping for a better harvest this year, here’s everything you need to know.
📅 When to Plant Collard Greens
You can grow collards in both spring and fall, but fall is my favorite season for growing them in Maryland (Zone 7). The flavor actually improves after a light frost—sweeter, more tender, and less bitter.
- Spring planting: Sow seeds 4–6 weeks before your last frost date. If you have a greenhouse or a low tunnel that can protect the plant from frost they can be started as early as February and transplant outdoors in March for an extended harvest.
- Fall planting: Start seeds indoors 10–12 weeks before the first fall frost, or direct sow outdoors in mid to late summer. With the right frost protection—like a row cover, frost blanket, plastic sheeting, or even a simple tote—you can grow collard greens all the way through winter here in Maryland, Zone 7. These tough greens can handle the cold, and a little protection goes a long way in extending your harvest season.
Collards thrive when the weather is cooler but not freezing. They’ll tolerate heat, but may get a bit tough and bitter in the peak of summer. They can be planted in partly shaded area or under shade cloth during the summer.
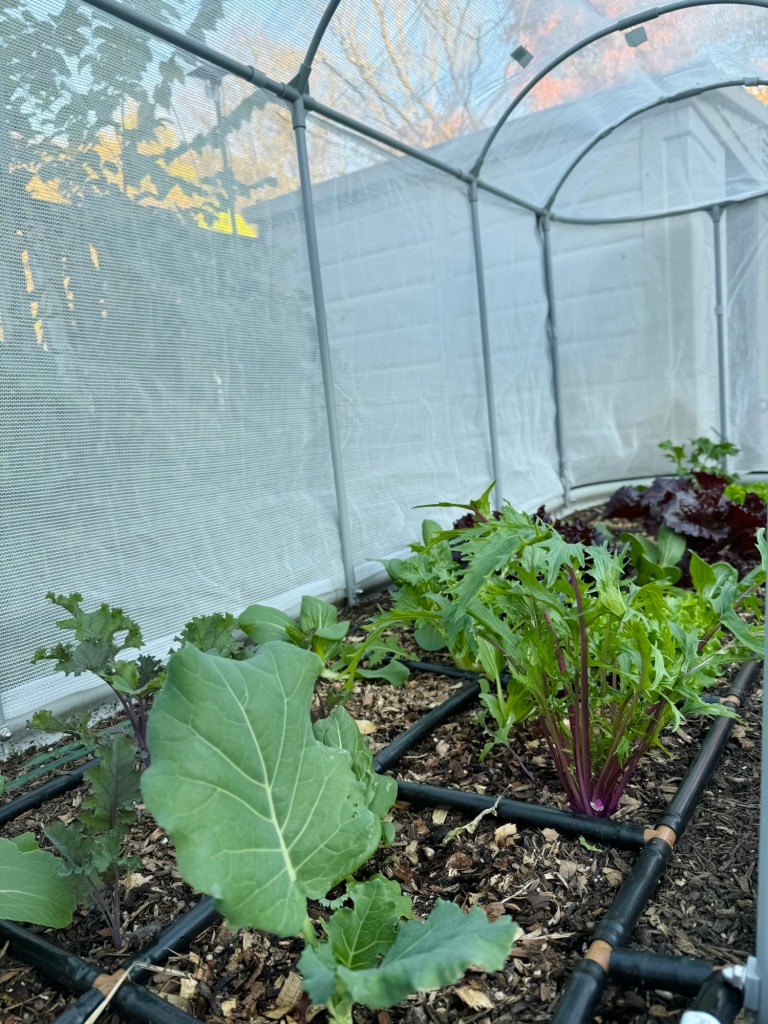
🪴 Choosing the Right Spot
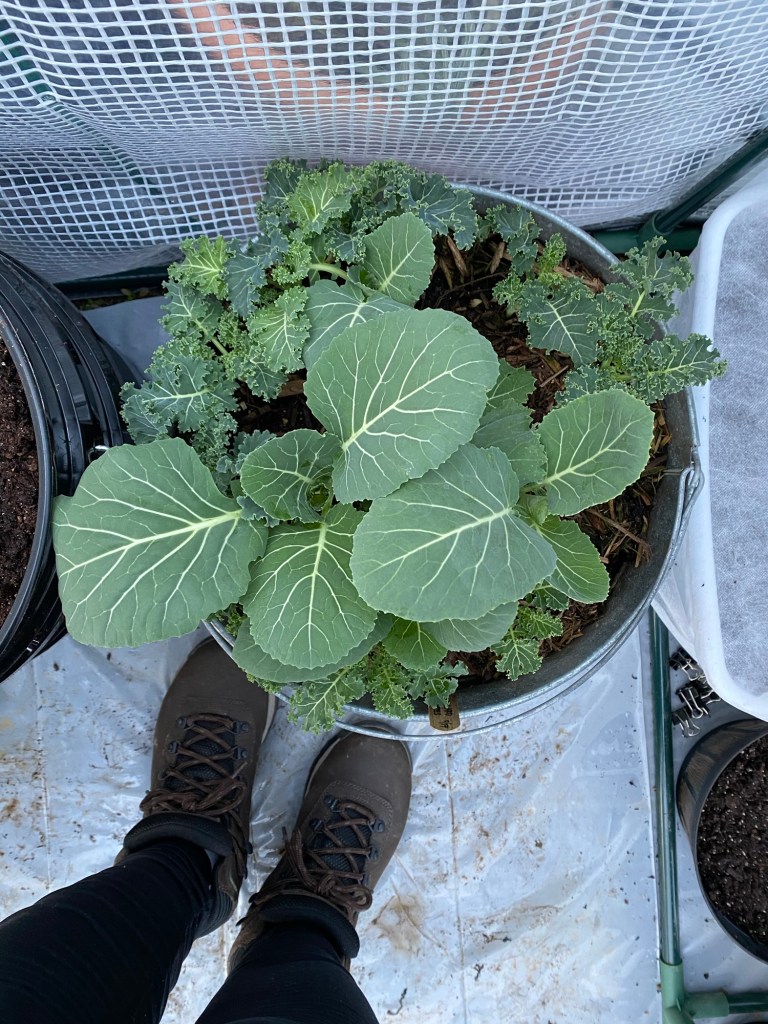
Collards need at least 6 hours of full sun, though they’ll tolerate a little afternoon shade in hotter climates. Choose a well-draining spot in a raised bed or large container, and rotate them away from beds that previously had cabbage-family crops to reduce pest pressure.
Great planting options:
- 1 gallon nursery pot.
- 5-gallon dishpan turned planters
- 10-gallon totes
- Large nursery pots
- Greenstalk vertical planters
- Vego Garden raised beds
Make sure your container or bed has good drainage and is filled with rich, fertile soil—collards love compost!
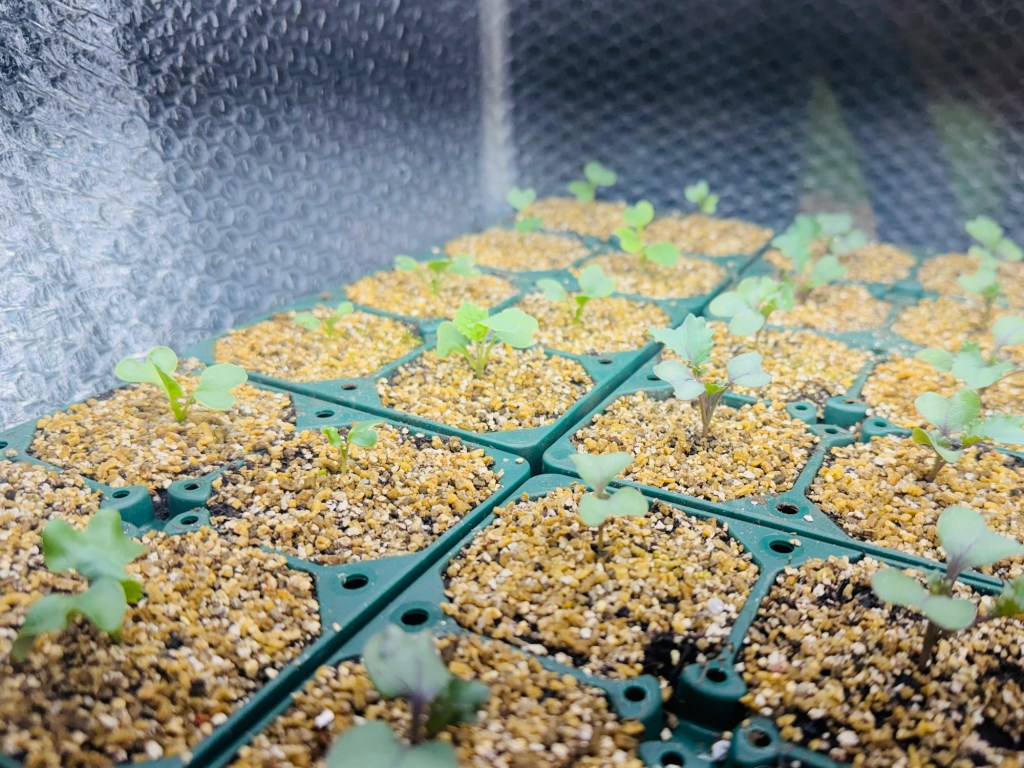
🌿 How to Grow Collards from Seed
Starting from seed is simple:
- Sow ¼ to ½ inch deep.
- Thin seedlings once they’ve developed a couple of true leaves. Or you can gently separate the seedlings and give them proper spacing.
- If you want your collard greens to grow into large, full-size plants, space them 12–18 inches apart. For tender baby leaves, you can plant multiple collards in a larger container (at least 5 gallons) or in raised beds. You can even grow one plant per 1-gallon pot if you’re short on space and prefer smaller harvests.
- Keep the soil moist but not soggy during germination.
- For a head start, sow indoors in seed trays 6–8 weeks before planting out.
Collards are shallow-rooted vegetables that grow well in containers as shallow as 6 inches deep. They’re perfect for small-space gardens and ideal for growing tender, fast-growing leafy greens. Whether you’re making a quick sauté or cooking up a batch of classic Southern greens, homegrown collards bring fresh flavor and nutrition to your kitchen.
Alternatively, you can transplant store-bought seedlings, but I love starting from seed—it gives me more variety options and better control over timing.
🐛 Common Pests and What to Do
The most common collard pests in my garden are:
- Cabbage worms and loopers
- Aphids
- Flea beetles
- White flies
- Harlequin bugs
Here’s how I manage them:
- Netting: Floating row covers help prevent moths from laying eggs.
- Hand-picking: I inspect the undersides of leaves often.
- Neem oil spray or insecticidal soap for heavy infestations.
- Crop rotation helps reduce pest buildup over time.
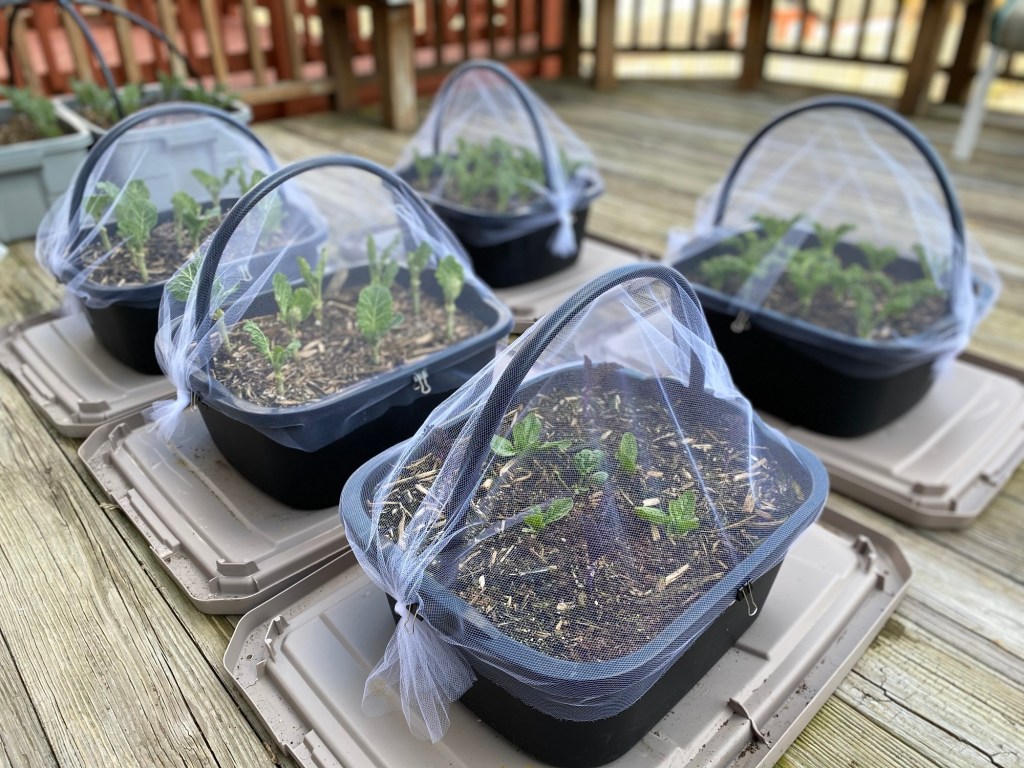

The best way to combat the pest is by using barrier like insect netting. Setup a floating row cover as soon as you plant the collard to prevent the cabbage moth from laying eggs on the leaves.
🌧️ Watering and Fertilizing
Collards like consistent moisture. Mulching around the base of the plant helps retain moisture and keeps weeds down.
I feed mine with:
- Compost and slow release fertilizer with higher nitrogen formulation at planting
- A gentle fish emulsion or organic liquid fertilizer every 2–3 weeks during the growing season
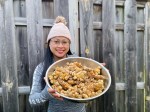
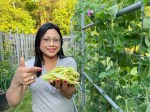
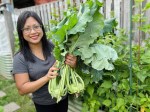
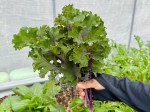
✂️ When and How to Harvest Collards
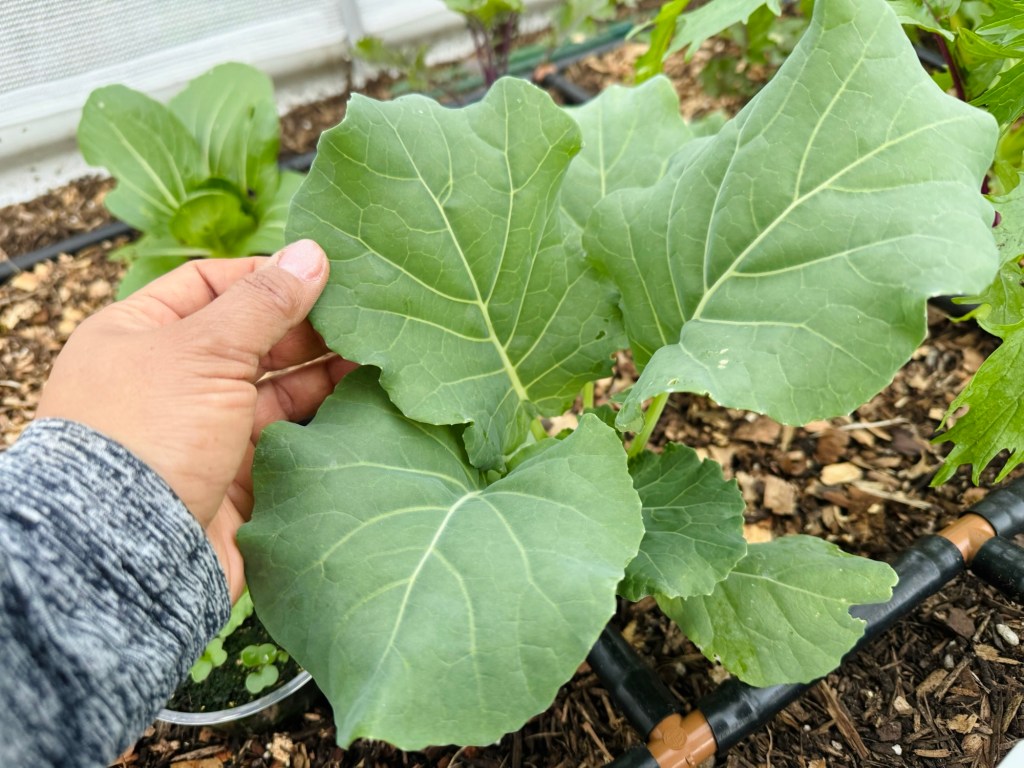
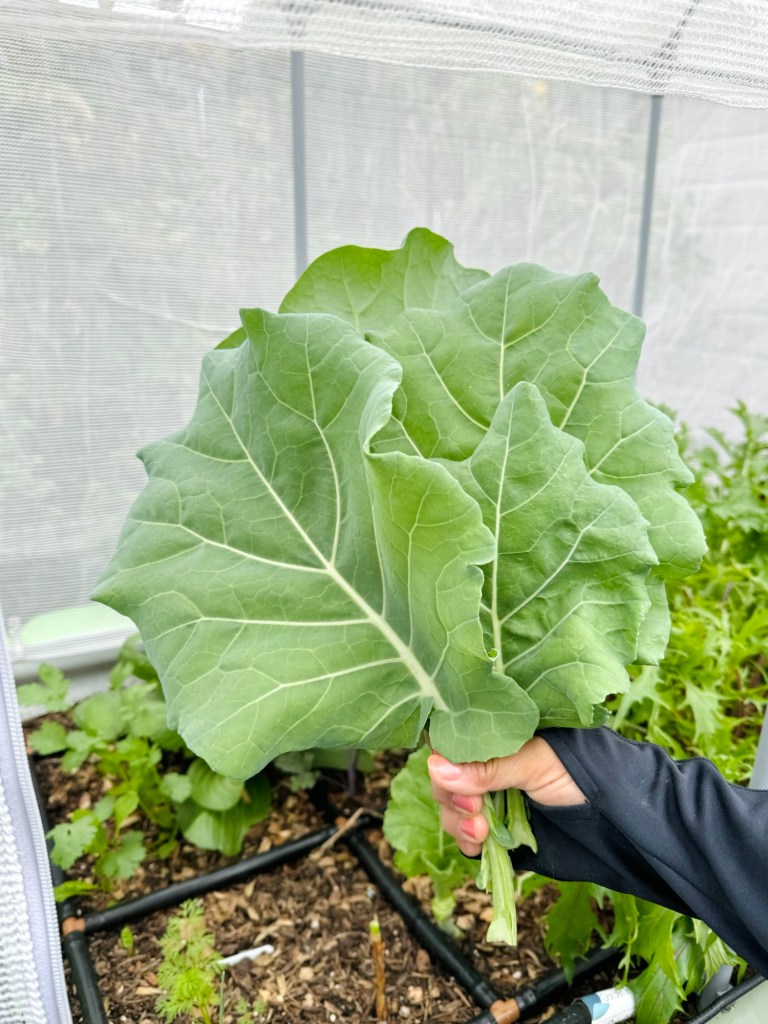
Start harvesting outer leaves when they’re about the size of your hand. Use sharp scissors or pinch them off at the base. Leave the center of the plant intact so it keeps producing.
I love how long collards can grow. I’ve had plants that gave for months—the more you harvest, the more they grow (within reason, of course).
In fall, I often let mine go until after the first frost, when they’re sweetest. Just be sure to harvest before temperatures consistently dip below 20°F.
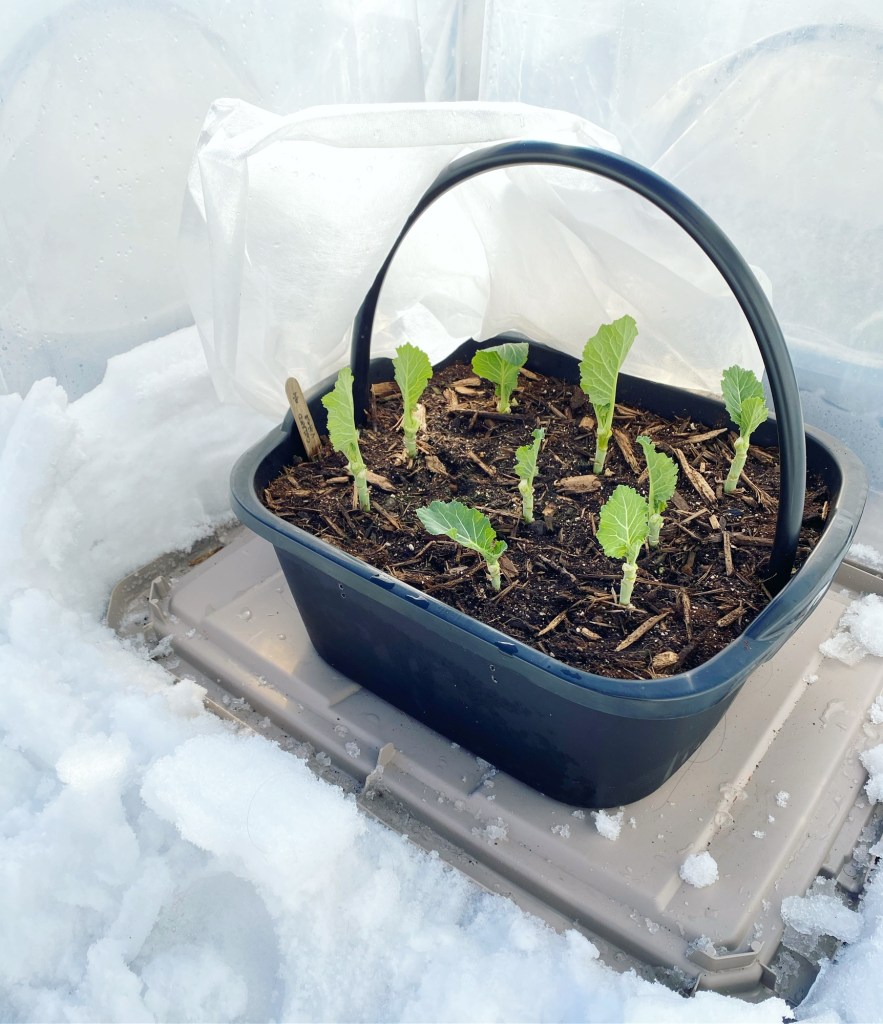
Overwintering Collard
One of the best ways to enjoy collard greens is by growing them through the winter. These hardy greens can tolerate cold temperatures—and the bonus? Their flavor actually improves. When temperatures drop, collards (like kale and Brussels sprouts) begin converting stored starches into sugars. This natural response helps protect the plant from freezing by lowering the freezing point of the plant’s cell sap.
But it doesn’t just help the plant survive—it makes the greens taste better. The bitter, earthy flavor of raw collards softens, developing a sweeter, more mellow taste after frost exposure. That’s why many gardeners and chefs prefer harvesting collards in the fall and winter.
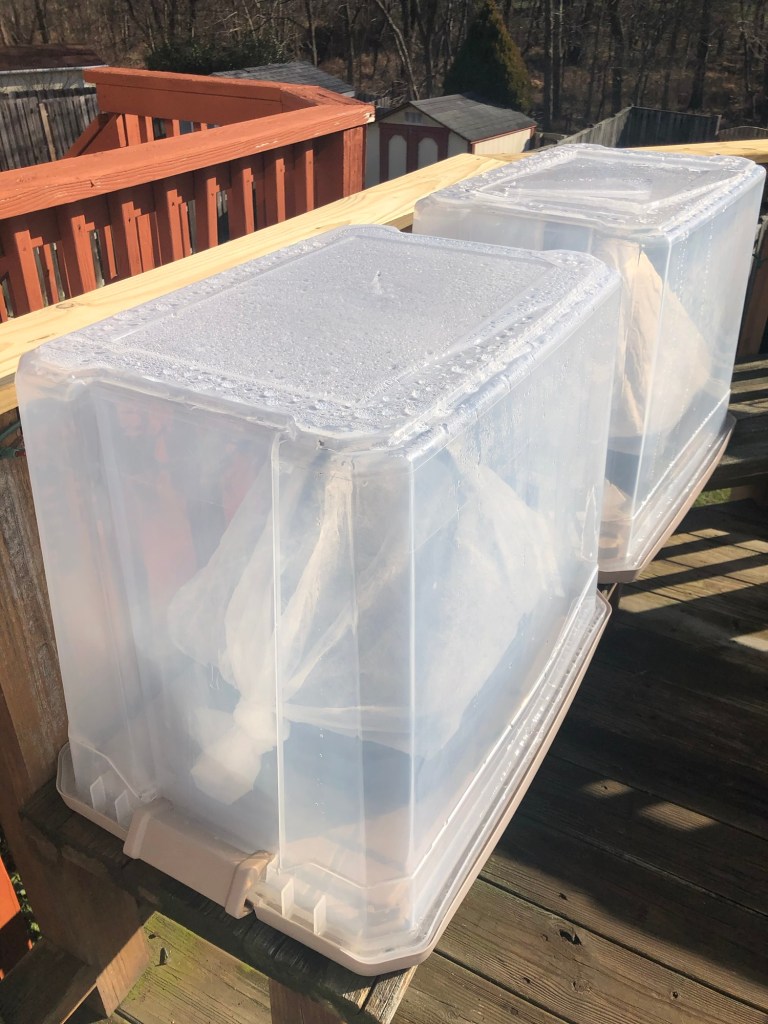
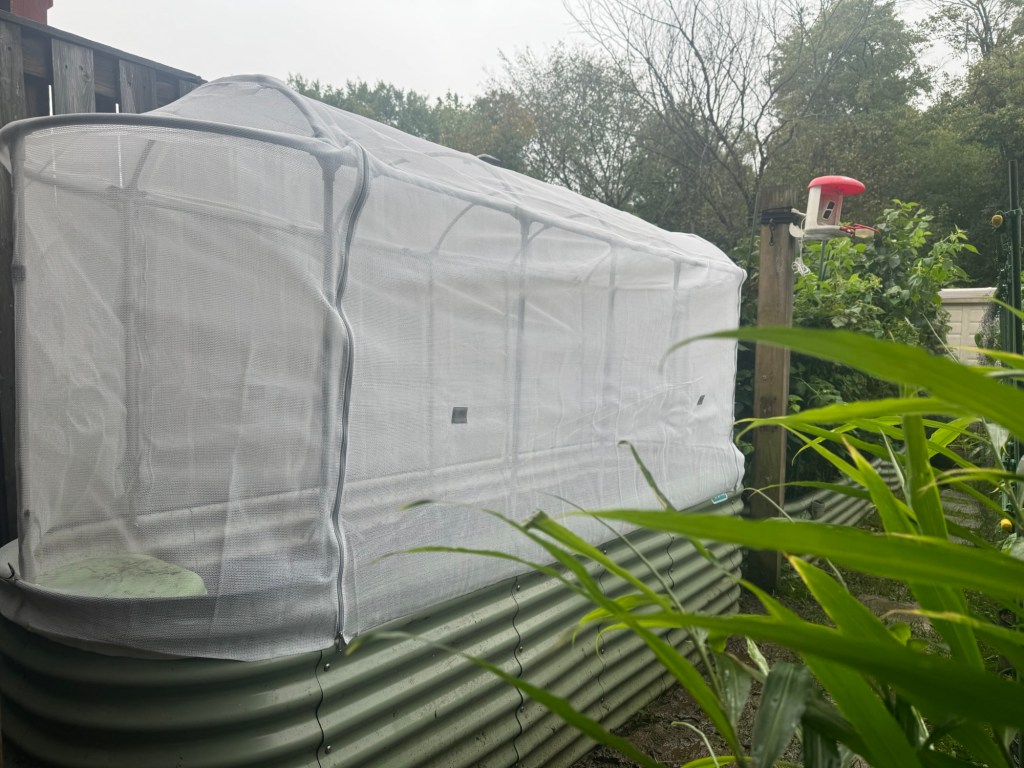
To help my plants through extreme cold, I use frost protection like row covers, plastic sheeting, clear totes, or even a small greenhouse setup. These simple tools can make a big difference, allowing your collards to keep growing despite winter’s chill.
I won’t pretend it’s always easy—gardening in the cold isn’t for everyone! But if you’re looking to extend your growing season, frost cloth, plastic covers, clear totes, or greenhouse setups are great options to try. Growth may slow down during winter, but you can still enjoy small harvests here and there. And when spring arrives, those overwintered collards will give you a head start while you wait for your new greens to grow.
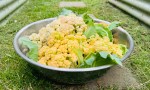
🥗 How to Use Collard Greens
There are so many ways to enjoy collards in the kitchen:
- Braised with garlic and onion
- Tossed into soups and stews
- Sautéed with olive oil and garlic
- Used as wraps for a low-carb alternative to tortillas
They store well in the fridge for about a week, and you can blanch and freeze them, too.
🌟 My Collard Growing Lessons
Growing collards has taught me that gardening doesn’t always need to be expensive. Sometimes, limitations allows you to be more creative. It doesn’t matter if my planting space is fancy or not. The quality of soil really matter.
And also, I learned to celebrate the slow but steady wins in the garden.
If you’ve ever felt discouraged after losing a crop or having a pest issue, know that every season is a chance to begin again. And collards? They’ll be right there with you.
🌱 Let’s Keep Growing Together!
Have you tried growing collards before? What tips or questions do you have?
Drop a comment below or share your experience on Instagram and tag me @gingerfootgarden. I’d love to hear how your garden’s growing.


Leave a comment