
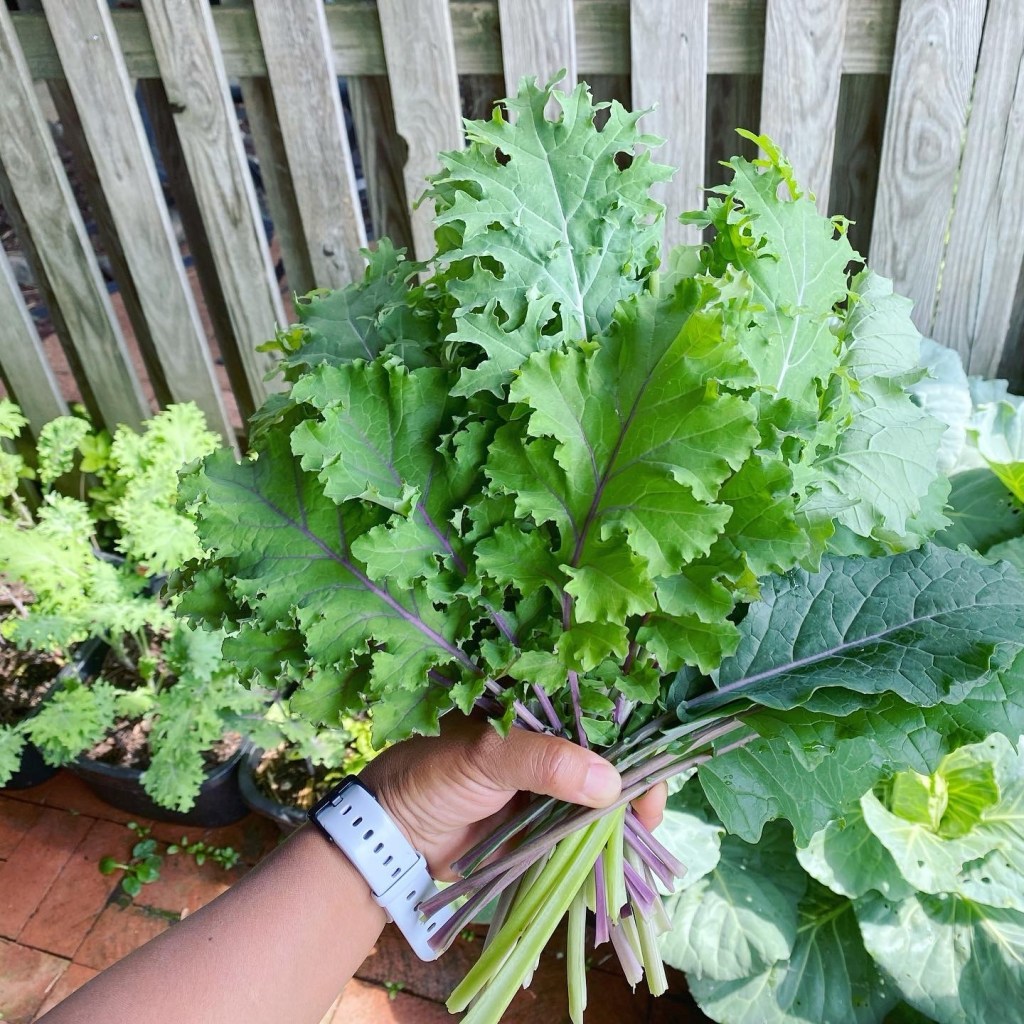
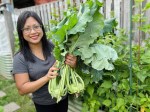
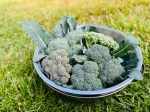
There’s something incredibly satisfying about walking into the garden and harvesting fresh greens for dinner. One of my favorite crops to grow—especially when the weather starts to cool—is kale. It’s delicious, it’s tender, and it just keeps giving.

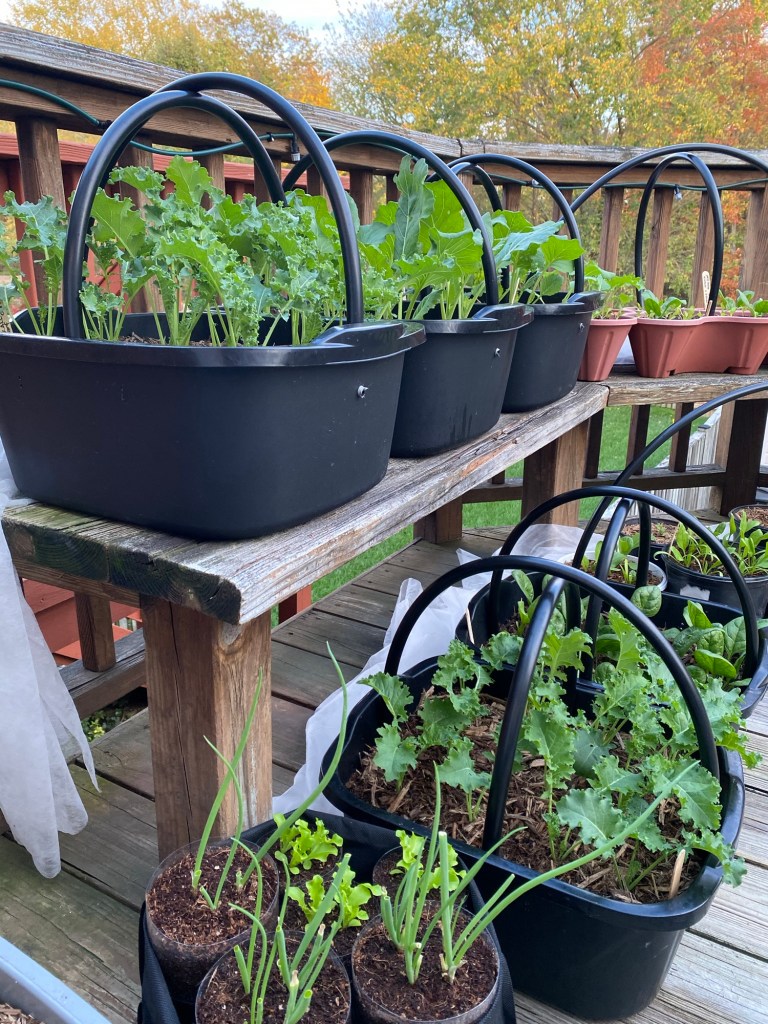
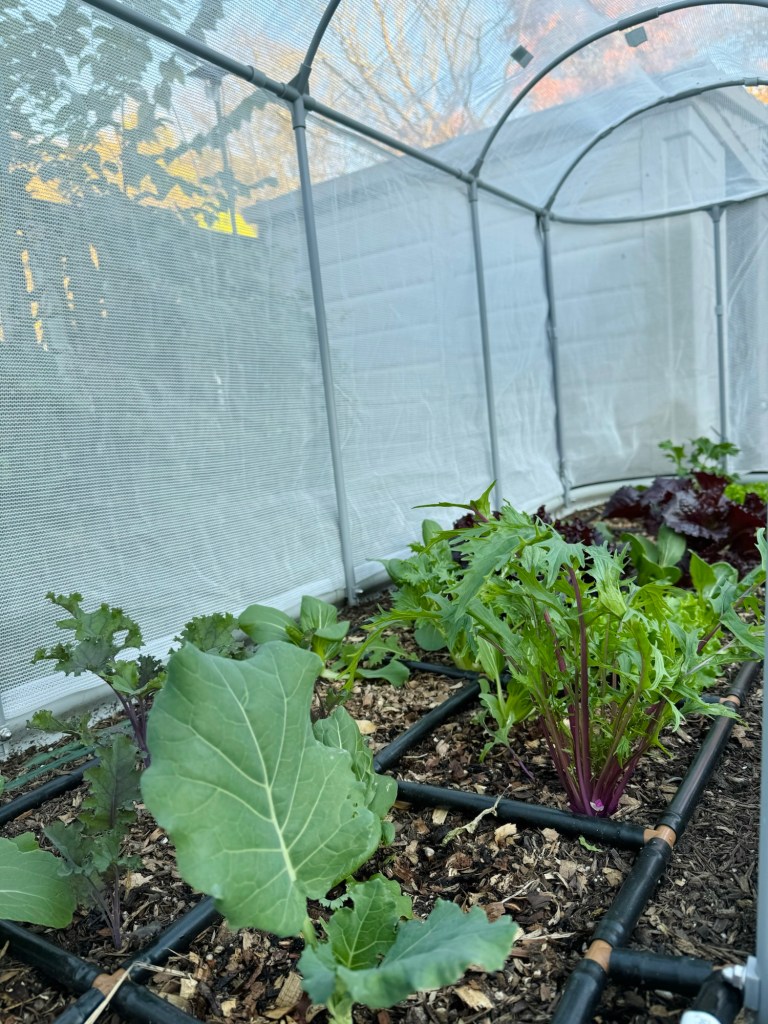
When I first started gardening in my tiny backyard here in Maryland, kale was one of the first leafy greens I wanted to try. We use it often in meals, and I was always picking it up from the grocery store. So it made perfect sense to grow it myself and cut down on grocery trips. Kale quickly became one of my favorite crops—it’s incredibly forgiving, surprisingly productive, and grows well in raised beds, containers, and even vertical planters like the Greenstalk. Once you grow your own, you’ll wonder why you didn’t start sooner.
Let me walk you through how to grow kale—from seed to harvest—so you can enjoy fresh, homegrown greens too.
Why Grow Kale?
Kale isn’t just a trendy health food. It’s packed with vitamins A, C, and K, rich in fiber, and cold-hardy enough to survive light frosts that sweeten its flavor. Unlike spinach, which bolts quickly in warmer weather, kale has staying power. It’s also cut-and-come-again, meaning you can harvest the outer leaves all season long without pulling out the plant.
For small space gardeners like us, that’s gold.
Best Kale Varieties for Small Space Gardeners
Over the years, I’ve tried many varieties, but these stand out:
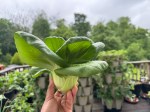
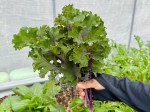
- Lacinato (Dinosaur Kale) – Dark blue-green leaves, rich flavor, and beautiful texture.
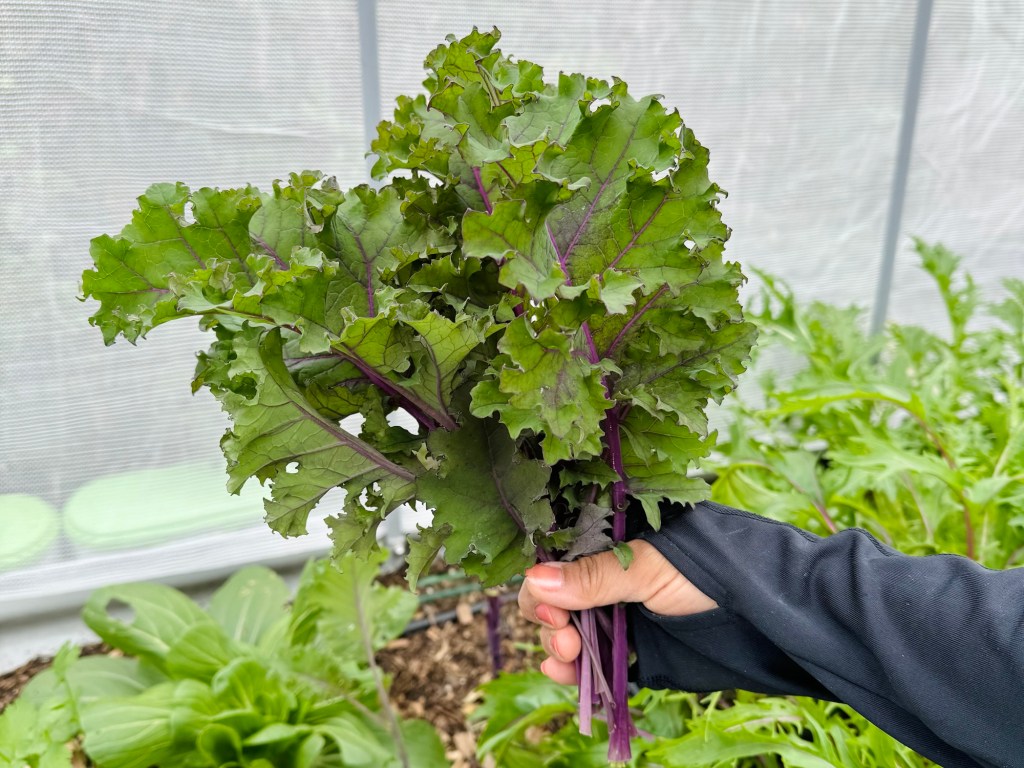
- Red Russian – Tender leaves with purple veins; very cold-hardy and grows fast.
- Curly Kale (Dwarf Blue Curled or Winterbor) – Compact, tightly curled leaves perfect for containers.
- Premier Kale – Tender, broad leaves and great for sauté and soups.
If you’re growing in containers, go for dwarf varieties or anything labeled “compact” to maximize yield in tight spaces.
When to Plant Kale
Kale loves cooler weather and can be grown in both spring and fall. Here’s what’s worked well for me:
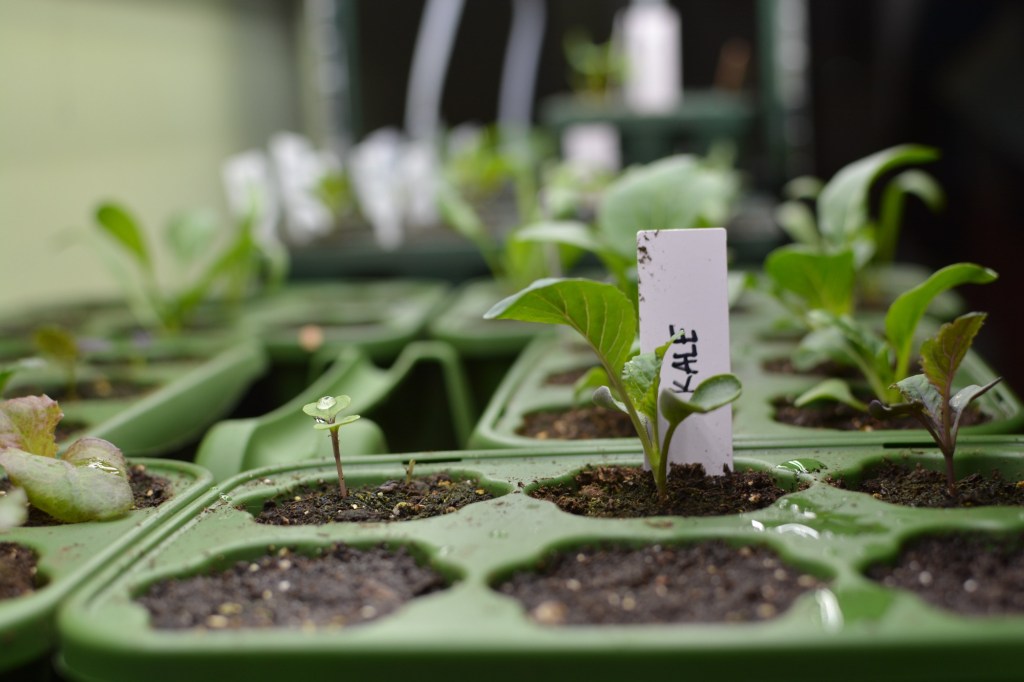
- Spring Planting: Start seeds indoors 4–6 weeks before your last frost. Transplant when seedlings are 3–4 inches tall and the soil is workable. If you have a greenhouse, frost covered low tunnel they can be transplanted outdoors in March for an early harvest.
- Fall Planting: Direct sow or transplant 6–8 weeks before your first expected frost. Fall kale tends to be sweeter after a light frost.
How to Grow Kale: Step-by-Step
1. Prepare Your Soil
Kale loves fertile, well-draining soil. If you’re using a raised bed or container, amend your soil with compost before planting. A pH of 6.0–7.0 is ideal. I always mix in a bit of worm castings or a slow-release organic fertilizer at transplanting to give my kale a strong start. Since kale is grown for its leafy growth, I prefer using a slow-release fertilizer with a higher nitrogen content to support healthy, vigorous leaves.
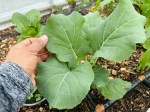
2. Plant with Space in Mind
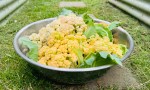
If you’re aiming for large, full-sized kale leaves, space your plants 12–18 inches apart in raised beds or give each plant its own 5-gallon container. But if your goal is to grow tender baby kale, you can plant more densely—about 4 to 6 plants in a single 5-gallon pot, or 4 to 5 plants per square foot in a raised bed. One of my favorite ways to grow baby greens like kale, collards, lettuce, and spinach is in a simple dishpan planter. It’s perfect for shallow-rooting veggies and works great in small spaces. I even wrote a blog post showing how to turn an affordable dishpan into a productive planter—check it out if you’d like to try it!
3. Water and Mulch Well
Kale prefers consistent moisture. Water deeply at least once or twice a week, depending on your weather. Adding a layer of mulch helps retain moisture and keeps soil temperatures even—especially helpful in warmer fall days.
4. Feed Regularly
Every few weeks, I give my kale a dose of liquid fertilizer— nitrogen-rich, like fish emulsion or compost tea. It helps encourage lush, leafy growth.
Pest and Problem Management
Kale is generally low-maintenance, but a few pests love it too:
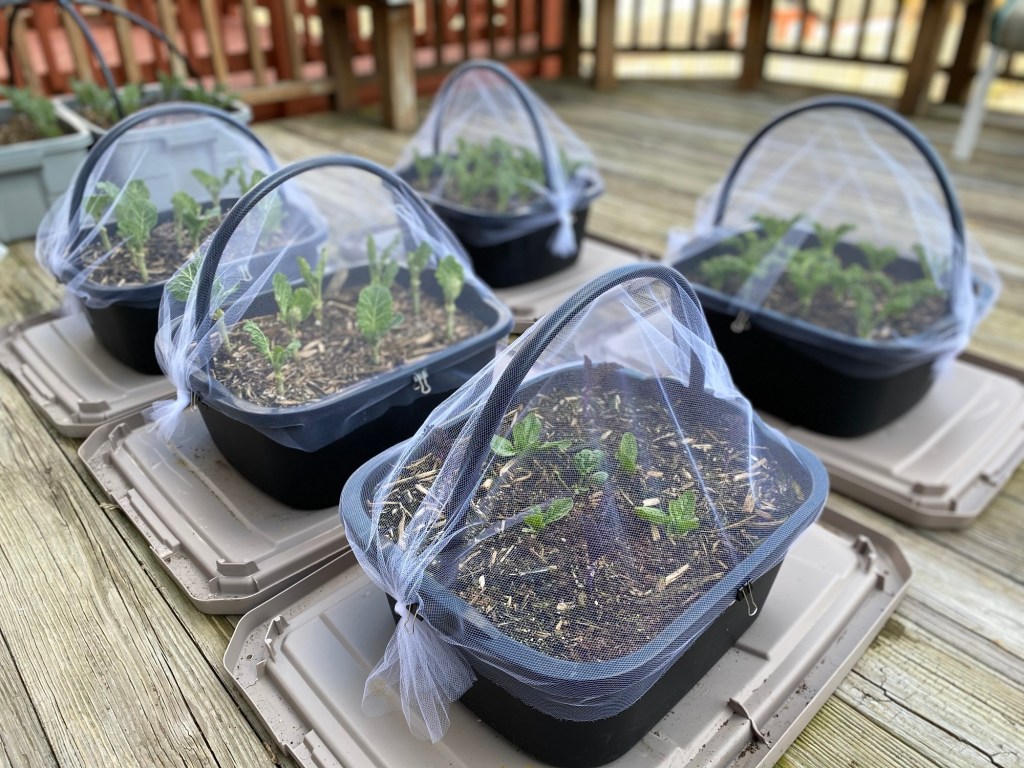
- Cabbage worms and loopers: These little green caterpillars will chew holes in your leaves. I handpick them when I see them or cover young plants with floating row covers or netting.
- Aphids: Often show up in clusters. A blast of water or a soapy spray can help.
- Harlequin Bugs: Tiny holes in leaves are a sign. Mulch helps, and so do covers.
Harvesting Kale
You can start harvesting baby leaves in about 30 days and mature leaves in 50–70 days. Here’s how:
- Pick the outermost leaves first, starting from the bottom.
- Always leave at least 4–5 central leaves so the plant can keep growing.
- In cold climates, protect your kale with row covers or even a plastic tote turned into a mini greenhouse to extend your harvest well into winter.
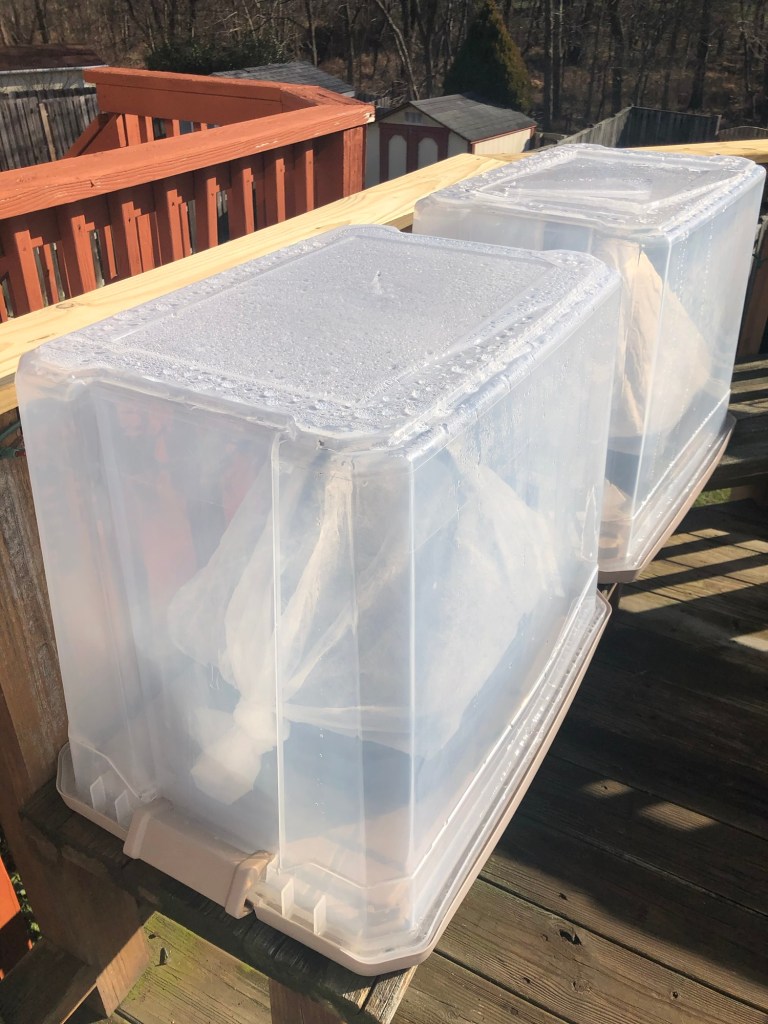
I’ve harvested kale from fall all the way to spring by simply giving it a little frost protection. It’s such a joy to eat fresh greens from your garden while the rest of the world is bundled up!
My Kale Growing Journey: A Little Story
After growing kale for the first time in fall 2020, I was hooked. It turned out to be such a rewarding plant—easy to grow, productive, and absolutely perfect for small-space and container gardens. That experience deepened my love for gardening and opened my eyes to how cost-effective it is to grow vegetables from seed. Before long, I started collecting every kale variety I could find online.
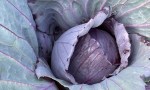
I’ve grown—and loved—all the varieties I mentioned earlier: Blue Curled Scotch, Dazzling Blue Dinosaur, Red Russian (also called Ragged Jack), Scarlet Kale, Premier, Redbor F1, and Purple Moon. I enjoy the diversity in leaf shapes, colors, and textures. While many of them taste similar, there’s something so fun and satisfying about growing a beautiful mix.
The truth is, you don’t need to grow every variety. But if you’re anything like me and enjoy a bit of variety and visual interest in the garden, you just might find yourself collecting them too.
Let’s Keep Growing—Together!
If you’ve never grown kale before, I hope this blog gives you the confidence to try. And if you’ve tried it before and didn’t succeed—try again. Kale has a way of surprising you.
And I’d love to hear from you—
👉 Have you grown kale before? What variety is your favorite? Share your experience in the comments or tag me @gingerfootgarden on Instagram so I can celebrate your greens with you!
You’ve got this, gardener friend. One leaf at a time. 🌱


Leave a comment