

If I’m being honest, cauliflower wasn’t always a vegetable I felt confident growing. It felt a little intimidating at first—sensitive to weather, picky about timing, and constantly targeted by pests. But like many things in gardening, once I gave it a fair shot, paid attention to the details, and stopped expecting perfection, cauliflower became one of my most satisfying harvests.
Most of us are familiar with the classic white cauliflower, and I love using it in a variety of dishes—especially chop suey, a traditional Filipino vegetable medley. I also enjoy making cauliflower rice as a healthier alternative to regular rice, which I try to limit for health reasons.
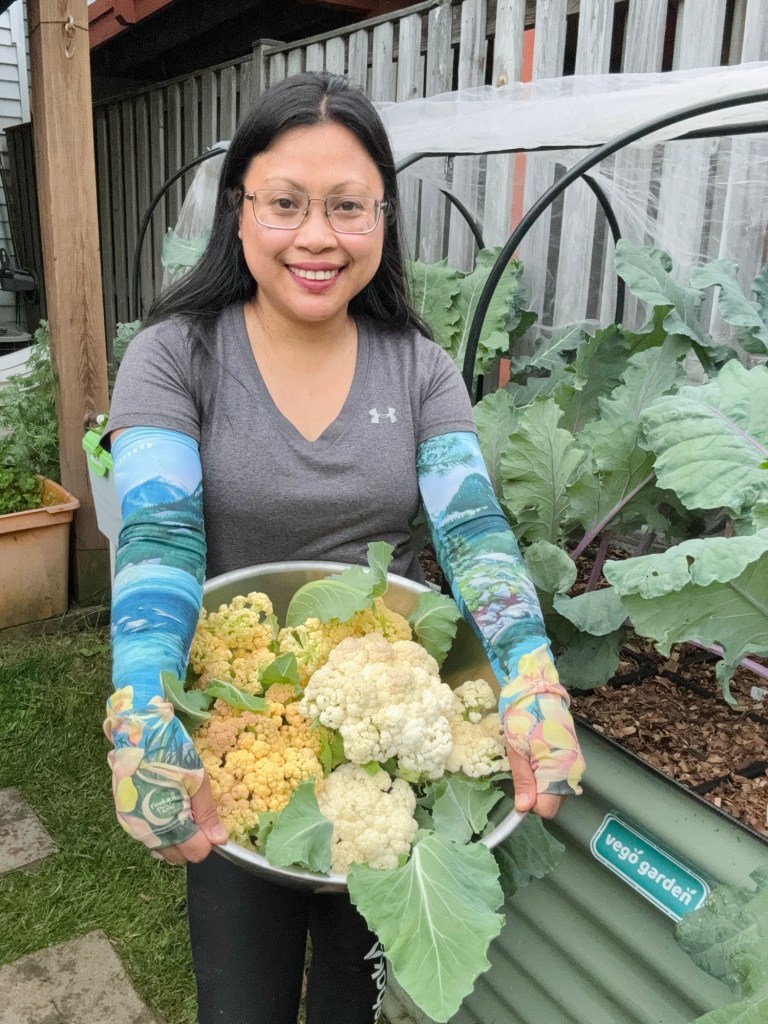
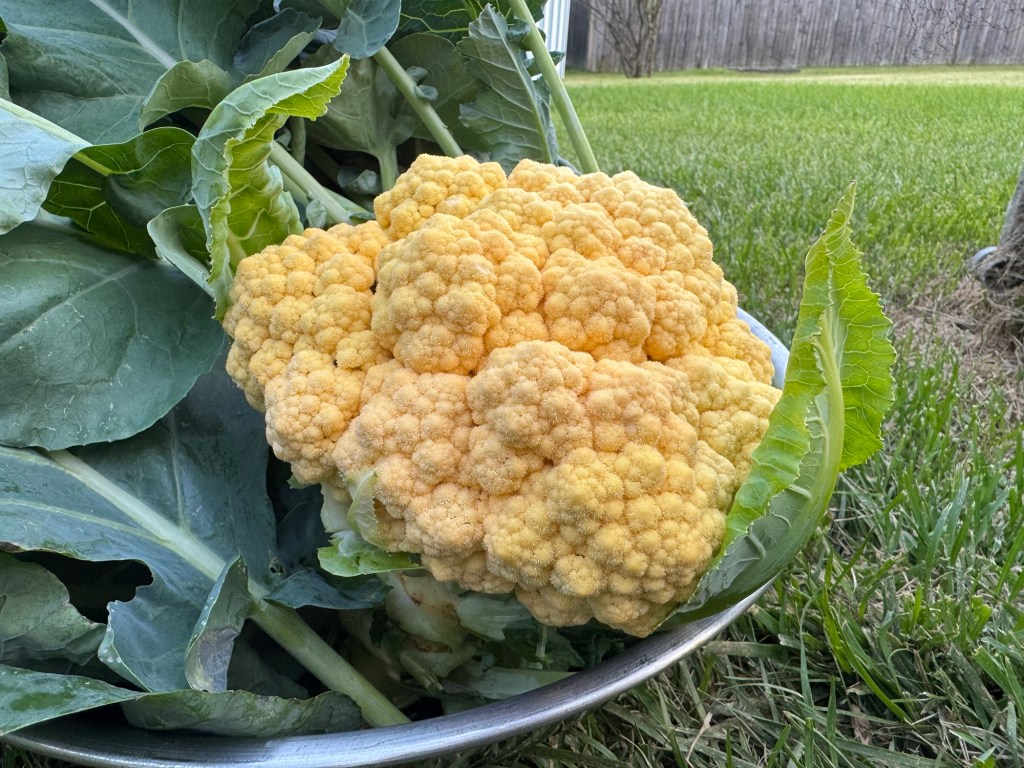
But one of the best parts about growing your own cauliflower—beyond knowing it’s organic and pesticide-free—is the variety. There are so many vibrant, colorful types that make your meals even more exciting and appetizing. And honestly, there’s nothing quite like harvesting a head of cauliflower that you’ve nurtured from seed. It’s incredibly satisfying and rewarding.
Here’s what I’ve learned about how to grow cauliflower in a small space, and what you can do to grow your own successfully—even if it’s your first time.
1. Timing is Everything with Cauliflower
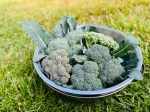
Cauliflower is a cool-season cruciferous crop, which means it loves growing when the temperatures are mild—too cold, and it struggles to grow; too hot, and it bolts or buttons. It’s in the same family as broccoli.
In case you didn’t know about the term “buttoning,” in cauliflower, it happens when the plant forms small, underdeveloped heads—resembling little buttons—instead of growing a full-sized, compact head. This usually results from stress during early growth, such as sudden cold, inconsistent watering, or lack of nutrients. When the plant starts forming a head before it has built enough leaf structure to support it, the result is a tiny curd.

In zone 7 Maryland, that means:
- Spring planting: Start seeds indoors 6–8 weeks before the last frost, then transplant outdoors about 2 weeks before your last frost date. I start mine indoors as early as January and the latest wouldn’t be early March.
- Fall planting: Start seeds in mid-to-late summer (around July), and transplant when your summer heat starts to fade.
🌿 Tip: My fall cauliflower tends to perform better than my spring one because the weather transitions more gradually.
2. Start with Healthy Seedlings
You can start cauliflower from seed indoors or buy healthy transplants from a trusted source. I like to start mine from seed because it gives me more control over timing and variety. Some fun varieties to try:
- ‘Rober’ – Known for its ability to produce large, tight 12-inch heads, even when temperatures fluctuate—making it a dependable choice when other varieties might struggle.
- ‘Cheddar’ – This vibrant orange cauliflower is rich in beta-carotene and becomes even more striking when lightly cooked, adding both color and nutrition to your meals.
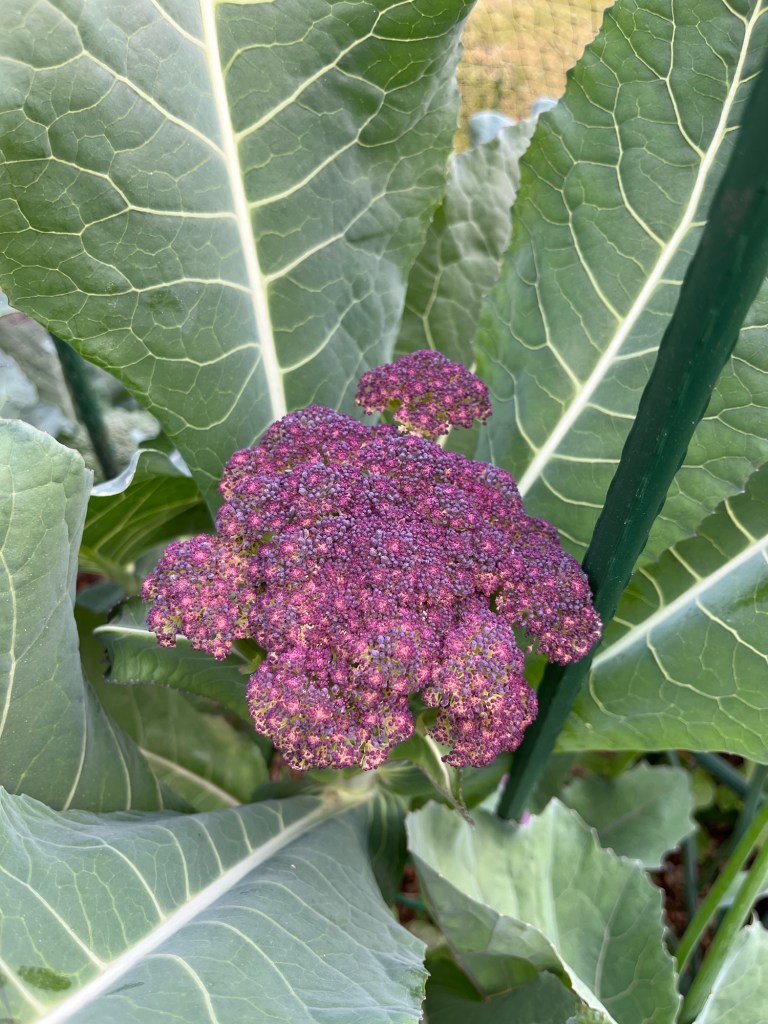
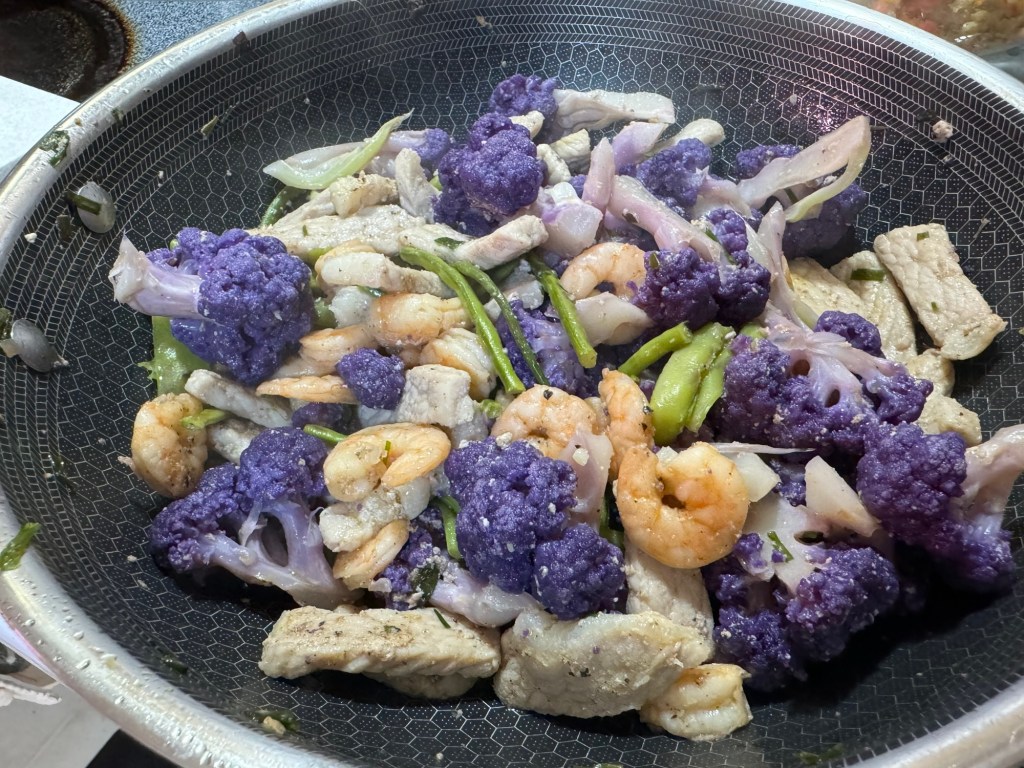
- ‘Depurple’ – An early-maturing variety that produces large, heavy heads and retains its deep purple color even after cooking. A beautiful and flavorful addition to any garden harvest.
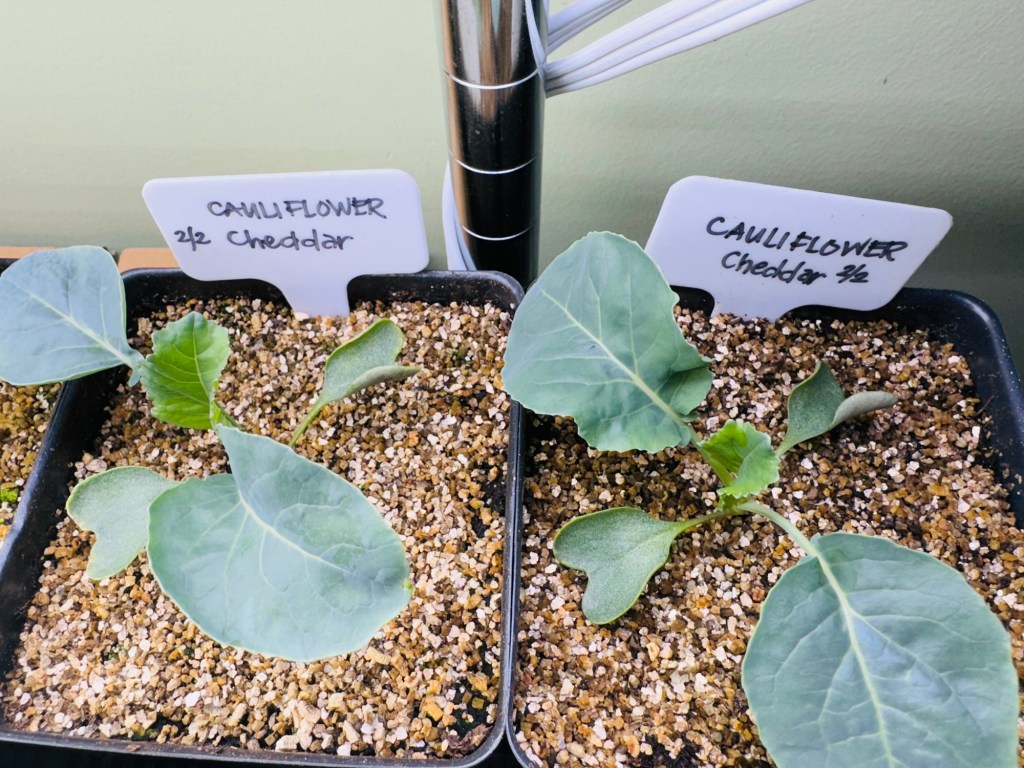
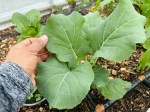
Transplant seedlings once they have 4–5 true leaves and are hardened off.

Hardening off is the process of gradually introducing seedlings to outdoor conditions after they’ve been grown indoors or in a protected space. This step is essential to prepare them for the transition from a controlled environment—like a greenhouse or even a DIY setup using a tote—to the more unpredictable elements of the garden. Without hardening off, plants are more likely to experience transplant shock, which can stunt their growth or even cause them to die. Taking the time to do this properly gives your seedlings a much better chance of thriving once planted in the ground.
3. Plant in Rich Soil and Full Sun
Cauliflower is a heavy feeder, so the soil you plant it in needs to be nutrient-dense, loose, and well-draining. I prepare my raised beds with:
- Compost or aged manure
- A balanced fertilizer like 5-5-5
- A generous sprinkle of worm castings
Plant them where they get at least 6 hours of sun, spacing them about 18–24 inches apart.
4. Consistent Watering is Key
Inconsistent watering stresses cauliflower—and stressed plants don’t produce good heads. I water deeply once or twice a week depending on the weather and always mulch around the base of the plant to keep the soil cool and moist.
🌿 Tip: If the plant gets too dry during head formation, it may not form a full head at all.
5. Watch for Pests and Diseases
Cauliflower, like other brassicas, is a target for:
- Cabbage worms
- White flies
- Aphids
- Harlequin Bugs
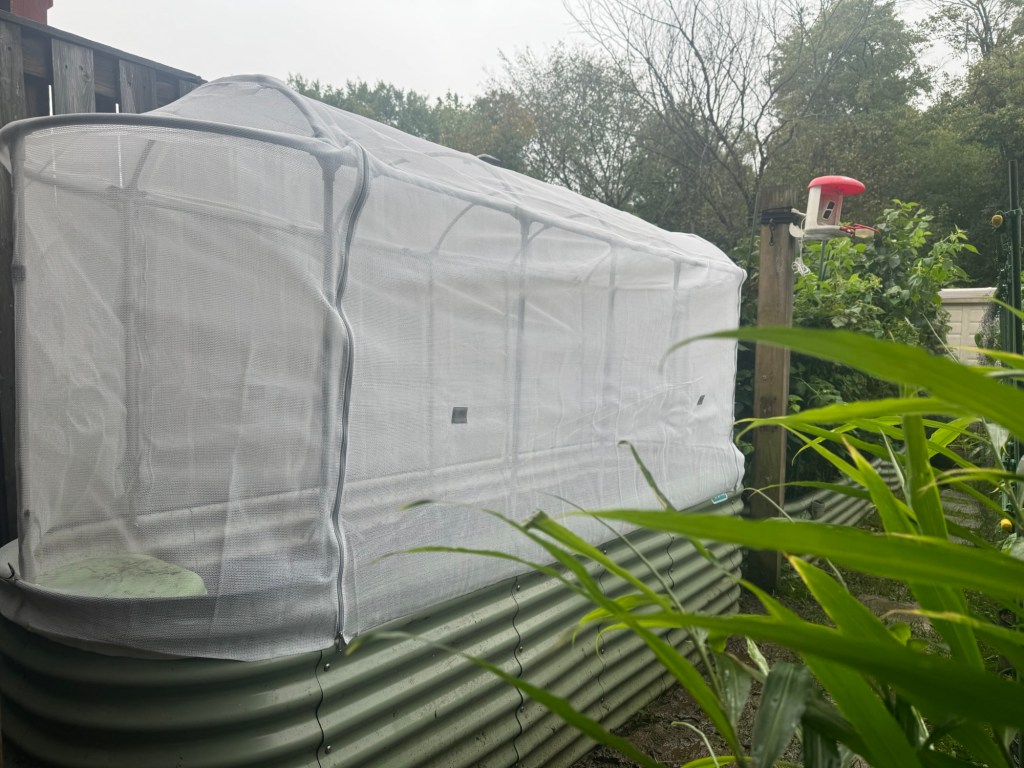
The best thing I ever added to my garden was a fine insect net cover (like the ones from Vego Garden). Not only has it kept the pests out, but it also helped moderate the microclimate around the plant—important during temperature swings.
6. Blanching Helps Keep the Heads Pretty
When the cauliflower head reaches about 2–3 inches wide, I gently tie the outer leaves over the head to shield it from the sun. This helps keep the curds white, compact, and tender—especially for non-self-blanching varieties. Some types naturally self-blanch, with leaves that curl inward on their own to protect the head from light, resulting in beautifully formed curds without any extra effort.
7. When to Harvest Cauliflower
You want to harvest the cauliflower before the curds separate, but not too early that the head hasn’t filled out. Look for:
- Heads that are firm, compact, and 6–8 inches wide
- No signs of yellowing or separation
Monitor your cauliflower plants, and once the head is firm and has reached a good size, harvest it by cutting a few inches below the head, leaving some stem and outer leaves attached to help protect it during storage.
8. Storage and Cooking Ideas
Once harvested, cauliflower can be:
- Stored in the fridge for up to a week
- Blanched and frozen for longer storage
- Roasted, mashed, turned into soup, or even used as pizza crust
My favorite way to enjoy cauliflower? Stir-fried with a mix of veggies and pork or beef—so flavorful and comforting. I also love making garlic cauliflower rice sautéed in olive oil. It’s simple, delicious, and pairs perfectly with just about any protein.
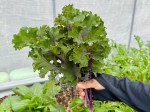
🥬 Cauliflower leaves are completely edible and surprisingly versatile. You can cook them just like kale or collard greens—sautéed, steamed, or added to soups and broths for an extra boost of nutrients and flavor.
9. Lessons I’ve Learned
- Try different varieties. Early-maturing types are ideal if your spring season is short. Varieties like ‘Rober’ thrive even when temperatures fluctuate, making them great for unpredictable weather. The more you experiment, the easier it is to discover what grows best in your zone.
- Shade and protection matter. The insect netting I use with my Vego Garden raised beds has been a game-changer. It not only keeps pests away but also helps protect the plants from heat stress.
- Timing is everything. Starting cauliflower indoors gives you a head start on the season, allowing the plants to establish and form a good-sized head before the summer heat kicks in.
- Once the cauliflower head starts forming, that’s when you really need to keep an eye on it. Make sure the soil doesn’t dry out—any stress at this stage can cause the plant to button or bolt. Even if you planted them all at the same time, they won’t always mature together, so checking each plant often is important.
It’s honestly hard to tell sometimes! But that’s where paying attention really helps. Once buttoning starts, there’s no going back—so it’s worth watching closely to catch that perfect harvest window.
And if your cauliflower ends up buttoning, please don’t be discouraged. We’ve been trained to expect the grocery store version—round, flawless, picture-perfect—but that’s not the only kind of success. There’s nothing wrong with aiming for the best, but don’t let the pressure to grow the “perfect” head steal the joy of harvesting something you grew with your own hands.
In fact, some chefs actually prefer the look of a buttoned cauliflower because it adds visual interest to their dishes! My first successful cauliflower harvest wasn’t flawless either, but it felt incredibly rewarding—and yours will too. Just be sure to harvest before the florets start to flower.
At the end of the day, you grew food. That’s something to be proud of.
Let’s Chat in the Comments
Have you tried growing cauliflower before?
What’s been your biggest challenge—or your proudest moment?
I’d love to hear your story. Share in the comments below or tag me @gingerfootgarden on Instagram so I can celebrate your cauliflower success with you! 🥦💚


Leave a comment