

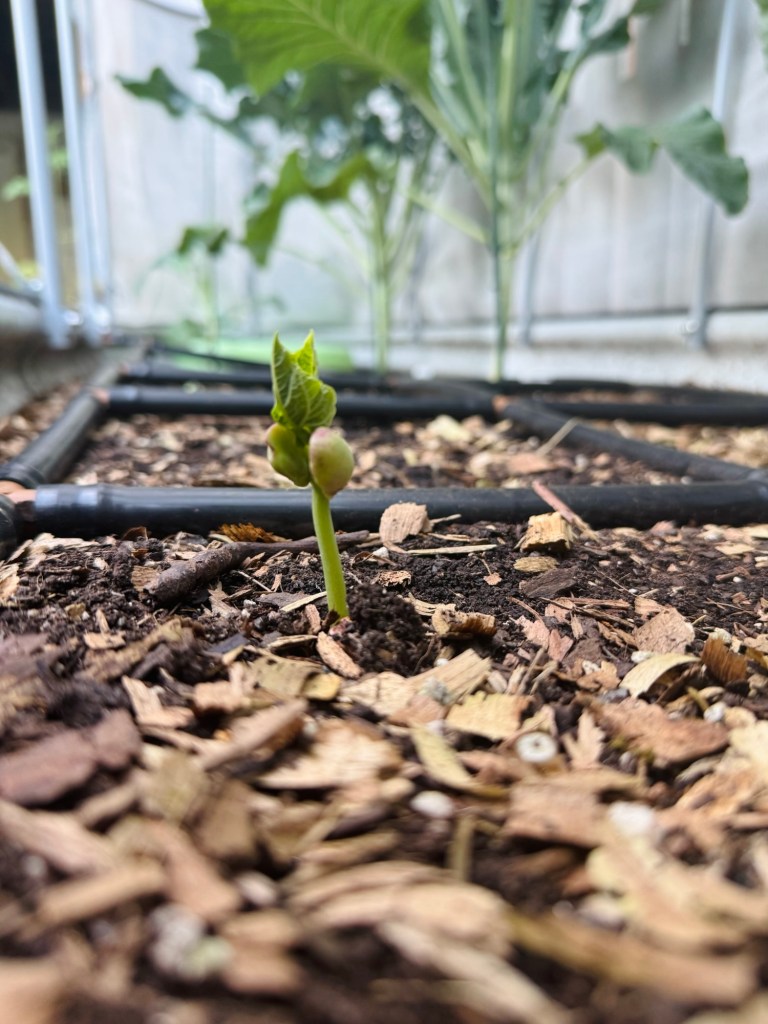
There’s something grounding about watching a head of cabbage slowly take shape in the garden, especially when you start it from a tiny seed. I didn’t always feel that way. In fact, I thought I could never grow it in a small space garden but that harvest one spring changed everything.
So, whether you’re brand new to gardening or a seasoned grower looking to master cabbage in your small space garden, this guide is for you. I’ll walk you through everything I’ve learned—from soil prep and pest control to why timing really is everything.
Why Grow Cabbage?
Cabbage is one of the most nutrient-dense, versatile vegetables you can grow. It stores well, withstands cold temperatures, and adds crunch to slaws, soups, stir-fries, and fermented favorites like sauerkraut and kimchi.
And yet—many gardeners hesitate to grow it, fearing it’s too tricky, takes up too much space or is too prone to pests. But trust me, with the right approach (and a little support from a fellow gardener), you can absolutely grow crisp, beautiful cabbage in a small garden.
Step 1: Choose the Right Variety
Just like tomatoes or peppers, cabbage comes in many types:
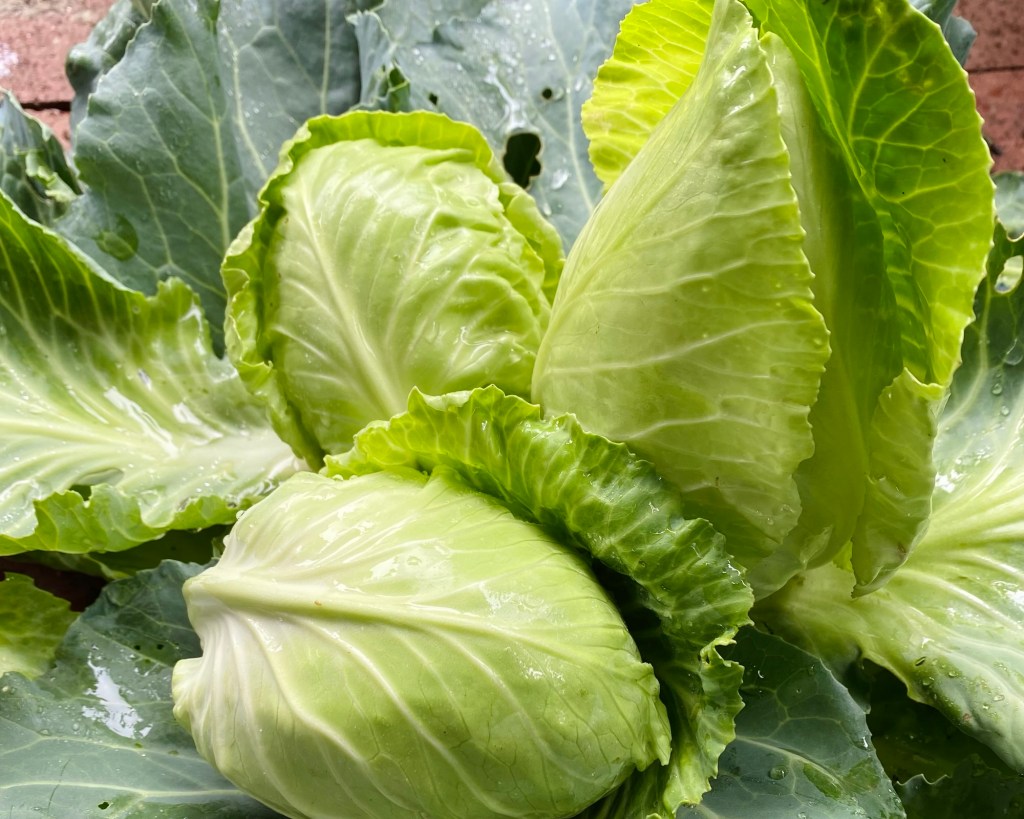
- Green cabbage: Classic and dependable. Try ‘Golden Acre’ for early harvests.
- Red cabbage: Adds beautiful color to dishes. More heat-tolerant than green.
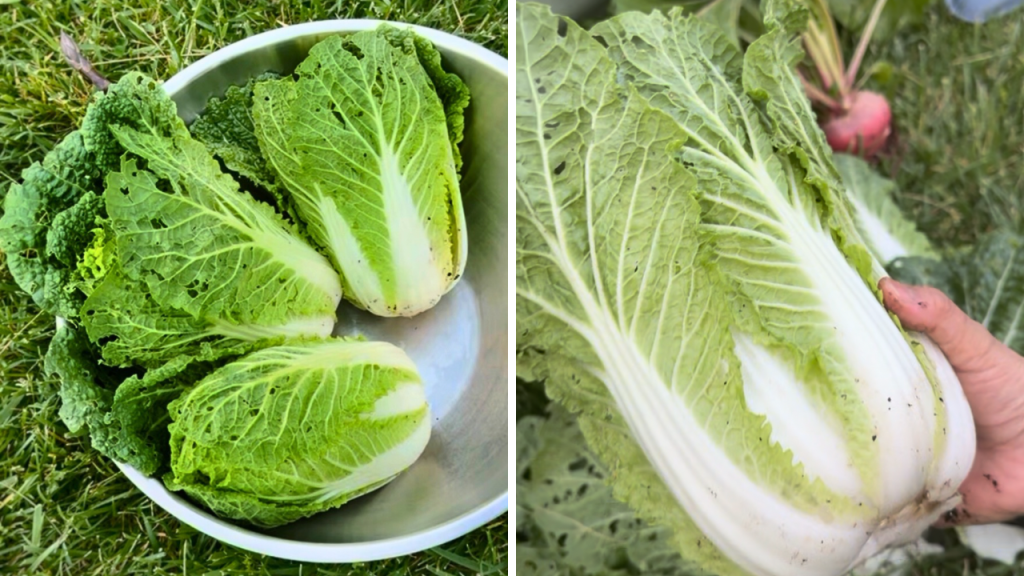
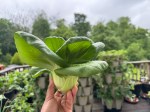
- Napa/Chinese cabbage: Grows quickly and is a favorite in Asian cuisine. This is my favorite type, particularly the ‘Little Jade Napa’
- Savoy cabbage: Crinkled leaves with a buttery texture—great in soups and sautéed dishes.
👉 TIP: For small gardens or containers, look for compact or mini varieties like ‘Caraflex’ or ‘Farao’ that mature faster and require less space.
Step 2: When and How to Plant
Cabbage grows best in cooler weather, making it perfect for spring or fall planting.
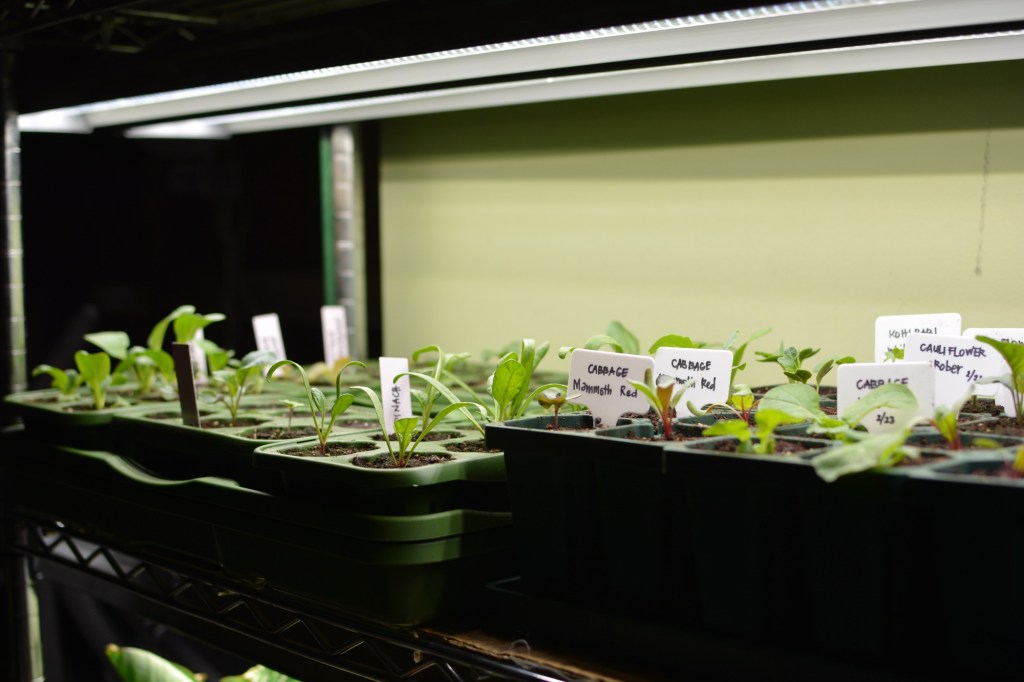
- Start cabbage seeds indoors about 4–6 weeks before your last expected spring frost or 10–12 weeks before your first fall frost. In my Maryland garden (Zone 7), I usually start seeds from late January to late February for a spring crop, and from mid-July to August for a fall crop.
- Transplant seedlings outdoors when they’re about 4–6 weeks old and have developed 4–6 true leaves. In early spring, I begin transplanting in March, and I’m able to do this early thanks to season extenders like plastic sheeting or frost cloth, which I layer over my Vego Garden cover system for added protection.
- You can also direct sow cabbage seeds outdoors if you live in a region with a long enough growing season, especially for fall planting.
Don’t forget to harden off your seedlings before transplanting them outdoors. This step helps them gradually adjust to outdoor conditions like wind, sun, and fluctuating temperatures. Skipping it can lead to transplant shock—and in some cases, your plants may not survive.
In the spring, I often use clear totes to shield seedlings from cold snaps and help control their exposure when a greenhouse isn’t available. In the fall, I start hardening them off as early as possible under a shade cloth with netting. This not only eases the transition but also helps prevent bolting from sudden temperature changes.
Step 3: Prep the Soil
Cabbage is a heavy feeder, so it loves nutrient-rich, well-drained soil. Aim for:
- Lots of compost or aged manure
- A handful of bone meal or a balanced organic fertilizer in each planting hole
- pH between 6.5–6.8
Don’t skip this part—your future harvest depends on it.
Step 4: Spacing
- Plant cabbage 12–18 inches apart depending on the variety.
- Rows should be at least 24 inches apart. I stagger the spacing in between rows diagonally
Raised Bed Tip:
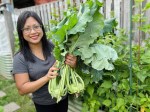
In my raised beds, I space my cabbages about 24 inches apart, but I don’t let the space between them go to waste. I interplant with quick-growing crops like bok choy or radishes. These fast growers are ready to harvest before the cabbage plants begin to fill out and take over the space. It’s a great way to maximize your garden’s productivity while keeping weeds down early in the season.
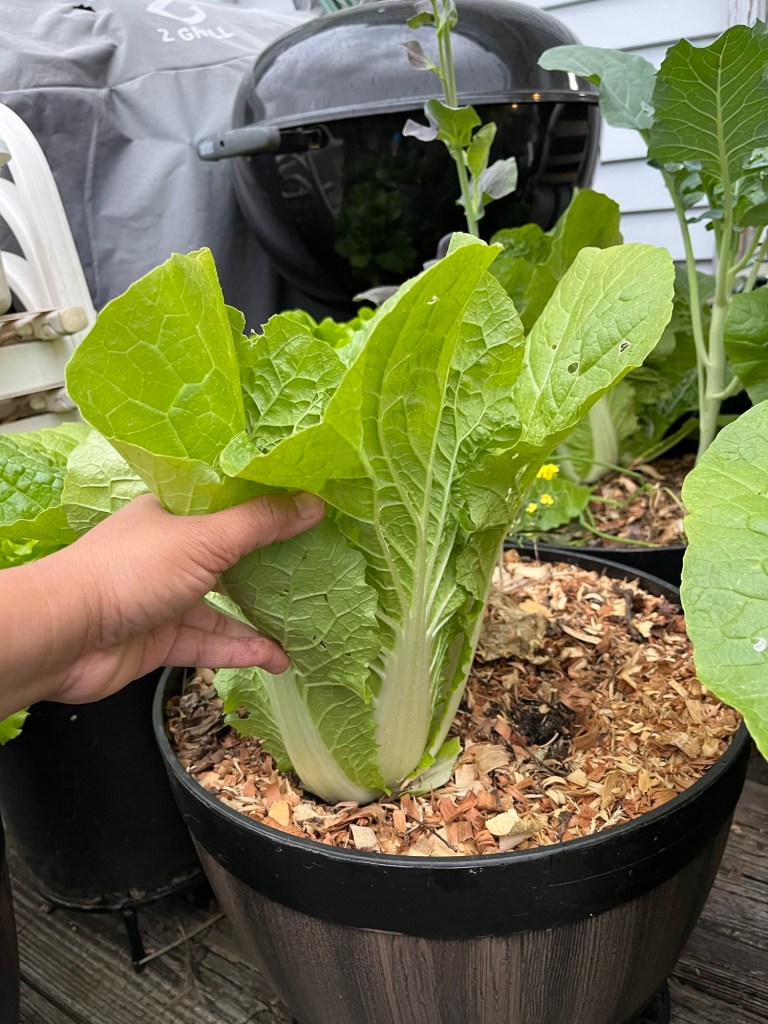
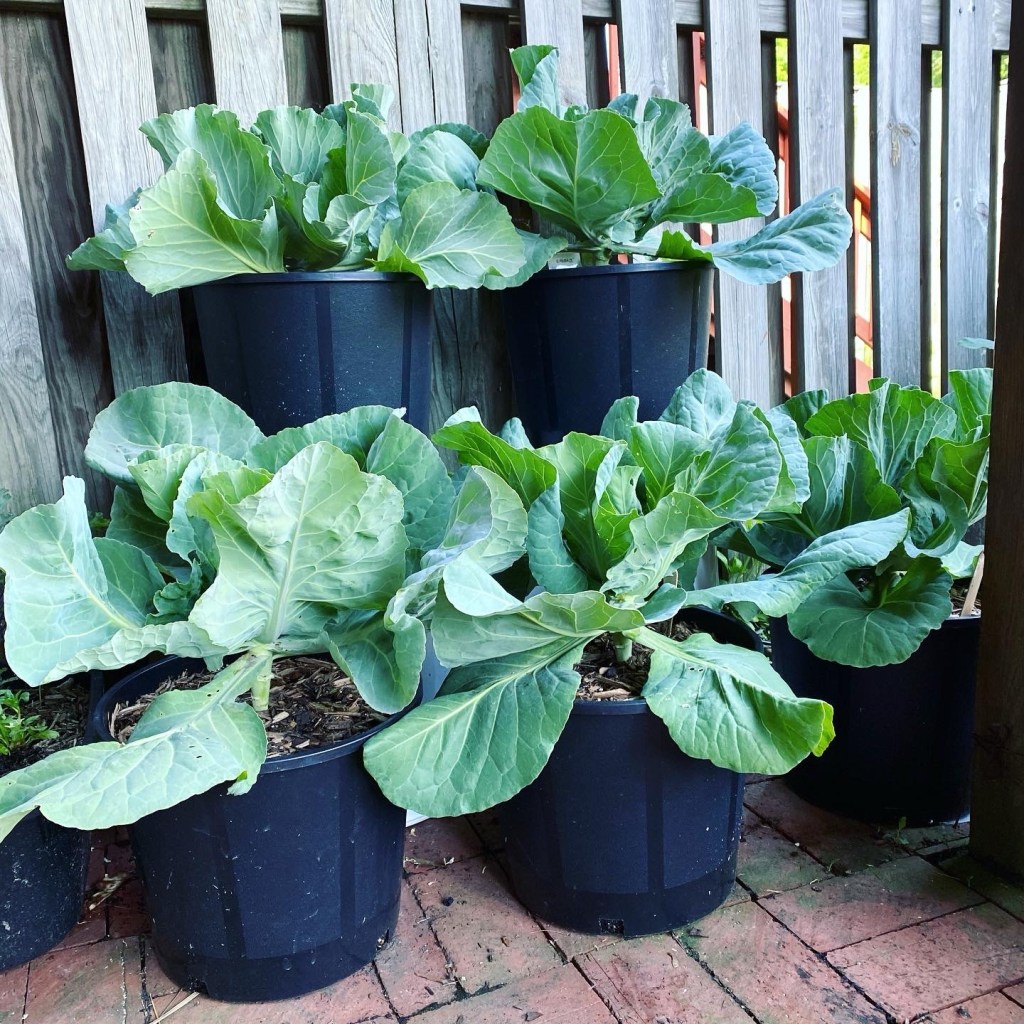
Container Growing Tip:
Cabbage also grows well in containers—especially compact varieties. A 10-gallon pot is ideal, giving the plant plenty of room to develop a strong root system and retain moisture. You can use a 3–5 gallon container, but keep in mind it will dry out much faster, so you’ll need to monitor watering closely. If you’re growing in a smaller pot, consistent moisture and regular feeding are key to a successful harvest.
Step 5: Sunlight
Choose a location that gets at least six hours of direct sunlight each day. Cabbage thrives in full sun, and giving it enough light is essential for forming firm, healthy heads. The more sun it receives, the better it will grow!
Step 6: Watering and Mulching
Cabbage needs consistent moisture to develop firm heads.
- Water deeply 1–2 times per week depending on rainfall.
- Mulch with straw, leaves, or compost to retain moisture and regulate temperature.
🚫 Warning: Uneven watering can lead to splitting heads.
Step 7: Feeding Your Cabbage
Fertilize regularly to support healthy growth:
- Use a balanced organic or nitrogen-rich fertilizer every 3–4 weeks.
- Fish emulsion, compost tea, or worm castings are excellent additions, especially during head formation.
Step 8: Deal with Pests Before They Take Over
Cabbage’s biggest enemies are:
- Cabbage worms and loopers
- Aphids
- Slugs
- White flies
- Harlequin bugs
Ways to manage them:
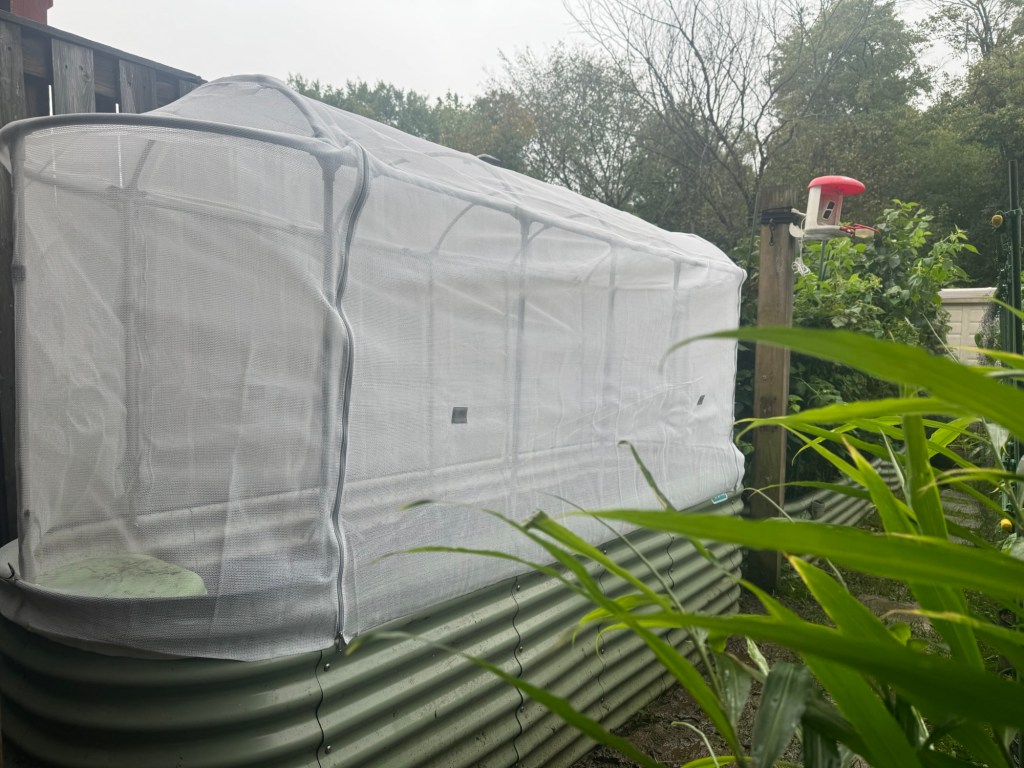
- Protect your plants early by covering them with floating row covers or fine insect netting. I personally use insect netting or the Vego Garden cover system to keep cabbage moths from laying eggs on the leaves in the first place. I never plant my cabbages without this protection already in place—it’s a game-changer. From my experience, green cabbage varieties tend to attract more cabbage moths than the red or purple types but they’ll still go for it if they can’t find another plant host.
- Use BT spray (Bacillus thuringiensis) to target caterpillars effectively. It’s an organic option that specifically affects leaf-eating larvae without harming beneficial insects.
- Remove yellowing leaves and keep the base of the plant clean and clear of debris. This helps reduce hiding spots for pests and keeps your plants healthy.
- If slugs become a problem, especially in cool and moist weather, sprinkle slug bait around the garden to reduce the population quickly.

🦋 If you see white butterflies fluttering above your cabbage, check under the leaves—they’ve likely laid eggs. Inspect and get rid of the tiny white eggs before the hatch and start chewing the leaves.

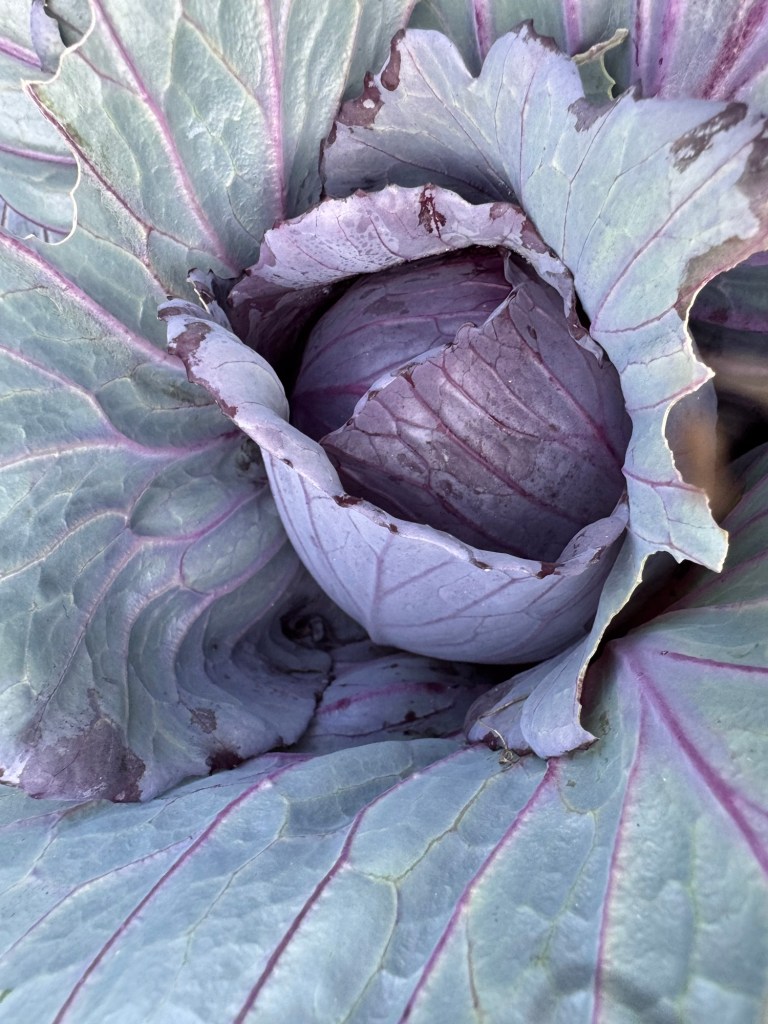
Step 9: When to Harvest
Cabbage heads are ready when they’re firm and dense. Check the expected maturity date on your seed packet, but don’t be afraid to harvest a little early if you see signs of splitting or bolting.
- Use a sharp knife to cut the head at the base.
- Leave the outer leaves and stem behind if you want to grow bonus side shoots—mini cabbages!
Step 10: Practice Crop Rotation
Cabbage is part of the brassica family (like kale, broccoli, and cauliflower). To prevent soil-borne diseases like clubroot:
- Rotate with legumes, onions, or root crops. After harvesting the cabbage and other brassica plants, I succession plant legumes and onions in the same spot.
- If possible don’t plant brassicas in the same spot every year. But for a small space, I understand that this can be very challenging. If you have no option to rotate crops, remember to amend the soil and mineralize it. Adding compost and Azomite after the growing season helps prevent soil borne-diseases.
A Final Word from the Garden
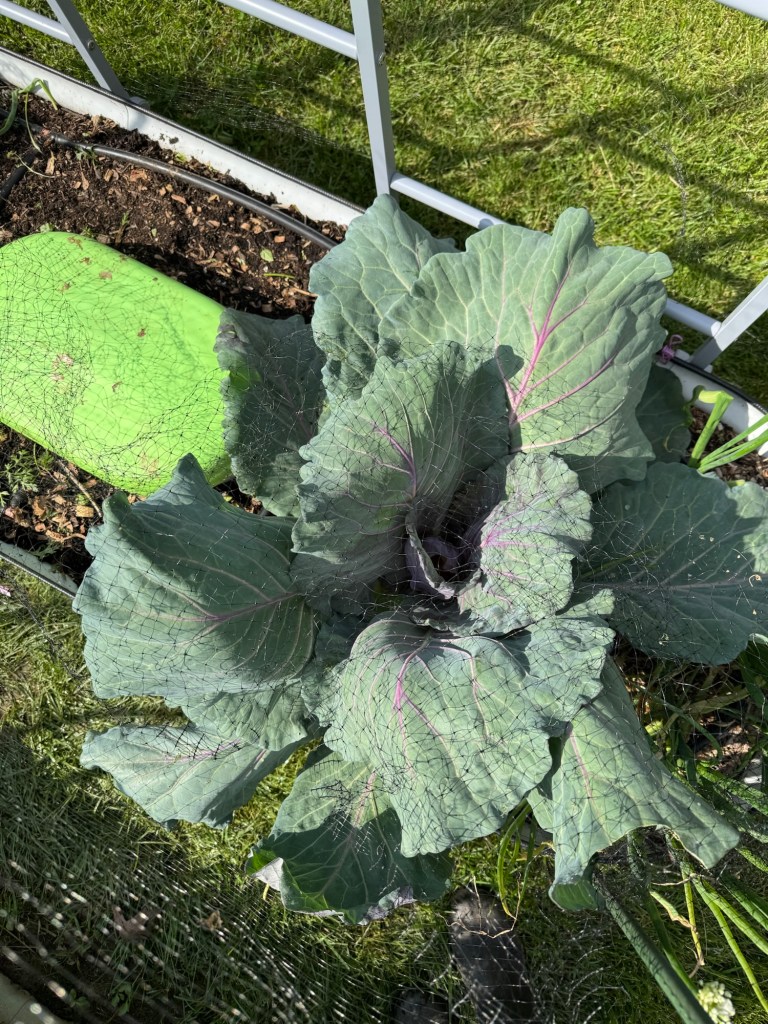
One of the most beautiful things about gardening is the cycle of trial, error, and growth—not just in the soil, but in ourselves. I still remember the first time I tried growing cabbage. I wasn’t sure if it would work, but I gave it a shot anyway. Watching those tiny seeds sprout and grow into what looked like huge, leafy green flowers felt so delightful!
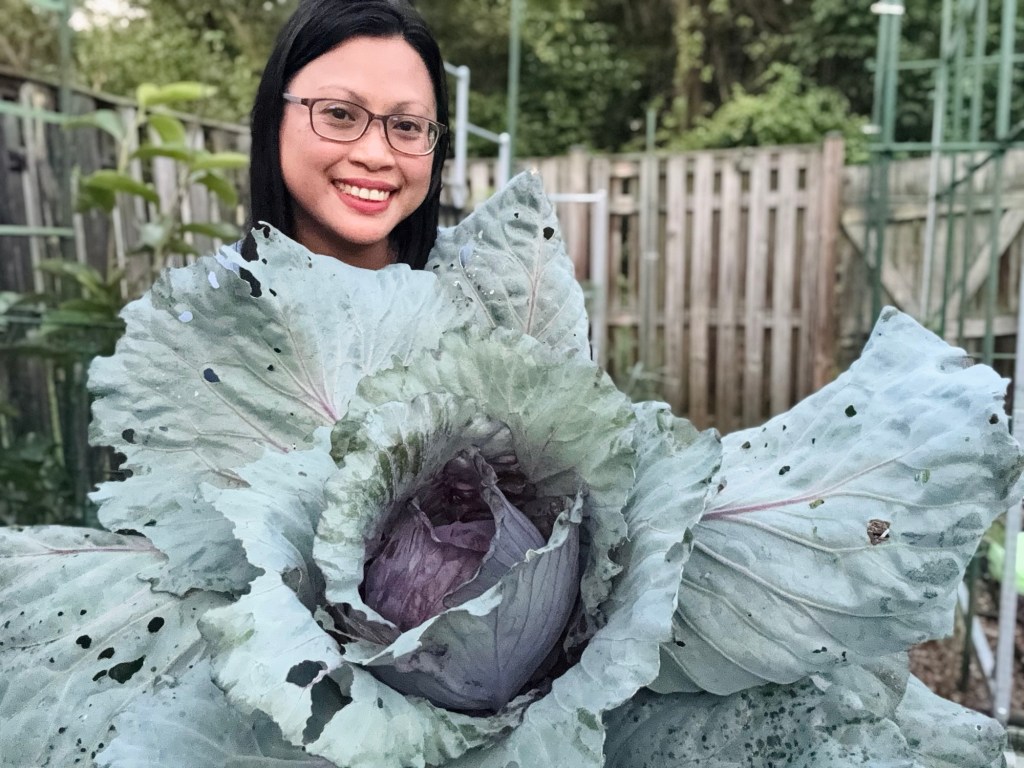
That’s one of my favorite things about growing cabbage—it’s like nurturing a gigantic blossom, and just like any flower, it brings so much joy to watch it take shape. I had planted them in a small container, and over time, it became full and lush. I’ll never forget the moment I spotted the first little head forming. It was still small, but to me, that was a huge win.
That experience showed me that growing cabbage—even in containers—is absolutely possible. These days, I prefer growing them in raised beds because of the space and support they provide, but it’s so encouraging to know that with a little care, cabbage can thrive in small spaces, just like my garden.
💬 Let’s Chat!
Have you grown cabbage before? What worked—or didn’t—for you? I’d love to hear your story in the comments or over on Instagram @gingerfootgarden. Every gardener’s journey is a little different, and your voice might just inspire someone else to give it a try. 🌿


Leave a comment