
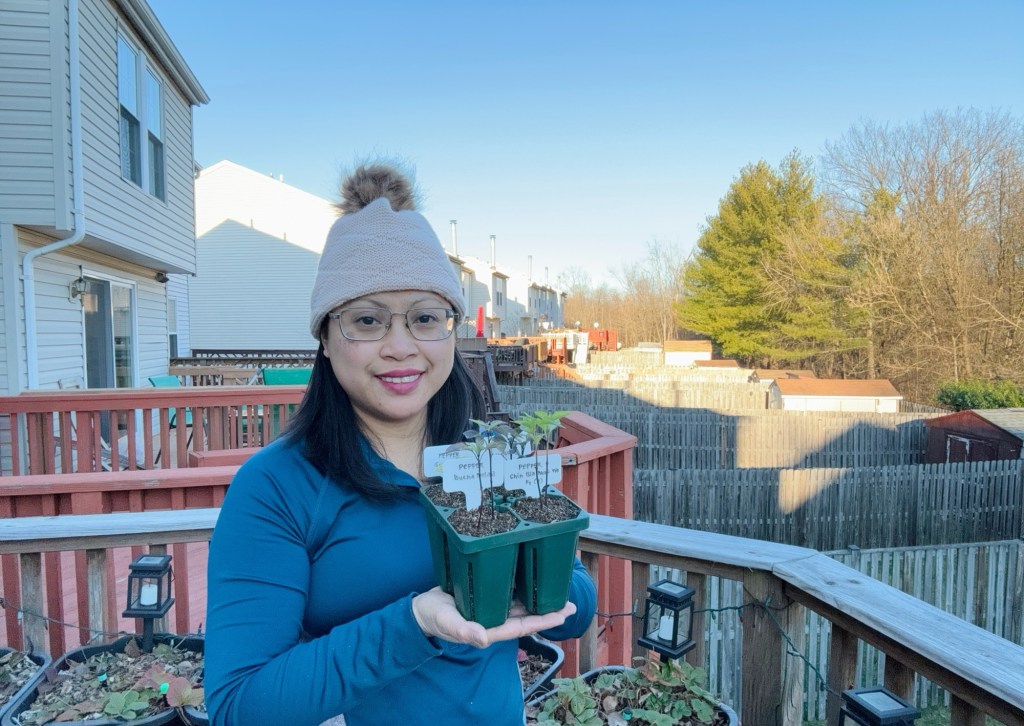
Imagine stepping into your garden on a warm spring morning, a tray of vibrant seedlings in your hands. Each plant is a testament to the care and patience you’ve poured into them. You can already picture the lush, thriving garden ahead—one that will bring you joy, fresh harvests, and countless delicious meals straight from your own backyard. But before you can enjoy that lush garden, you have to start somewhere. And for many gardeners, that journey begins long before the last frost, in the quiet warmth of their homes, with tiny seeds full of potential.
If you live in Zone 7, you’re in a sweet spot for gardening. Our winters are cold enough to require careful planning, but our growing season is long enough to cultivate a wide variety of vegetables, herbs, and flowers. Seed starting indoors gives you a head start, allowing you to grow strong, healthy plants well before spring arrives.
In this guide, I’ll walk you through everything you need to know about seed starting in Zone 7, from the best timing and materials to practical tips for success.
Why Start Seeds Indoors?
If you’ve ever walked through a garden center in spring, you might have wondered: Why go through the trouble of seed starting when I can just buy transplants?
Here’s why:
- More Variety – Store-bought seedlings are limited in selection, but seed catalogs offer thousands of choices! Want rare heirloom tomatoes or vibrant purple basil? You’ll have to start them yourself.
- Stronger, Healthier Plants – When you grow from seed, you control the quality of your plants from day one—no mystery chemicals, no root-bound transplants.
- Cost-Effective – A packet of seeds costs about the same as one store-bought seedling but can produce dozens of plants.
- Perfect Timing – By starting your seeds indoors, you can transplant them as soon as the weather is right, rather than waiting for stores to stock plants.
When to Start Seeds in Zone 7
Zone 7 has a moderate climate, with the last frost typically occurring between March 20 and April 15. This means you’ll want to start seeds indoors at different times, depending on the plant type.
Seed Starting Calendar
| Plant | Start Indoors | Transplant Outdoors |
| Onions (from seed) | January | March |
| Peppers | Early February – Early March | Mid-April – Early May |
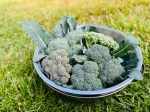
| Broccoli | Late January – Early February | Mid-March |
| Cabbage | Early February | Mid-March |
| Cauliflower | Early February | Mid-March |
| Lettuce | February | March |
| Herbs (Cilantro, Parsley) | February – March | April – May |
| Eggplant | Early March | Late April – Early May |
| Tomatoes | Early March | Mid-April – Early May |
| Flowers (Marigolds, Zinnias) | March | May |
General Rule of Thumb:
- Cool-season crops (broccoli, cabbage, onions) should be started earlier since they can handle cool weather.
- Warm-season crops (tomatoes, eggplants) should be started later to avoid transplanting them before the last frost. However, peppers can be started early as they take a little time to grow but like any other warm-season crops they’ll be transplanted outdoors once the threat of frost is over.
What You Need to Start Seeds Indoors
1. Seeds
Choose high-quality seeds from a reliable source. Heirloom, organic, or hybrid—each has its benefits.
2. Containers
You can use:
- Seed trays with drainage holes
- Recycled containers, yogurt cups, egg cartons, or even DIY newspaper pots
3. Seed-Starting Mix
Regular garden soil is too heavy and can suffocate delicate roots. Use a light, well-draining seed-starting mix instead.
4. Grow Lights
Natural sunlight from a window is usually not enough. To avoid seedlings stretch and become leggy, they’re not getting enough light. Use:
- LED grow lights (cool and energy-efficient)
- Fluorescent T5 lights (affordable and effective)
- Position lights 1-2 inches above seedlings and adjust as they grow.
5. Heat Mat (Optional, But Helpful!)
Some seeds, like peppers and tomatoes, germinate best at 70-80°F. A seedling heat mat can speed up germination, especially in a chilly home.
6. Humidity Dome or Plastic Wrap
This helps keep moisture locked in for germination. Remove the cover once seeds sprout to prevent mold growth.
Step-by-Step Guide to Seed Starting
Step 1: Moisten the Seed-Starting Mix
Before filling containers, moisten your soil until it feels like a damp sponge—not soggy, just moist.
Step 2: Plant Seeds at the Right Depth
Read the seed packet instructions carefully. A general rule is to plant seeds twice as deep as their width.
Step 3: Provide Light and Warmth
- Keep seeds at the recommended temperature (usually 65-75°F).
- Once they sprout, give them 12-16 hours of light per day using grow lights. Also, you should remove the heat mat, if you’re using any, once the seeds germinate.
Step 4: Keep the Soil Moist (But Not Soggy!)
Water gently bottom-watering (placing trays in shallow water and letting soil absorb moisture).
Step 5: Thin Seedlings
Once seedlings grow their first true leaves, snip the weaker ones at the soil level to prevent overcrowding. If thinning is difficult for you to do, you can also separate the seedlings when you transplant them to bigger pots.
Step 6: Up Potting Seedlings
Depending on the time you start the seedlings, you may need to up pot or transplant the seedlings to a bigger pot. This will give the roots more room to spread and will allow the plants to grow bigger.
Step 6: Harden Off Before Transplanting
Before moving plants outside, gradually expose them to outdoor conditions over 7-10 days.
- Start with 1 hour outside in a shaded area.
- Increase time daily, adding exposure to sunlight and wind.
Troubleshooting Common Seed-Starting Problems
Leggy Seedlings?
- Cause: Not enough light or too much heat
- Fix: Lower the grow lights closer to the seedlings
Moldy Soil?
- Cause: Overwatering or poor air circulation
- Fix: Water less and use a small fan to improve airflow
Damping Off (Seedlings Suddenly Die)?
- Cause: Fungal infection from overly wet conditions
- Fix: Use a sterile seed-starting mix and avoid overwatering
Seed starting is more than just gardening; it’s a lesson in patience, hope, and growth. Every tiny sprout represents potential—a future salad, a fresh bouquet, a delicious homegrown meal.
There’s something special about nurturing life from the very beginning. It gives you a sense of pride and it connects you to the food you eat. So as you place those first seeds into the soil, remember: you’re not just growing plants—you’re growing possibilities.
Have you started seeds before, or are you new to the process? Let me know in the comments—I’d love to hear about your journey! Happy planting!


Leave a comment