
Greenhouse is one of the gardening essentials for those who want to take gardening seriously. It is very helpful for those of us who live in cold climates, as it is a good strategy to extend the growing season. It provides frost protection for delicate seedlings and frost-sensitive plants. It is where you nurture seedlings before finally planting them in the garden. They are also good at protecting potted plants from the harsh winter conditions.
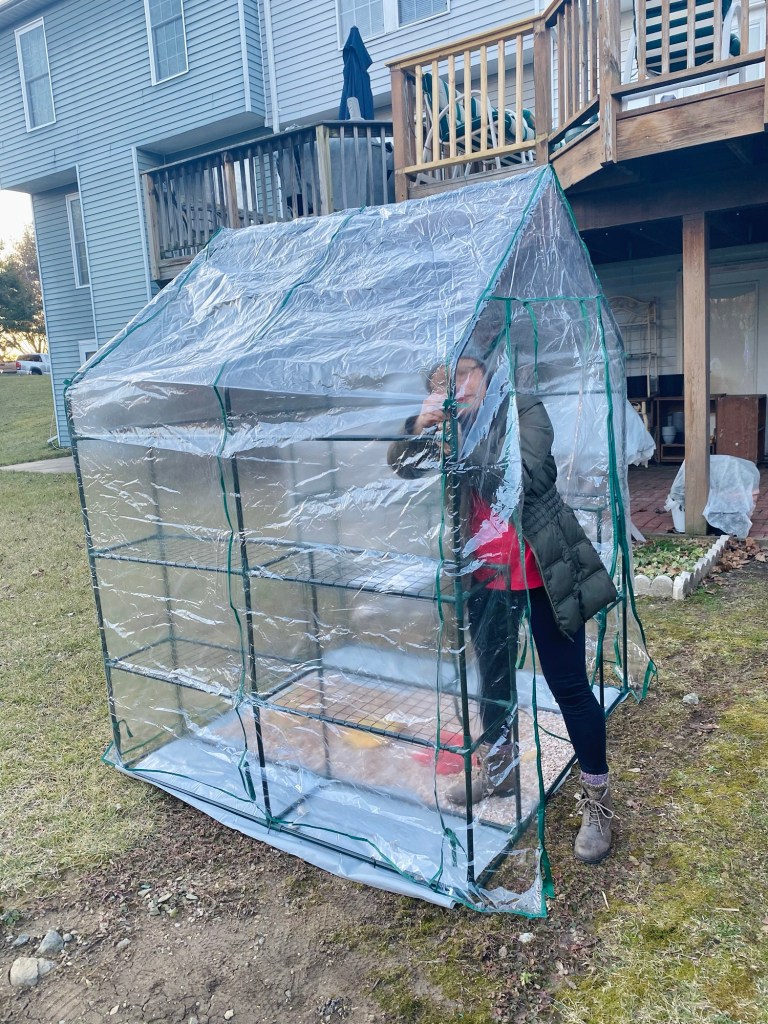
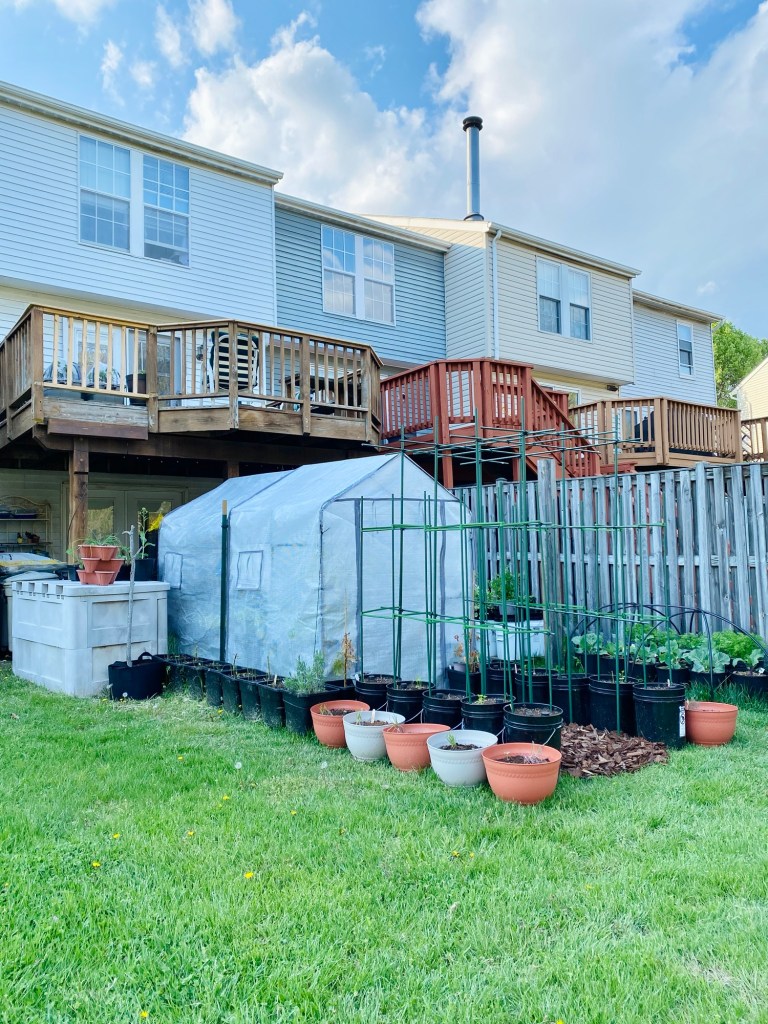
In January of 2021, my husband decided to get one of those temporary mini greenhouses from Amazon for me. Long story short, I ended up having two because I filled the first one very quickly. I was aware of some negative reviews about them but we decided to give them a try. We picked this 5X5x6 walk-in mini greenhouse with two-tier shelvings, and with plastic cover.

Pros and Cons of this type of greenhouse
Some of the things I like about this greenhouse are as follows:
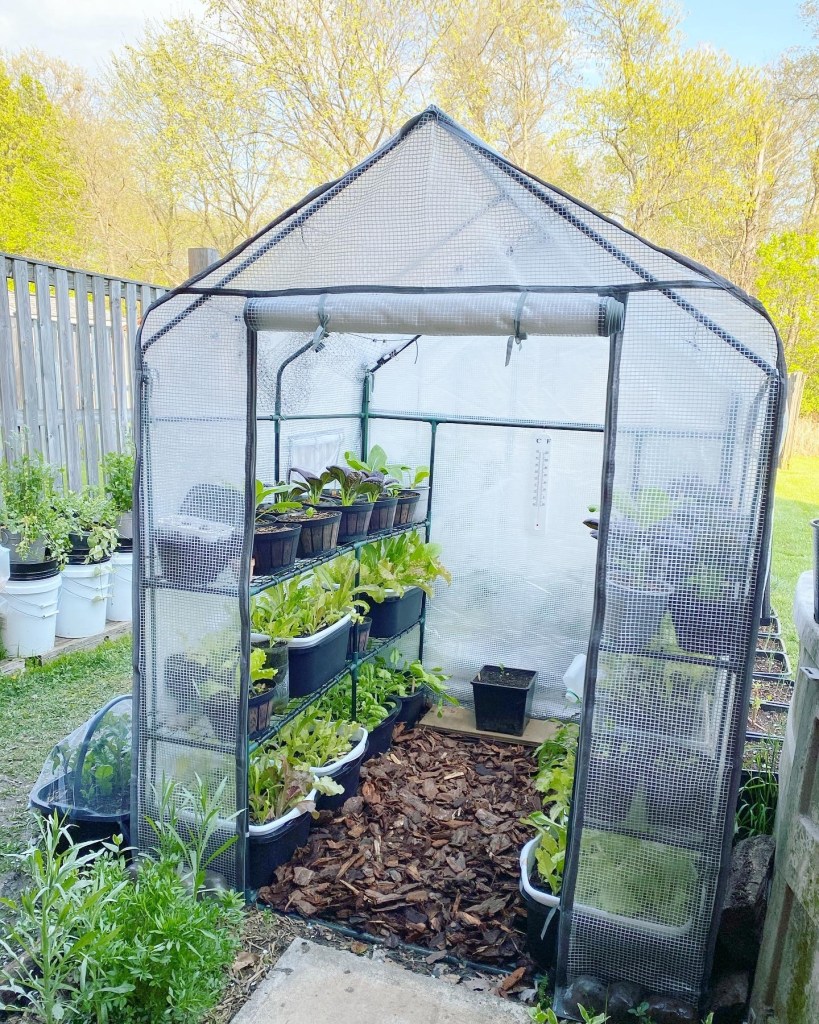
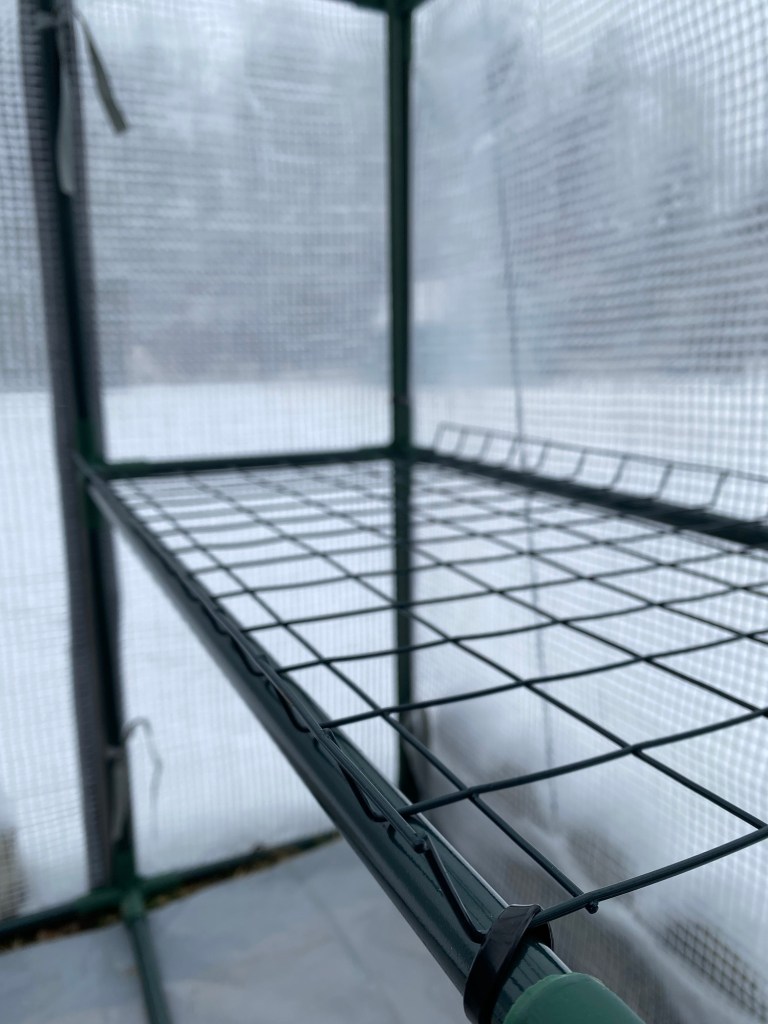
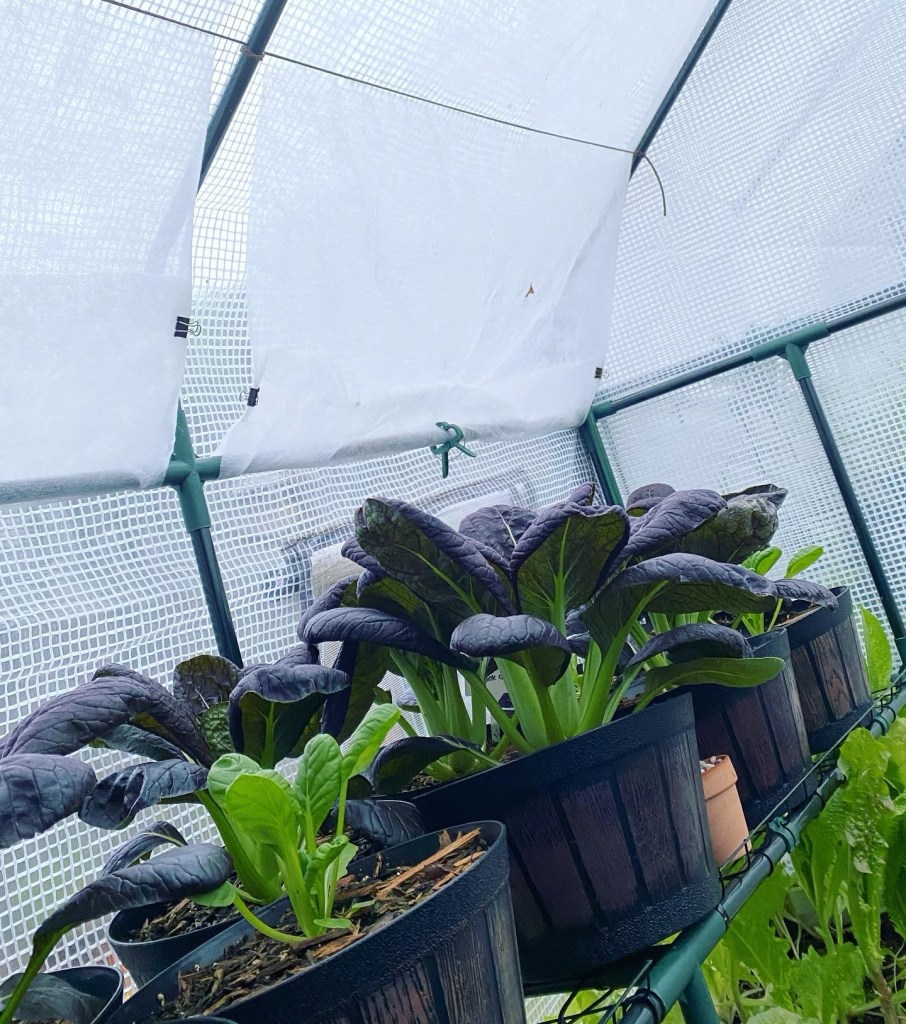
1. The vertical planting feature. You can fit three tiers of plants from top to bottom, which is great for small-space gardeners like me.
2. They are easier and quicker to build. Unlike the heavier and bulkier type of greenhouse, this one of pretty easy to assemble. Within a day I was able to put it together.
3. The initial cost wasn’t so bad. I think we paid about $80 for each. It’s a good starter greenhouse while someone is just testing out the water.
There are some things I also didn’t like about this greenhouse such as:
1. It had the reputation of flying to the neighbor’s yard.
2. Some plastic materials can rip very easily. The original greenhouse cover that we bought ripped after a day or two. I ended up replacing it with another material, which is a little more tear-resistant than the first material that we got.
3. The shelvings were a bit flimsy and the plants with heavy pots could easily fall.
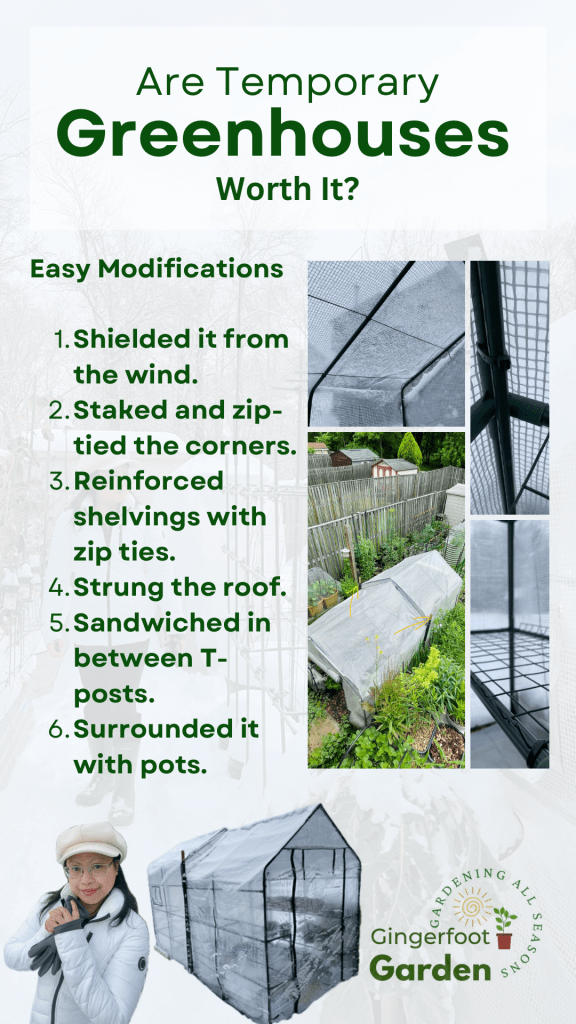
I was aware of the pros and cons of using temporary mini greenhouses like this so, I have made some simple modifications to keep my mind at ease and to prevent the issues that people have mentioned in their reviews. Stability and integrity were my major concerns but I was determined to figure out ways to help them withstand our weather and to make them more sturdy and last longer.
Here are a few simple modifications I did to reinforce the greenhouse structure.
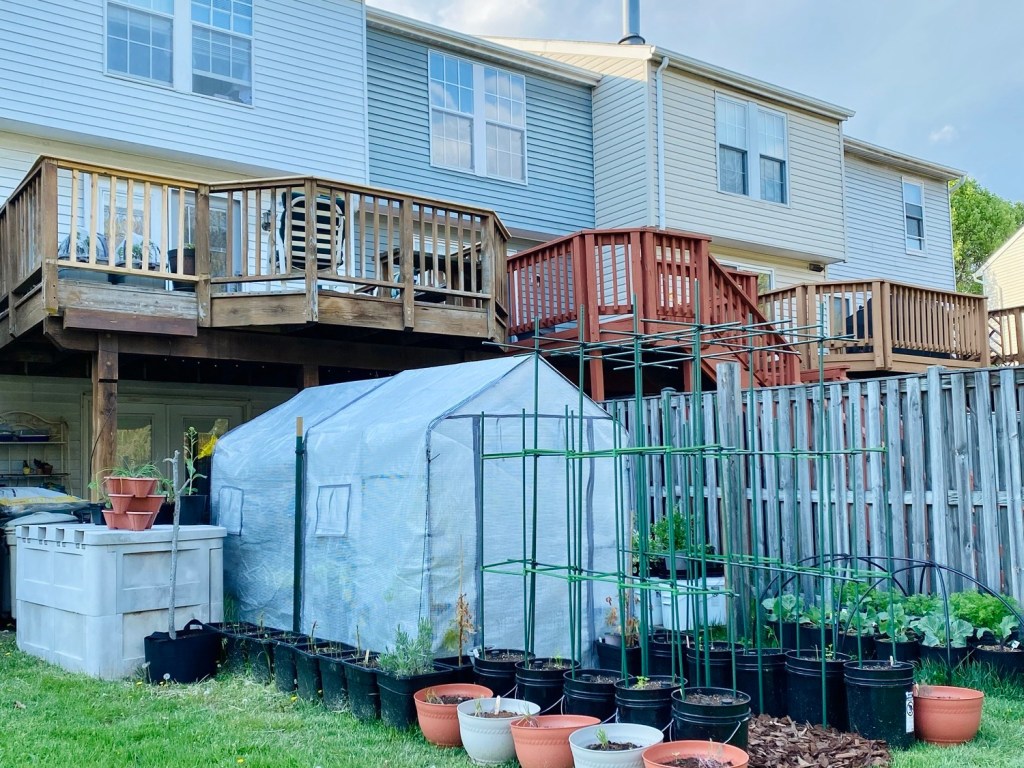
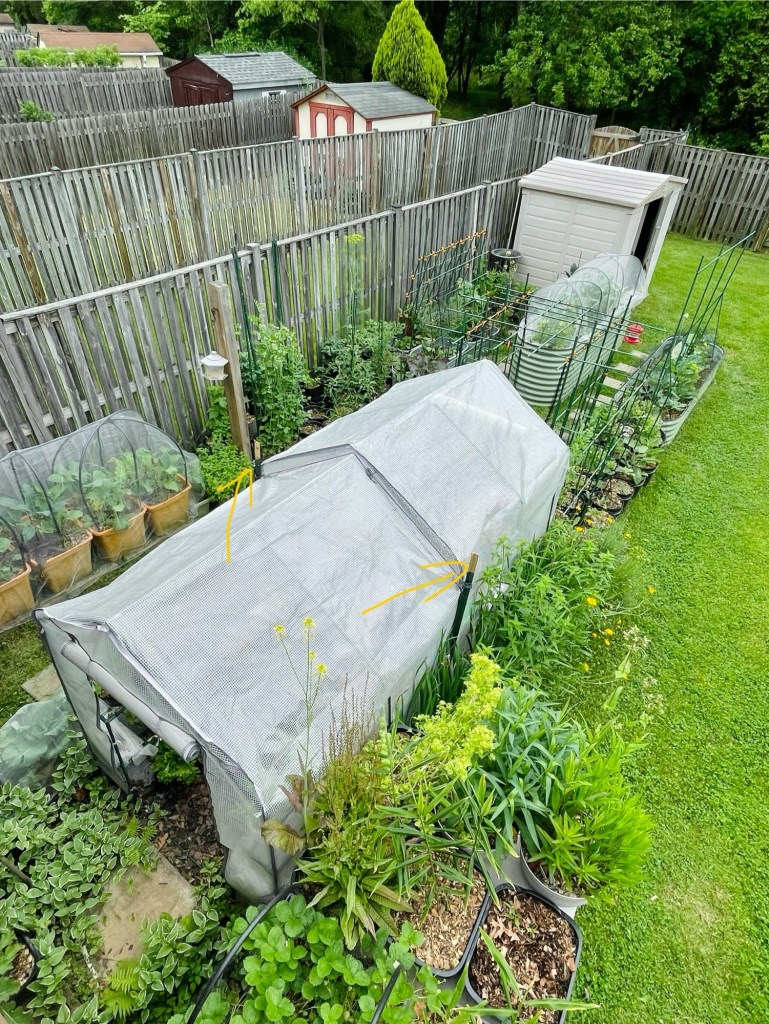
1. I placed them near my patio, where I also get plenty of sunlight, to help shield the greenhouse from strong winds. With them being placed side by side, both greenhouses benefited by diminishing the surface area exposed to wind.
2. I staked each corner with 5-foot-long garden stakes. To make it a little easier for me to stake it to the ground, I hammered a screwdriver to make the hole, pulled it out then stuck the stake to the ground as deep as I could. I did it on all the corners and secured them with heavy-duty cable ties. It made the foundation less wobbly and anchored the structure in place much better. I’ve also used the tiny stakes that came with the package to add more security at the bottom.
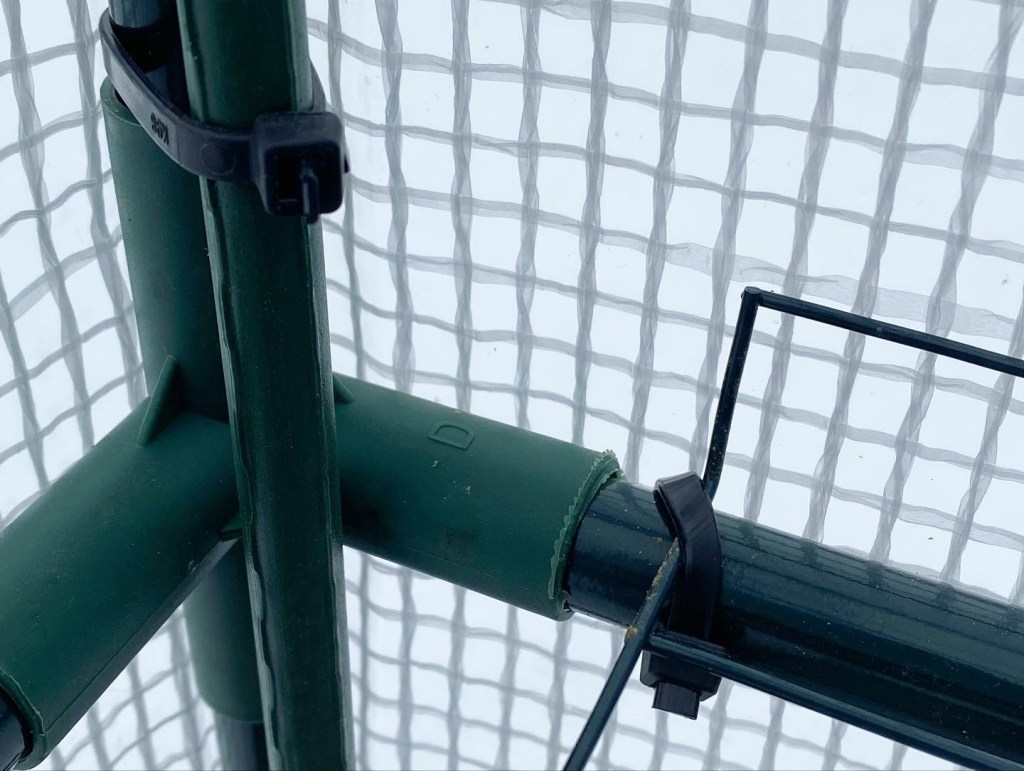
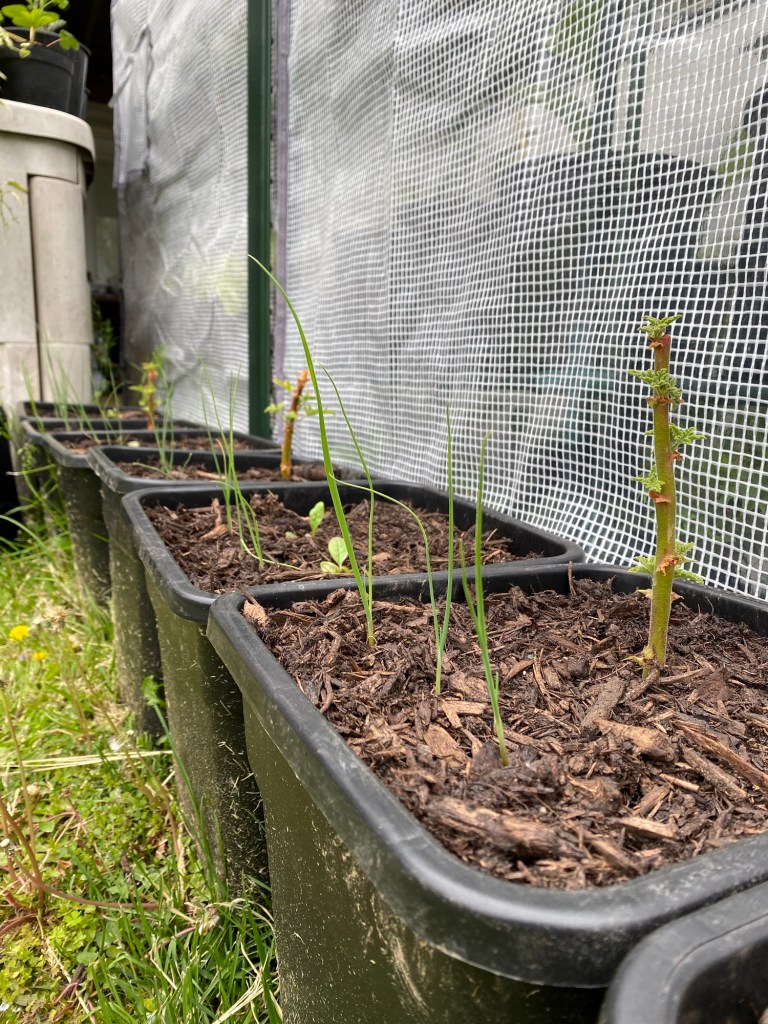
3. I used heavy-duty cable ties to secure the shelvings and to make them more durable. I turned them upside down to create a barrier to prevent plants from easily falling on the edge. It is able to handle 3 gallon tall pots and 5 gallon wide mouth pots without sinking.
4. The top (roof) of the greenhouse has very minimum support so l strung some strings across to help support the weight from snow or heavy rains. Whenever we snowed, I made sure to remove the snow on top to prevent it from accumulating and distroying the cover.

5. I sandwiched the greenhouse in between T-posts. I didn’t have a TP driver so I dug a hole on the opposite sides of the greenhouse to put it in place. If you have access to a TP driver and some cement, it will be very helpful to secure the base. I also tried the ropes that came with the mini greenhouse kit to hug the mini greenhouse.
6. I surrounded the greenhouse with pots to reduce air draft, retain heat and moisture, and add heat mass as much as possible. Initially, I used some good old bricks/wood/rocks to hold the cover from the outside but later on, I decided to place pots around the perimeter of the greenhouse, which also helped maximize the growing space in the garden.
I placed them side by side with doors on the opposite ends. After the second year of using the side-by-side greenhouses, I decided to cut a walkthrough opening to reduce the number of trips I had to take to tend to both greenhouses. I was going to seal the sections that I cut but I ended up neglecting that task.
In the beginning, I was planning to take down the greenhouse and store it again but who wants to keep doing all the work? So the greenhouse was up all year round. During the cold season, the greenhouses were closed but during the summer I kept the doors open to let the hot air out and prevent plants from burning.
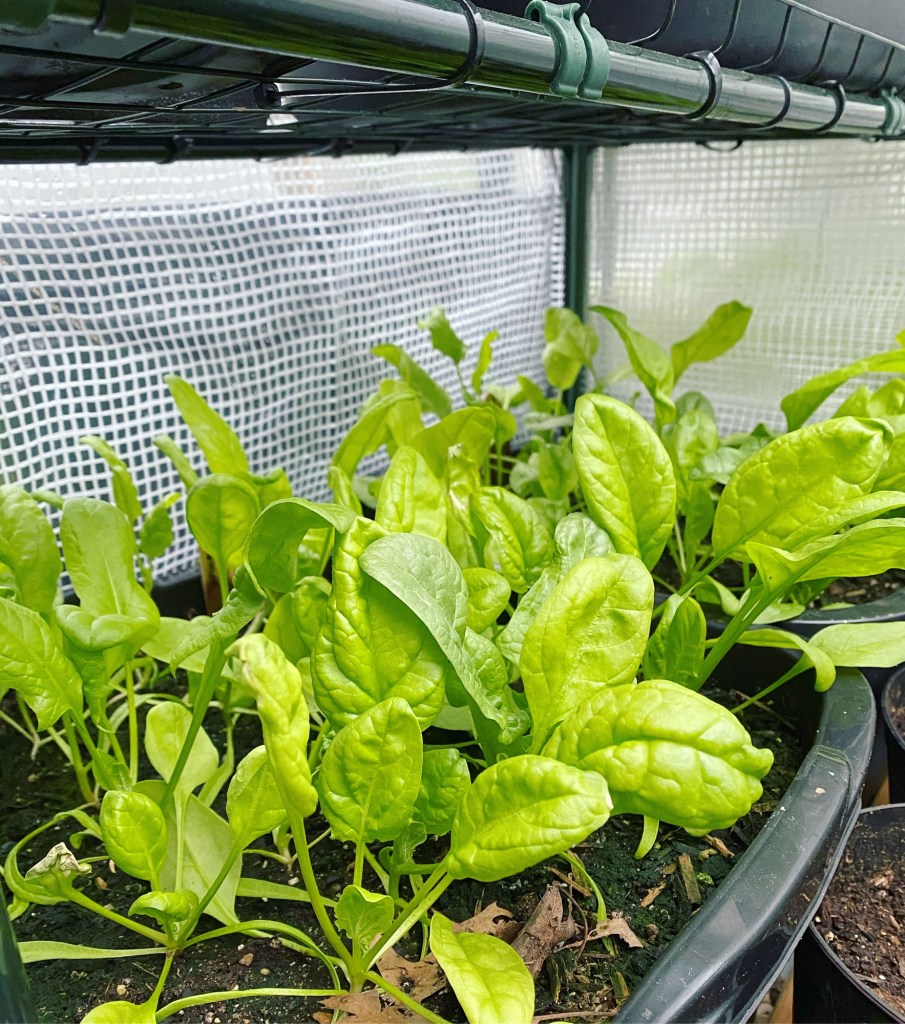
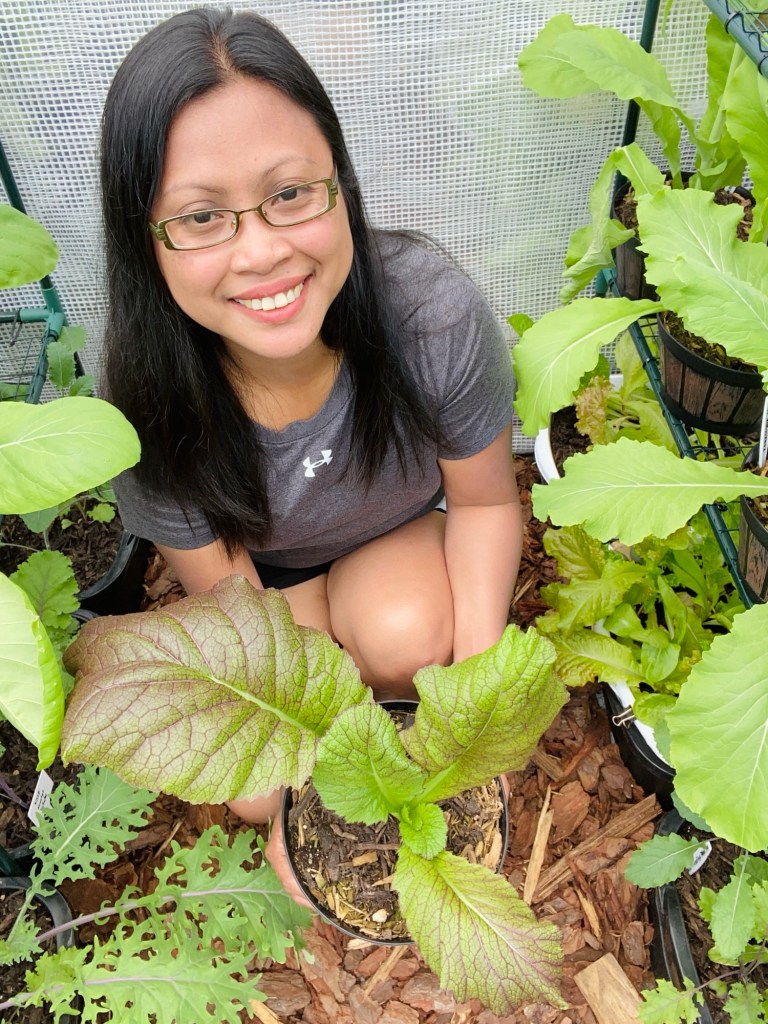
During the fall, winter, and spring I grew cool-season vegetables there such as kale, spinach, mustard, lettuce, cilantro, and more. Additionally, I hardened off the seedlings that I transplanted to the garden. This was where my plants went after they were evicted from the house. During the summer season, I grew heat-tolerant vegetables there such as amaranth, kangkong, and strawberries.
Another design flaw that I noticed was that the bugs and birds couldn’t find their way out the door once they got inside. I felt so bad for the hummingbirds, bees, and butterflies that get stuck in there. I often have to help them to get out. The hardest was with hummingbirds as they are naturally skittish with humans touching them. I couldn’t do a pep talk to calm their nerves down and convince them that I was there to help. It was so bad that I decided to make a hole on top of the greenhouse to help a poor hummingbird find its way out.
Fast forward to today, my greenhouse looks very old and it has a lot of holes and tears already. It lasted me three years before I noticed a very serious wear and tear from the outdoor elements. It has to be taken down so we could put up a new one but all of that will take time and a lot of work. It’s a major project that I hope to work on eventually.
Having a greenhouse was definitely a game changer for gardeners who live in cold climates. It extended my growing season and allowed me to grow my own food all year round. Owning a greenhouse made a difference in my gardening journey so I highly recommend getting one.
In conclusion, was it worth it to spend money on a temporary mini walk-in greenhouse like this? In my opinion, it was! It was a good kit for starters with a limited budget, time, and skill to build or buy a greenhouse. Let me elaborate a little more:
- It’s budget-friendly and great for beginners. If you’re not ready to invest in a more well-built greenhouse yet, temporary greenhouses are good options. After searching for at least two years, I finally found one with a better quality at a discounted price. It allowed me to price-shop for a better-quality greenhouse and save for it.
- It took me a couple of hours to assemble the kit. The only reason it took me a little longer was that I took my time to reinforce the greenhouse structure. Imagine putting down a foundation for a greenhouse first before assembling a more complicated greenhouse structure. This is one of the reasons I haven’t put up my new greenhouse. Everything takes time and that includes taking down an old greenhouse and building a base. The way I stabilize this temporary greenhouse won’t work for the other types of greenhouses.
- The kit was quite easy to put together. I assembled it by myself, although I asked for my husband’s help once I was ready to put the cover on. No one in my house has the skillset to build a DIY greenhouse so having the option to use an easy-to-assemble kit is great!
Overall, it all depends on your current situation and capacity. It all comes down to how much are you willing to spend for a greenhouse, as well as your availability and your ability to build one.
This is a long post but I hope this was helpful. I want to make sure that I share the experiences and strategies I used to make my temporary greenhouses worthwhile. If it was helpful, would you consider sharing this with your green thumb friends?
Comment below, “I’m ready!” if you made it through the end of this blog. Let me know if you have any questions. I’ll be happy to help.


Leave a comment